Aprimo asset integration
Integrate with Aprimo to manage, transform, and deliver media assets to Visual Editor.
# Configure Aprimo in Visual Editor
After configuring Aprimo to work with your code and content source, you can enable the integration in Visual Editor. This differs based on your working mode.
# Identify your tenant name
The value is the collection of characters before the first dot (.) in your Aprimo domain.
For example, if the URL for the Aprimo space is https://partner1.dam.aprimo.com/dam/spaces/..., the tenant would be partner1.
# Configure Aprimo for local development
Note
Use the latest version of @stackbit/cli to ensure all Aprimo features are available when working locally.
When working locally, Aprimo is enabled through the --aprimo-tenant option. (See above for identifying your tenant name.)
stackbit dev --aprimo-tenant partner1
# Set up Aprimo for collaboration
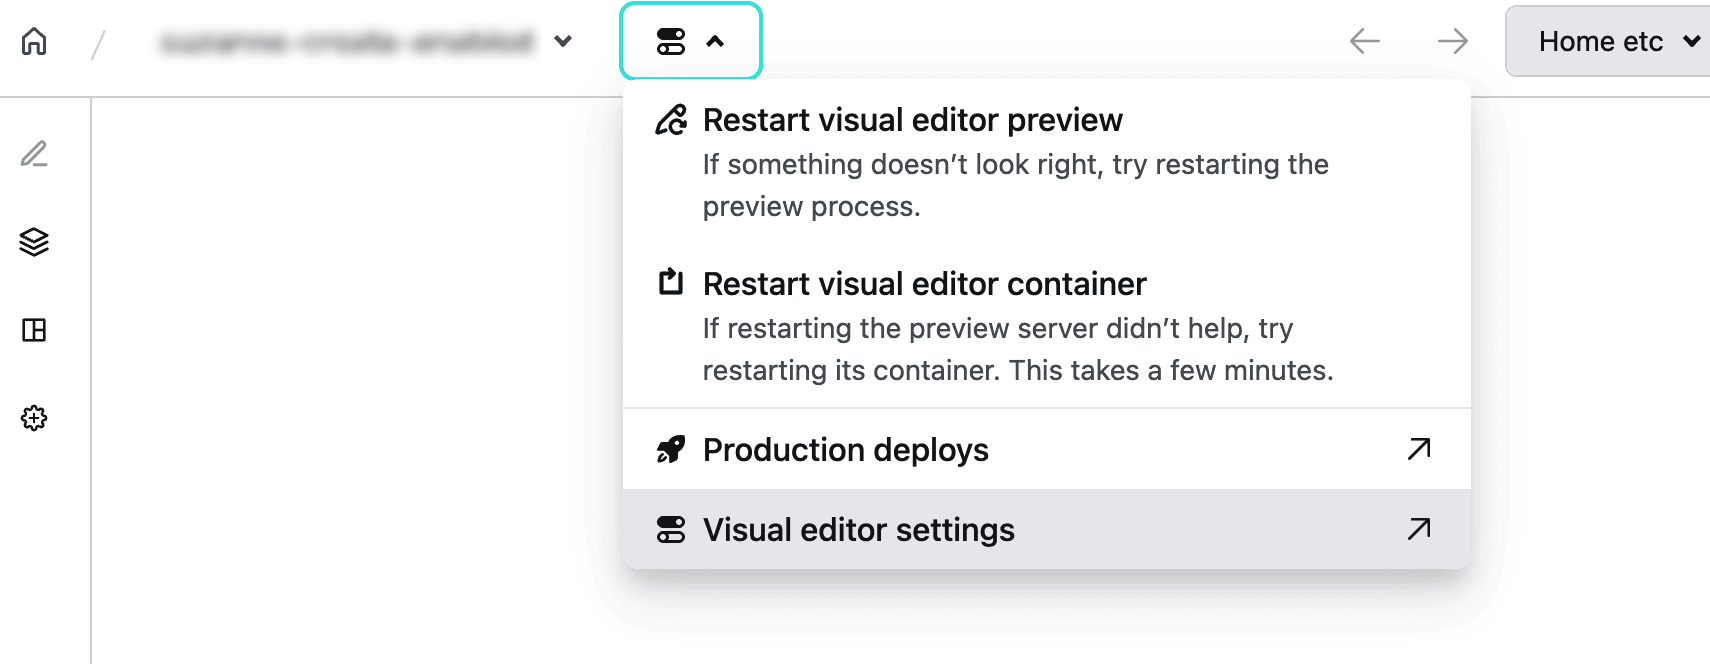
- Go to your visual editor settings:
- From your site workspace in the visual editor, select the options icon next to your site name and select Visual editor settings from the drop-down menu.
- From your Site overview where you manage site deploys, go to .
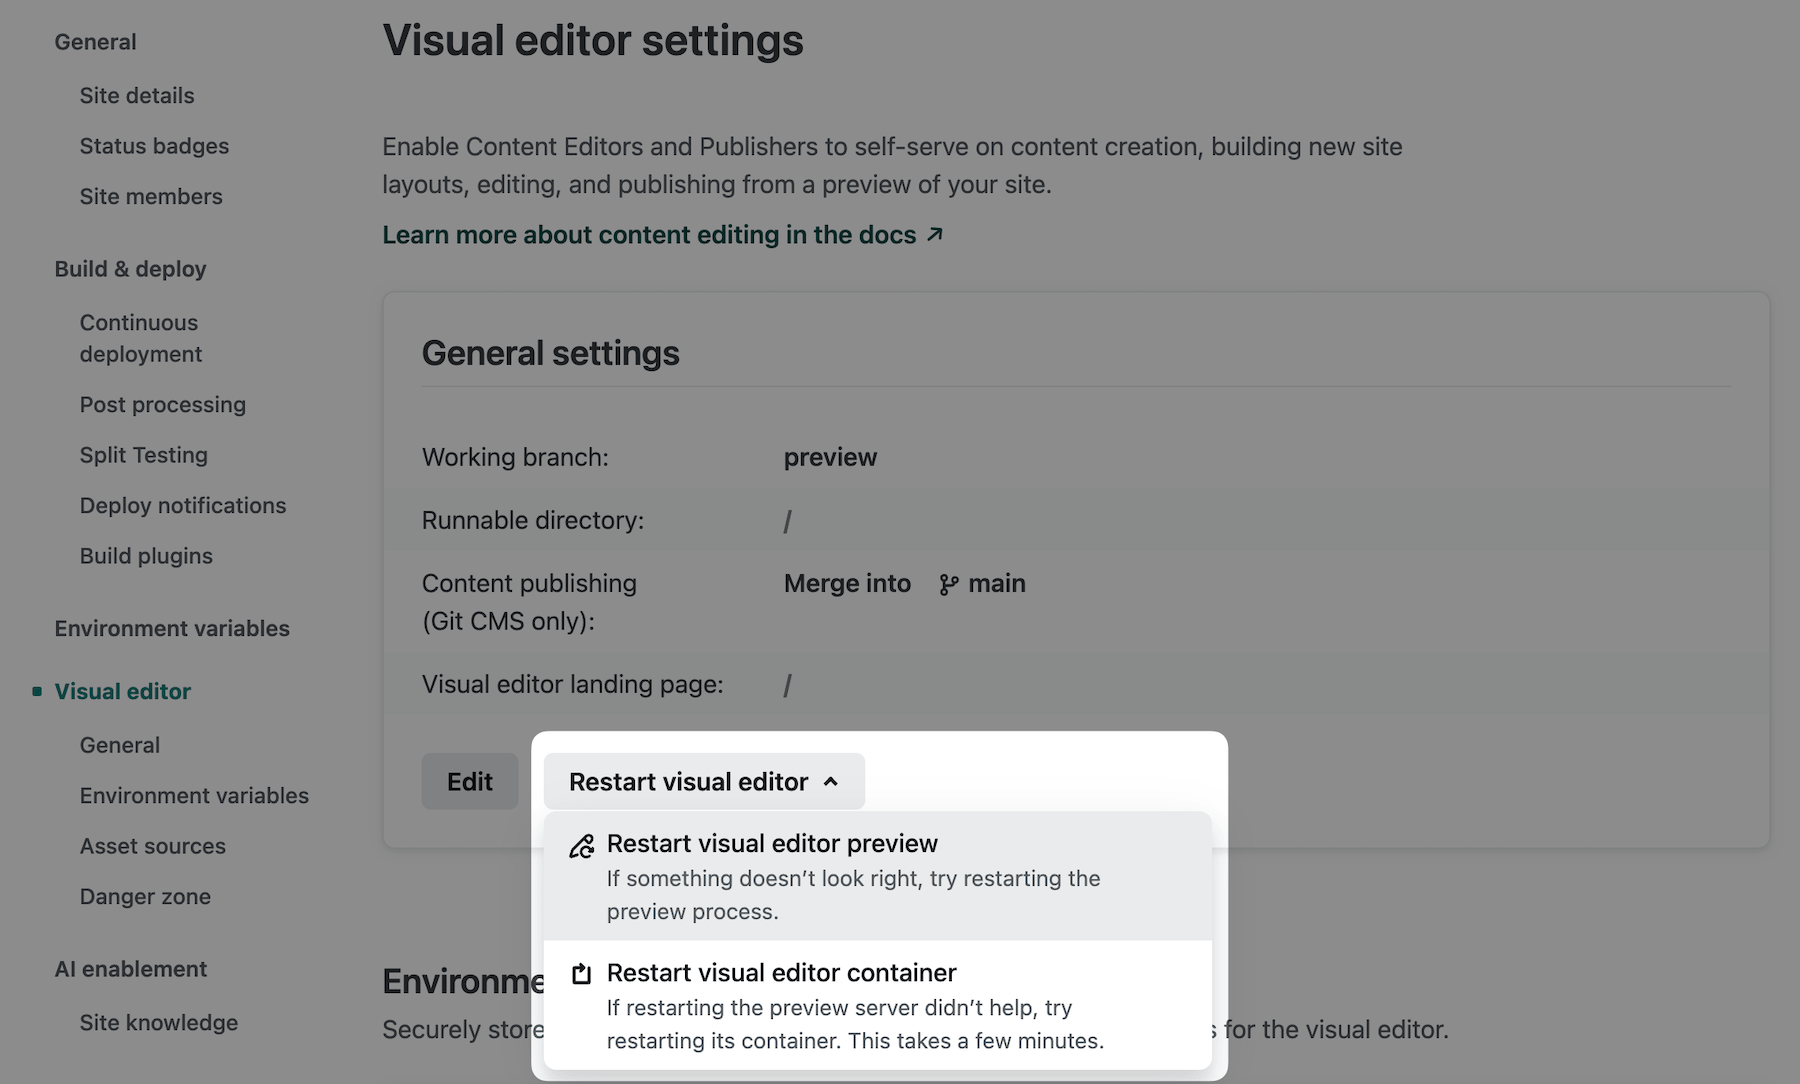
- From your site workspace in the visual editor, select the options icon next to your site name and select Visual editor settings from the drop-down menu.
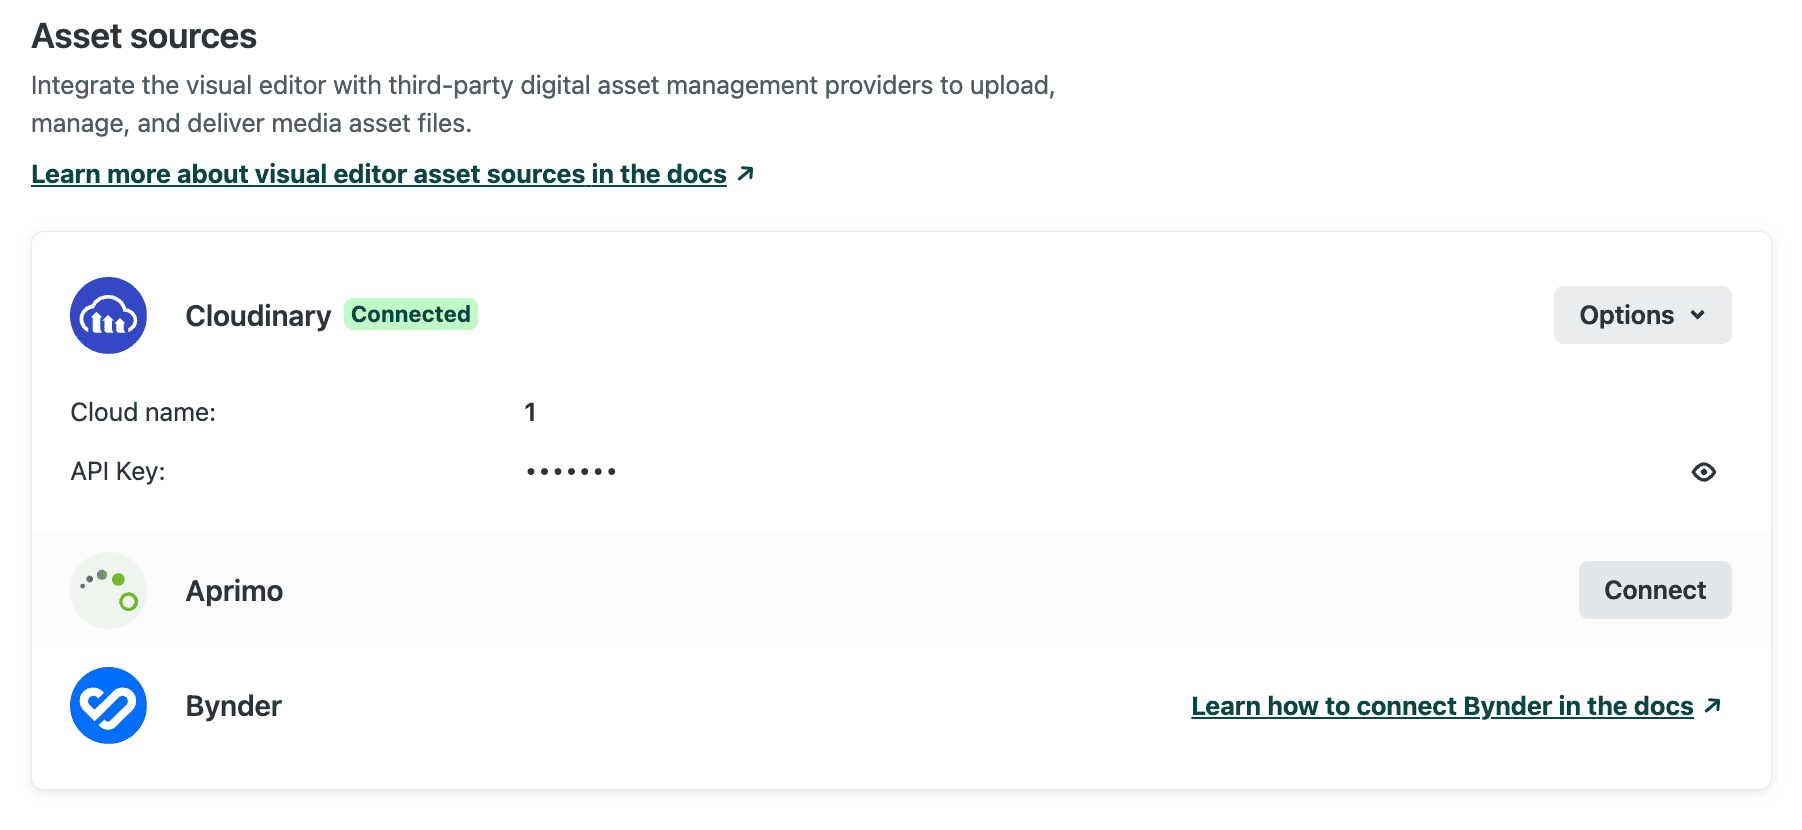
- Under Asset-sources, next to Aprimo, choose Connect or select Options to edit an existing Aprimo asset source.
# Toggle asset sources
When using Aprimo with a headless CMS, the Aprimo image picker will appear when you add or change an image.

When using Git CMS, the modal provides the option to use other configured options in the bottom left corner.

To specify a field as Aprimo-only, set the source property to aprimo. This will remove the dropdown toggle from the asset modal for that field.
// stackbit.config.ts
export default defineStackbitConfig({
  models: [
    {
      name: "Page",
      fields: [
        { name: "image", type: "image", source: "aprimo" }
        // ...
      ]
      // ...
    }
  ]
  // ...
});
# Data structure
When a user selects an image in the Aprimo widget, the widget returns a JSON object with image metadata. When an integration exists between Aprimo and your content source (via a headless CMS), this data is stored in the format expected by the CMS.
See here for the structure of the selected item.
# Git CMS image structure
When using Git CMS, the data structure is dependent on the field configuration. By default, Visual Editor simply stores a URL string for the selected image.
{
  "image": "https://p1.sb.aprimocdn.net/partner1/..."
}
To store the entire selected object, you must specify the field's source as specific to Aprimo.
// stackbit.config.ts
export default defineStackbitConfig({
  models: [
    {
      name: "Page",
      fields: [
        { name: "image", type: "image", source: "aprimo" }
        // ...
      ]
      // ...
    }
  ]
  // ...
});
Here's an example of a stored object:
{
  "image": {
    "id": "05d2...",
    "title": "Image title ...",
    "rendition": {
      "id": "bf6b6...",
      "publicuri": "https://p1.sb.aprimocdn.net/partner1/..."
    }
  }
}
Did you find this doc useful?
Your feedback helps us improve our docs.