Cloudinary examples
There are two example projects that showcase using Cloudinary with visual editing:
Integrate with Cloudinary to manage, transform, and deliver great imagery to Visual Editor.
Cloudinary examples
There are two example projects that showcase using Cloudinary with visual editing:
Cloudinary integrates both with leading CMS platforms supported by Visual Editor (e.g. Contentful, Sanity, etc.) and with Visual Editor itself. Meaning that any field that is configured as Cloudinary-managed in the CMS is automatically recognized by Visual Editor.
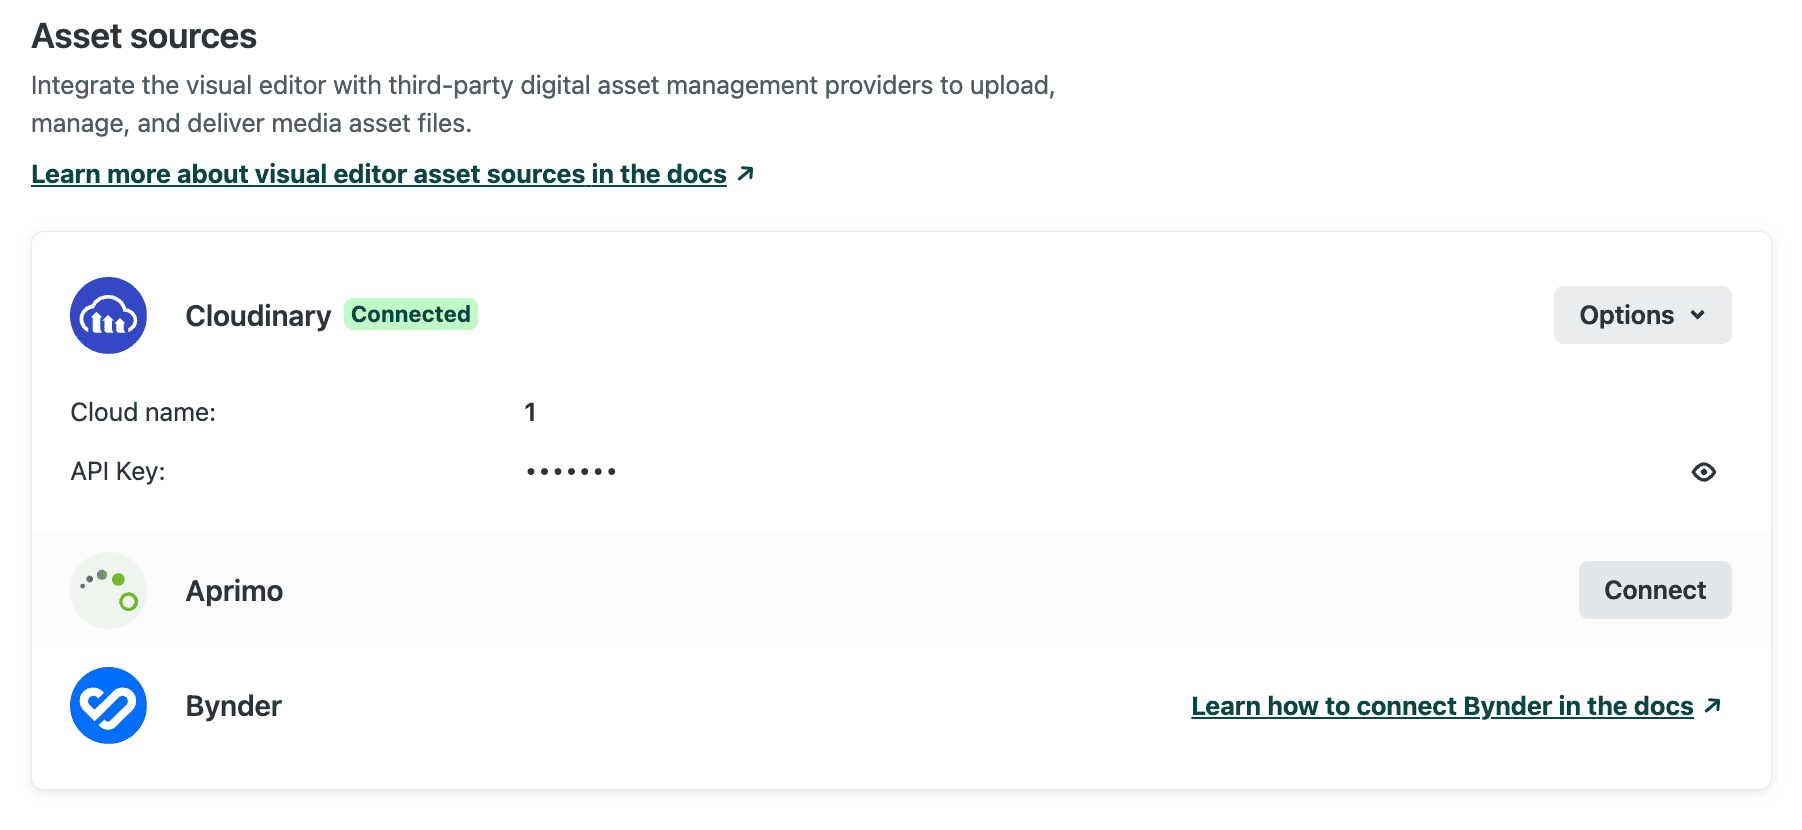
After configuring Cloudinary to work with your code and content source, you can enable the integration in Visual Editor. This differs based on your working mode.
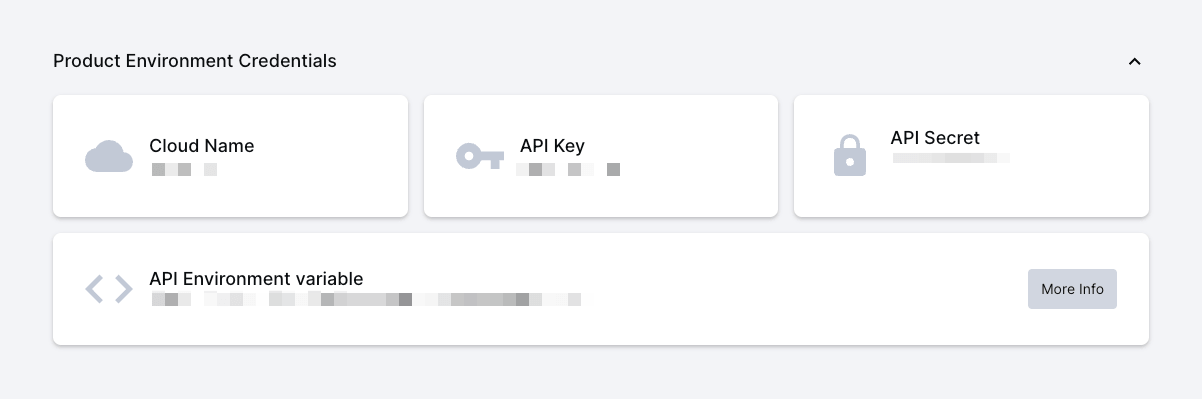
Before configuring, you need to obtain the cloud name and API key for your Cloudinary library. These can be found on your dashboard in Cloudinary.
Tip
Use the latest version of @stackbit/cli to ensure all Cloudinary features are available when working locally.
When working locally, identify and enable your Cloudinary library through the --cloudinary-cloud-name and --cloudinary-api-key options. (See above for identifying these values.)
stackbit dev --cloudinary-cloud-name [CLOUD_NAME] --cloudinary-api-key [API_KEY]
When using Cloudinary with a headless CMS, the Cloudinary image picker will appear when choosing to add or change an image.
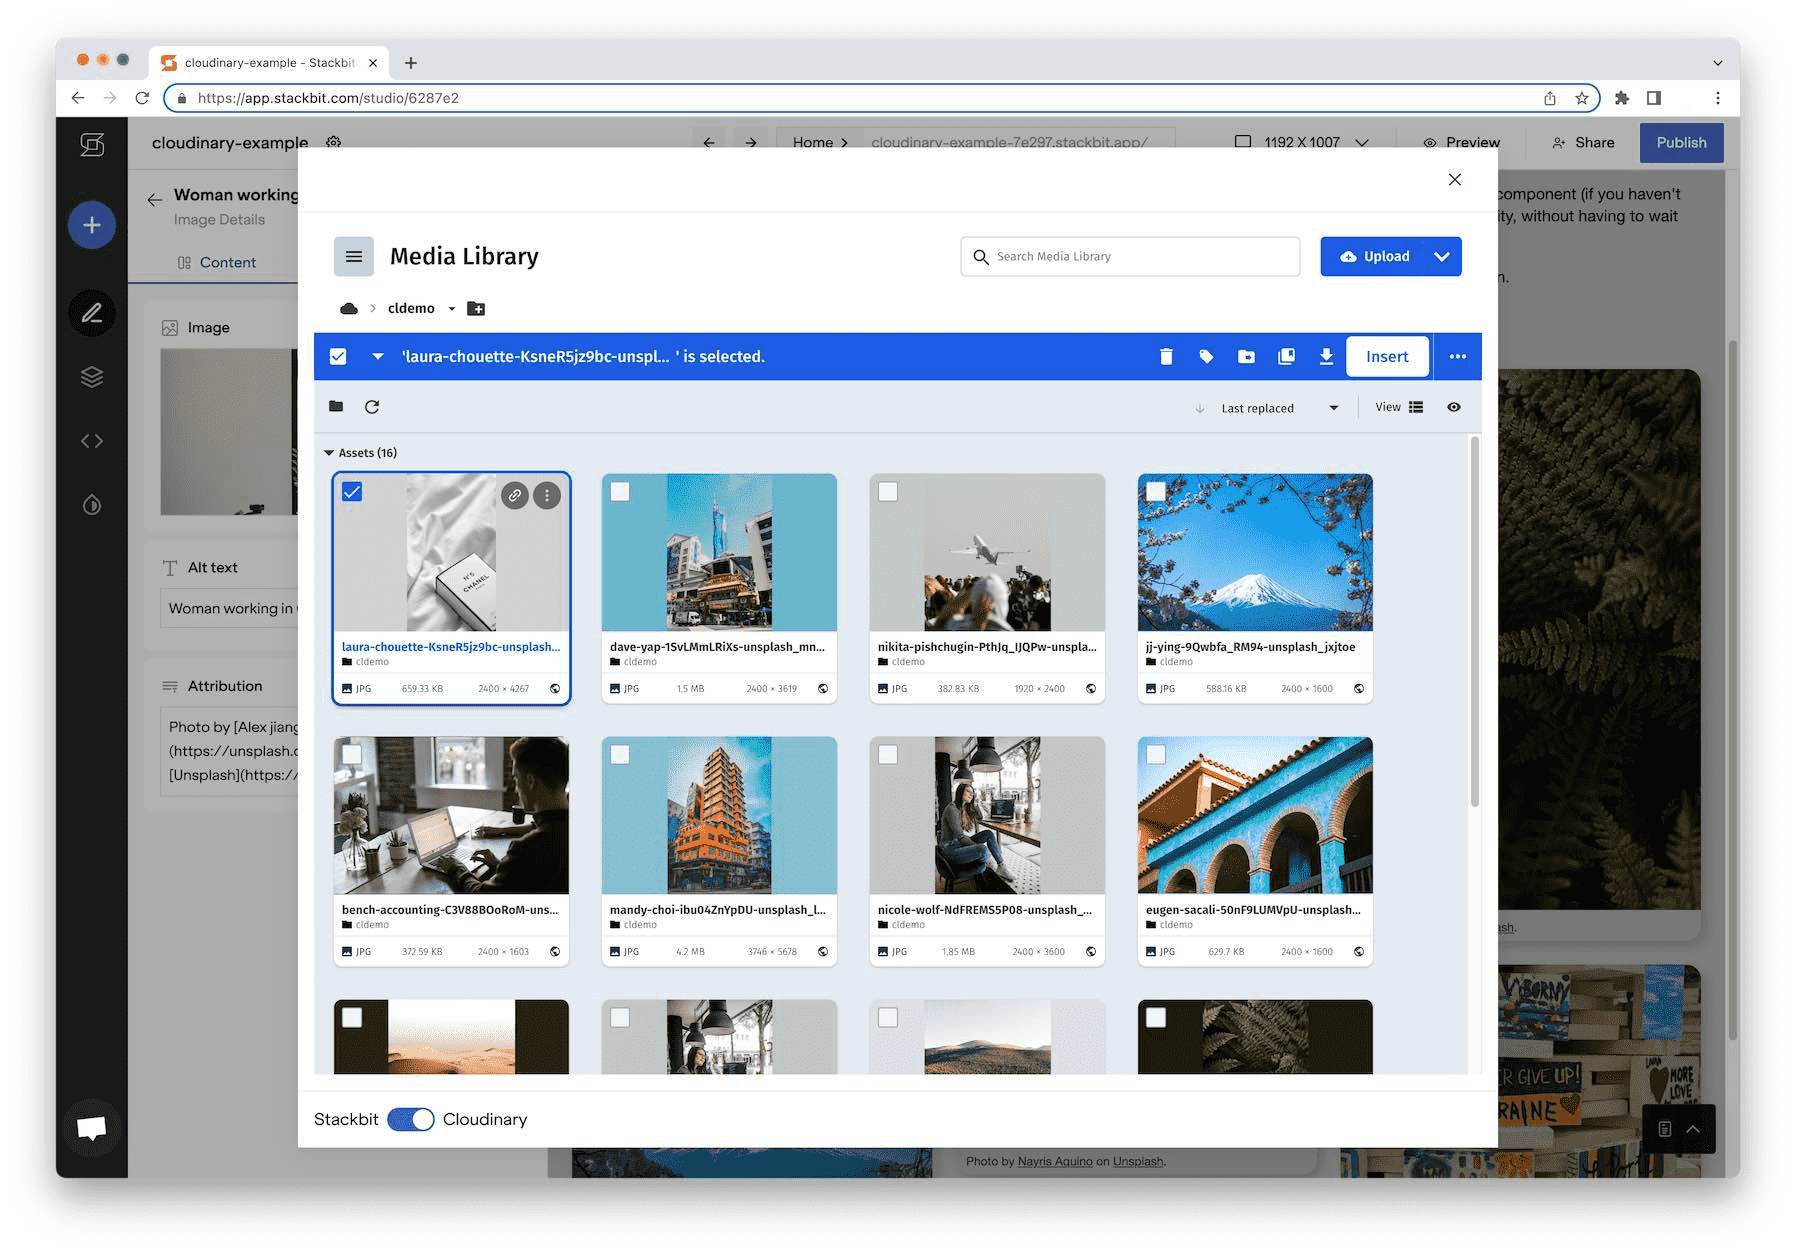
When using Git CMS, the modal provides the option to use other configured options in the bottom left corner.
To lock the modal down to only Cloudinary, set the source property to cloudinary. This will remove the dropdown toggle from the asset modal for that field.
// stackbit.config.ts
export default defineStackbitConfig({
  models: [
    {
      name: "Page",
      fields: [
        { name: "image", type: "image", source: "cloudinary" }
        // ...
      ]
      // ...
    }
  ]
  // ...
});
This provides additional benefits for Git CMS, as shown below.
When a user selects an image in the Cloudinary widget, the widget returns a JSON object with full image metadata. The object format is documented here.
When an integration exists between Cloudinary and your content source (via a headless CMS), this data is stored in the format expected by the CMS. Most CMSs supporting Cloudinary use essentially the same format (e.g. see Sanity's docs).
By default, when using our built-in Git-based CMS rather than connecting to a headless CMS, image fields only hold a single string: the URL to the image.
{
  "image": "http://res.cloudinary.com/demo/image/upload/v1511474034/sample.jpg"
}
This allows content editors to freely toggle between selecting images from Cloudinary and choosing from image files in the repository. However, the full JSON image metadata is not stored, and as a developer you only get the secure_url of that asset.
To have the full metadata object stored, set the source property to cloudinary on the definition of any relevant image field. For fields configured in this way, only Cloudinary images can be selected, and the entire JSON object will be stored.
// stackbit.config.ts
export default defineStackbitConfig({
  models: [
    {
      name: "Page",
      fields: [
        { name: "image", type: "image", source: "cloudinary" }
        // ...
      ]
      // ...
    }
  ]
  // ...
});
This would store the entire JSON object in the source file.
{
  "public_id": "sample",
  "resource_type": "image",
  "type": "upload",
  "format": "jpg"
  // ...
}
Your feedback helps us improve our docs.