For the complete Netlify documentation index, see llms.txt. Markdown versions of this page are available by appending .md to the URL. Contentful is a headless Content Management System (CMS) built with an API-first architecture. You can upload content to Contentful, then organize and edit it on the Contentful web app interface.
Connect your Netlify site with a Contentful space using the Contentful Integration to streamline the way you work with your CMS and Netlify. With this integration, the Netlify app on your Contentful space installs once you connect your Netlify site to Contentful, so you can redeploy updated content in fewer steps, and without having to manually create webhooks.
Before you begin
Section titled “Before you begin”To get started integrating Contentful with your Netlify site, make sure you have the following prerequisites:
- an account with Contentful
- a Contentful space to connect with a site
- a site on Netlify that pulls content from Contentful
To use the features of the integration, your Contentful space needs content type and content already populated.
Get started with Contentful
Section titled “Get started with Contentful”-
In the Netlify UI, navigate to the Extensions page for your team.
-
Search for
Contentfuland select it in the search results. -
On the details page, select Install.
-
Next, on the details page, select Connect to launch the authorization flow.

-
Log in, if needed, to Contentful.
-
Configure your account access and select the Contentful organization to grant Netlify access to. Then, select Authorize access to complete authorization. This reroutes you back to the Netlify UI.
Connect a site to your Contentful space
Section titled “Connect a site to your Contentful space”When you connect a space to your Netlify site, the Netlify app installs in the sidebar of your Contentful space. This enables you to redeploy your site from the Contentful UI when you update content.
To configure a connection for a site in the Netlify UI:
-
From your team’s Sites list, select the site you plan to use with Contentful, and navigate to Project configuration General Contentful.
-
In the Select a space menu, choose your desired Contentful space.
-
In the Select a trigger menu, choose how you want to redeploy your site for updates:
-
When entry published only
-
When entry published, unpublished, or deleted

-
-
Select Configure.
In addition to installing the Netlify app on your Contentful space, a successful connection generates a webhook linked to your Netlify site.
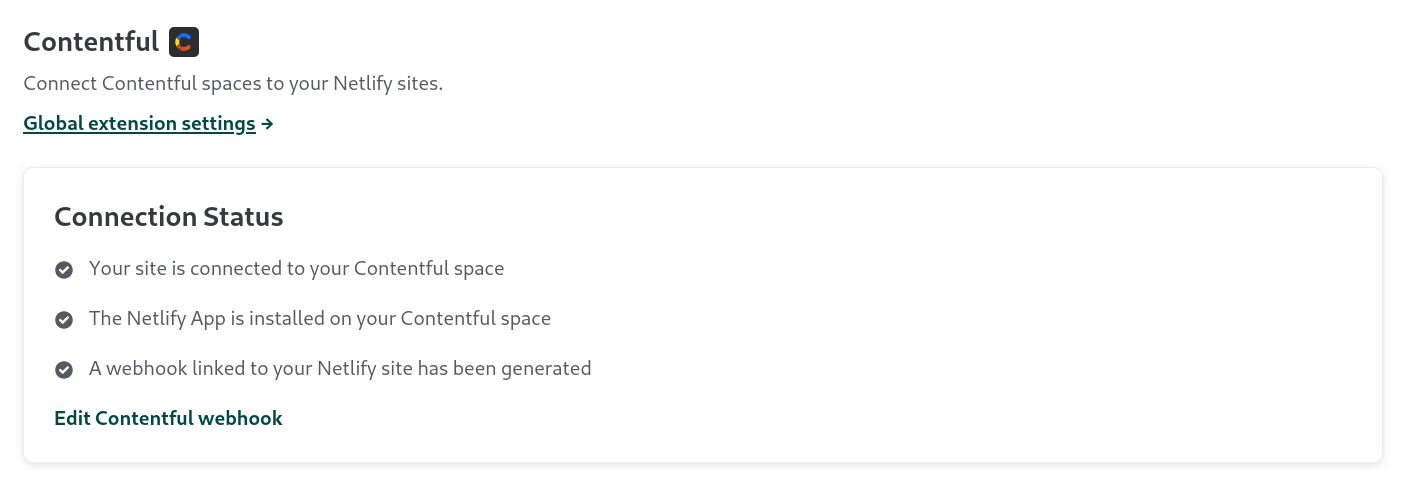
You can edit the settings for the webhook at any time from the Netlify UI by navigating to Project configuration General Contentful, then following the webhook link under Connection status to navigate to the webhook settings in Contentful.
Test your connection
Section titled “Test your connection”Navigate to your Contentful space and select Content to access your entries. Select the content name to open more details. Find the Netlify app on your Contentful space in the sidebar if your connection is successful.
If you add a new content type after enabling the integration, you’ll need to manually install the Netlify app on your Contentful space for that content type.
More resources
Section titled “More resources”Did you find this doc useful?
Your feedback helps us improve our docs.