For the complete Netlify documentation index, see llms.txt. Markdown versions of this page are available by appending .md to the URL. Follow these steps to set up the Preview Server with a content site/app, including those that rely on a CMS.
Step 1: Prepare app/site locally
Section titled “Step 1: Prepare app/site locally”To prepare your app/site to run in the Preview Server, which is like a virtual, ensure your site/app runs locally and renders the latest content on your own machine with the Netlify CLI command netlify dev.
1. Run locally with the CLI
Section titled “1. Run locally with the CLI”Run your site locally on your machine using netlify dev, and ensure it loads successfully. If you’re new to the CLI, here’s how to get started.
Netlify does its best to auto-detect the web framework you use (if any) and the correct settings, such as the port your development web server listens on. If your site doesn’t load, you may need to adjust some of the automatically-detected settings in your netlify.toml configuration file.
2. Confirm latest content renders locally
Section titled “2. Confirm latest content renders locally”If your site fetches content from a CMS, you may need to adjust your CMS connection parameters in development mode so that it returns updated and unpublished content. Depending on your setup, this may require setting specific development values for use with the Preview Server to avoid impacting production.
For example, if you’re using Gatsby, make sure to enable the refresh endpoint while in development mode, to allow sourced content to be reloaded on-demand.
Step 2: Set your environment variables
Section titled “Step 2: Set your environment variables”It is very common for sites to read CMS API keys and related connection settings from environment variables. Typically, you’d want to configure different values for these variables based on the context, so that the preview server will use development-specific values instead of production values.
By default, the preview server uses environment variable values set for the Local Development deploy context but you also have the option to set specific values for the preview server context. If you’ve already set the appropriate values for local development, chances are you don’t need to define different values for use with preview server.
In the following example, the preview server environment will use the same value for CMS_API_TOKEN as the Netlify CLI on your local machine:
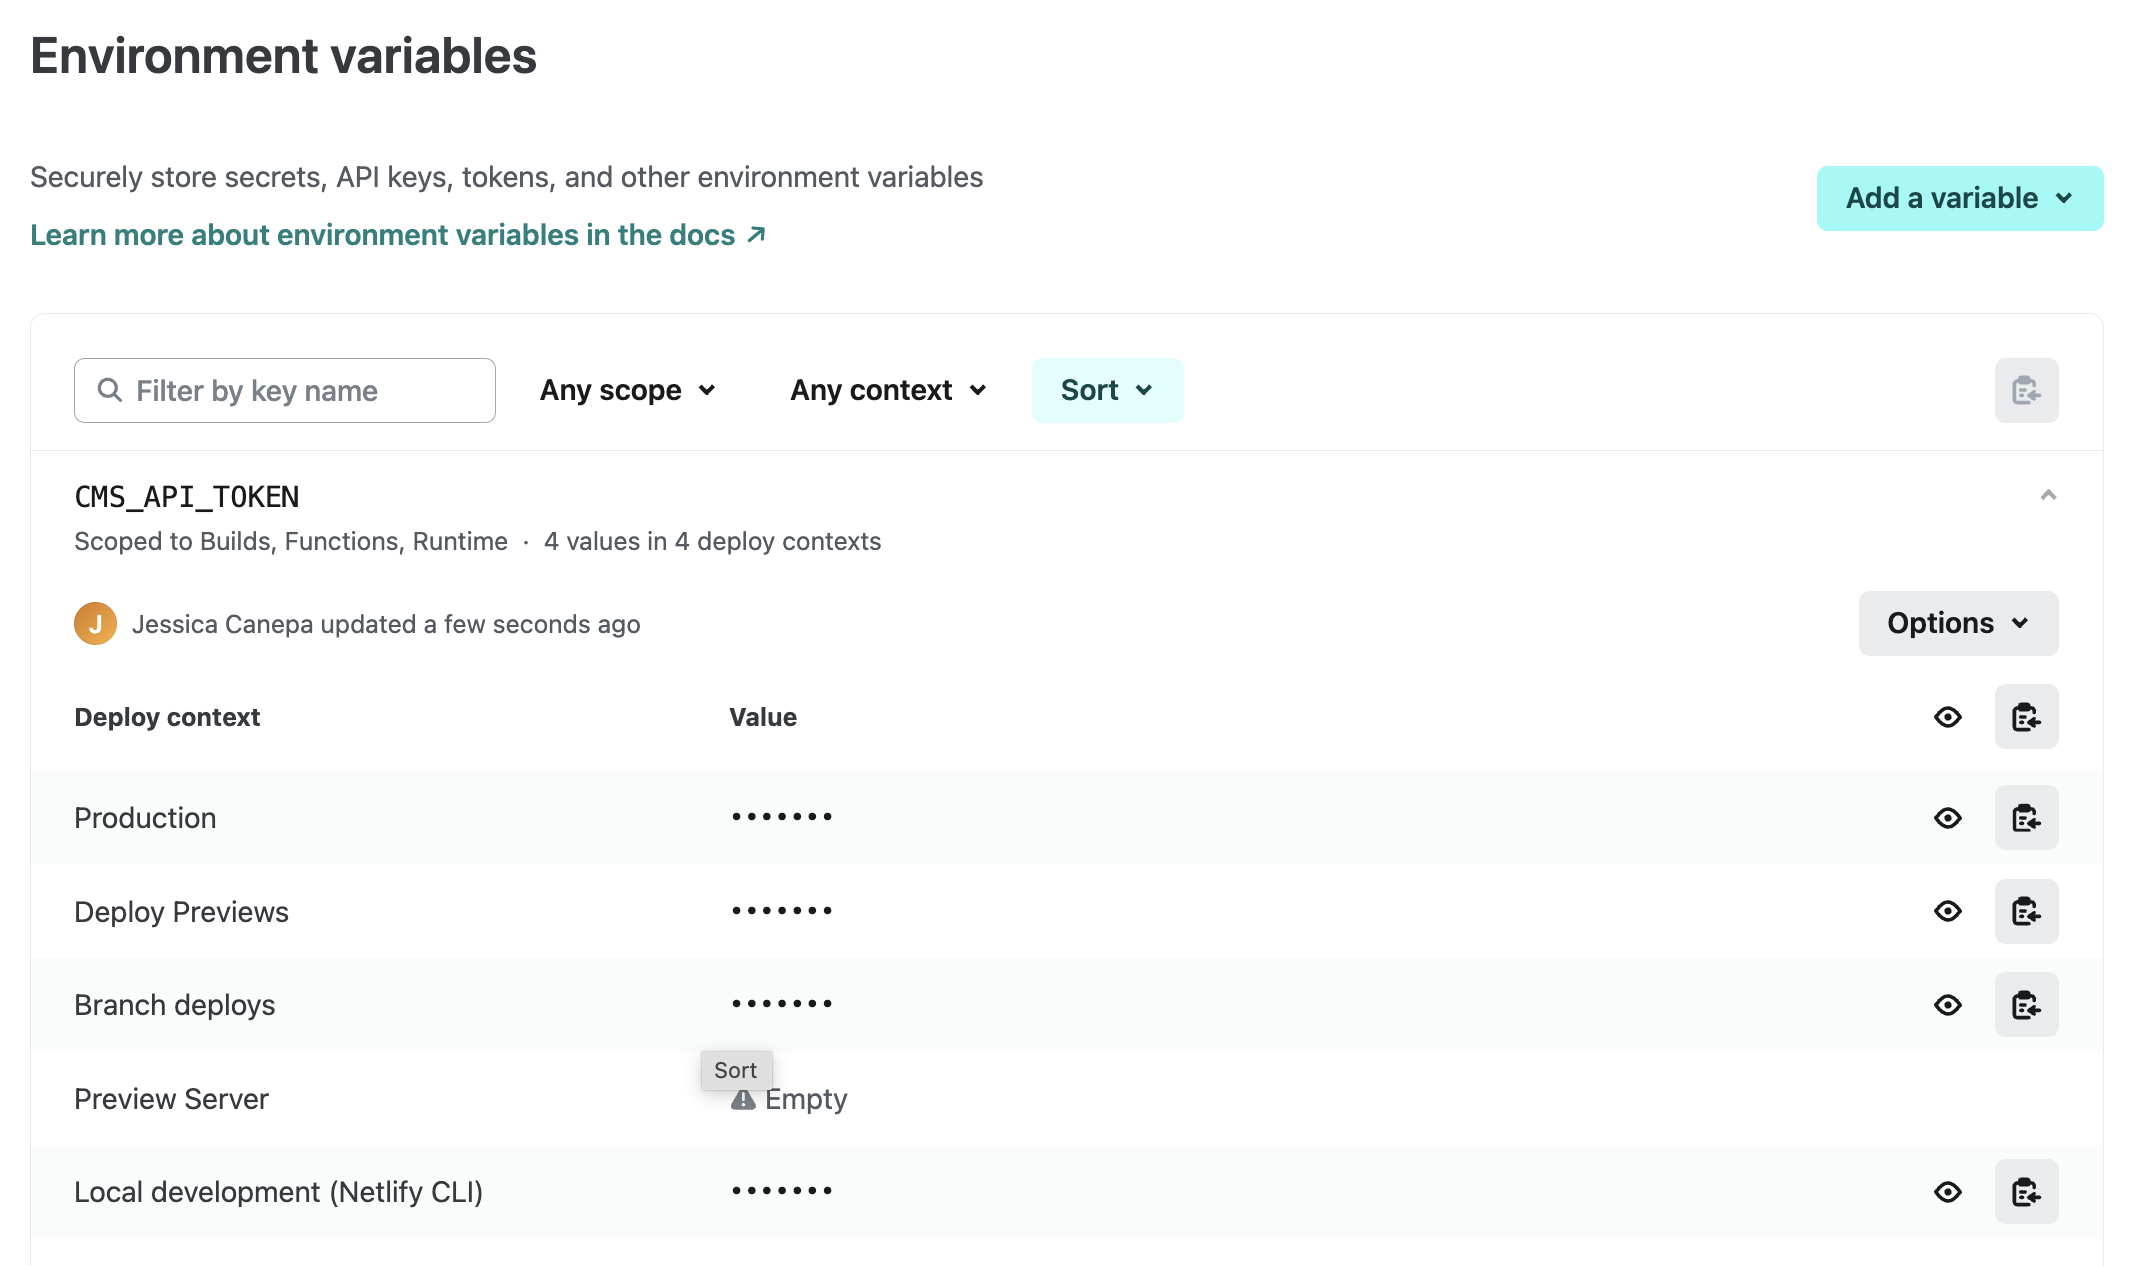
Note that values set for the Preview Server context can be stored as a secret since it’s not the local development deploy context and the Preview Server environment is fully managed by Netlify.
Step 3: Set up content refresh
Section titled “Step 3: Set up content refresh”Most sites that statically generate pages do not have built-in code to automatically track content updates in the CMS and update accordingly.
Supporting automatic updates is a two-step process:
-
Your site’s code should provide a dedicated endpoint for triggering content refreshes from the outside. Some frameworks can support this out-of-the-box (as noted below). This does not expose your site to the outside world directly - only authenticated users have access to the content preview in any way.
-
In the Netlify UI, generate a webhook URL and add it to your CMS to notify Netlify when content changes.
When the CMS calls the webhook on content updates, the preview server will trigger the refresh endpoint in your site. In this way, only the unique webhook URL is accessible from the outside.
1. Add a refresh endpoint to your site
Section titled “1. Add a refresh endpoint to your site”First, your site should support a POST /__refresh endpoint that will trigger a content refresh. Some frameworks provide support for this out-of-the-box in their development mode, under some conditions:
- Gatsby has optional support for the endpoint in development mode. You need enable it and ensure the source plugins you use support it (most of the common ones do).
- Astro has optional support for refreshing the content layer starting with version 5.0. The content layer integrations you use need to support this.
2. Add a webhook
Section titled “2. Add a webhook”-
Go to Project configuration Build & deploy preview server hooks.

-
Select Add preview server hook and complete the fields to create a hook that will refresh content for the branch your preview server uses:

-
Select Save to get the hook’s URL:

-
Copy the hook URL and set-up your CMS (or other source system) to call it on content updates.
For example, here’s how to access webhook settings in Contentful:

You can also manually test your webhook with a curl command:
curl -X POST -d {} https://api.netlify.com/dev_server_hooks/...Did you find this doc useful?
Your feedback helps us improve our docs.