For the complete Netlify documentation index, see llms.txt. Markdown versions of this page are available by appending .md to the URL. New to Netlify? Start with What is Netlify? to get an overview of the platform. Then use the deploy wizard below to find your fastest path to publishing your project.
Deploy wizard
Section titled “Deploy wizard”Find your fastest path to publishing your project live on the web (deploying! 🚀) by answering a few questions.
Do you have code to deploy?
Where is your code?
This determines the most straightforward way to deploy your project.
How to start your project's code?
Connect your repo to deploy 🚀
Since your code is already online in a remote Git repository, you're just a few clicks from deploying and setting up automatic deployments for every Git push to your repository.
Drag and drop your project folder 📁
Ready to deploy? Go to the Drag and Drop publisher page and drag your project folder to the Deploy zone. Your web project will go live with a unique preview URL. 🎉
Frequently Asked Questions
Create a new project 🚀
Prompt a new project from scratch directly from your Netlify dashboard using Agent Runners.
Framework Setup 🔧
Get started with the modern framework of your choice. Netlify is optimized to work with any modern framework.
Deploy from AI code tool 🤖
To deploy your project, you can either deploy directly from your code generation tool following our Quickstart guide or you can download your code files and then drag and drop them to Netlify to publish them online.
AI-Powered Development ✨
Share Netlify context with your AI code tool, build your project, then deploy to Netlify.
Start something new
Section titled “Start something new”There are many ways to publish a new web project on Netlify. Here are some of the most common ways to start a new web project on Netlify.
Start with AI agent
Section titled “Start with AI agent”Build a new project from scratch with the help of an AI agent directly from your Netlify dashboard.
To use this feature, you need a Credit-based pricing plan and must have enabled AI features.
To start a new project with an AI agent:
- Go to your Netlify team dashboard and select Add new project or log in to your Netlify account and go directly to https://app.netlify.com/start.
- Enter your own prompt or select a starter prompt to use or edit. You can also dictate a prompt.

- Optionally, choose your AI agent and add any additional images or files.
- Start building with Build now.
Next, you can continue building out your project using Agent Runners.
If you choose to use a different AI code generation tool, you can still deploy to Netlify, check out the Deploy from AI code generation tool quickstart. For help building and iterating on your project with AI, see Building with AI.
Start with template
Section titled “Start with template”Choose a template that best fits your use case. Check out our top templates on GitHub.
You can also start a template project in your terminal using the Netlify CLI. Learn more in the CLI guides overview or in Get started with the CLI.
Start with framework
Section titled “Start with framework”You can start a new project with your supported framework of choice.
Start with existing project
Section titled “Start with existing project”There are many ways to publish an existing project to Netlify or move an already published app/site to Netlify.
Start from a remote Git repository
Section titled “Start from a remote Git repository”Starting from a remote Git repository hosted on a Git provider, such as GitHub, GitLab, Azure DevOps, or Bitbucket, you can publish your project to the web with just a repository link and a few clicks. For guided help, check out our deploy from remote Git repository quickstart.
Start from files
Section titled “Start from files”Publish your site or app to the web by dragging and dropping your project’s folder with your site files. Note this folder may be called your project’s public folder.
-
If you haven't already, log in to your Netlify account at https://app.netlify.com/login. Make sure you're signed in to the Netlify team where you want to manage your project.
-
Go to https://app.netlify.com/drop or scroll to the bottom of your team dashboard where all your team-owned projects will be listed.
-
Drag and drop your folder to the Drop zone in the Netlify UI.
-
Find your site published at the Preview URL ending in
netlify.app. Your site should now be published on the web so you can share it with others. 🎉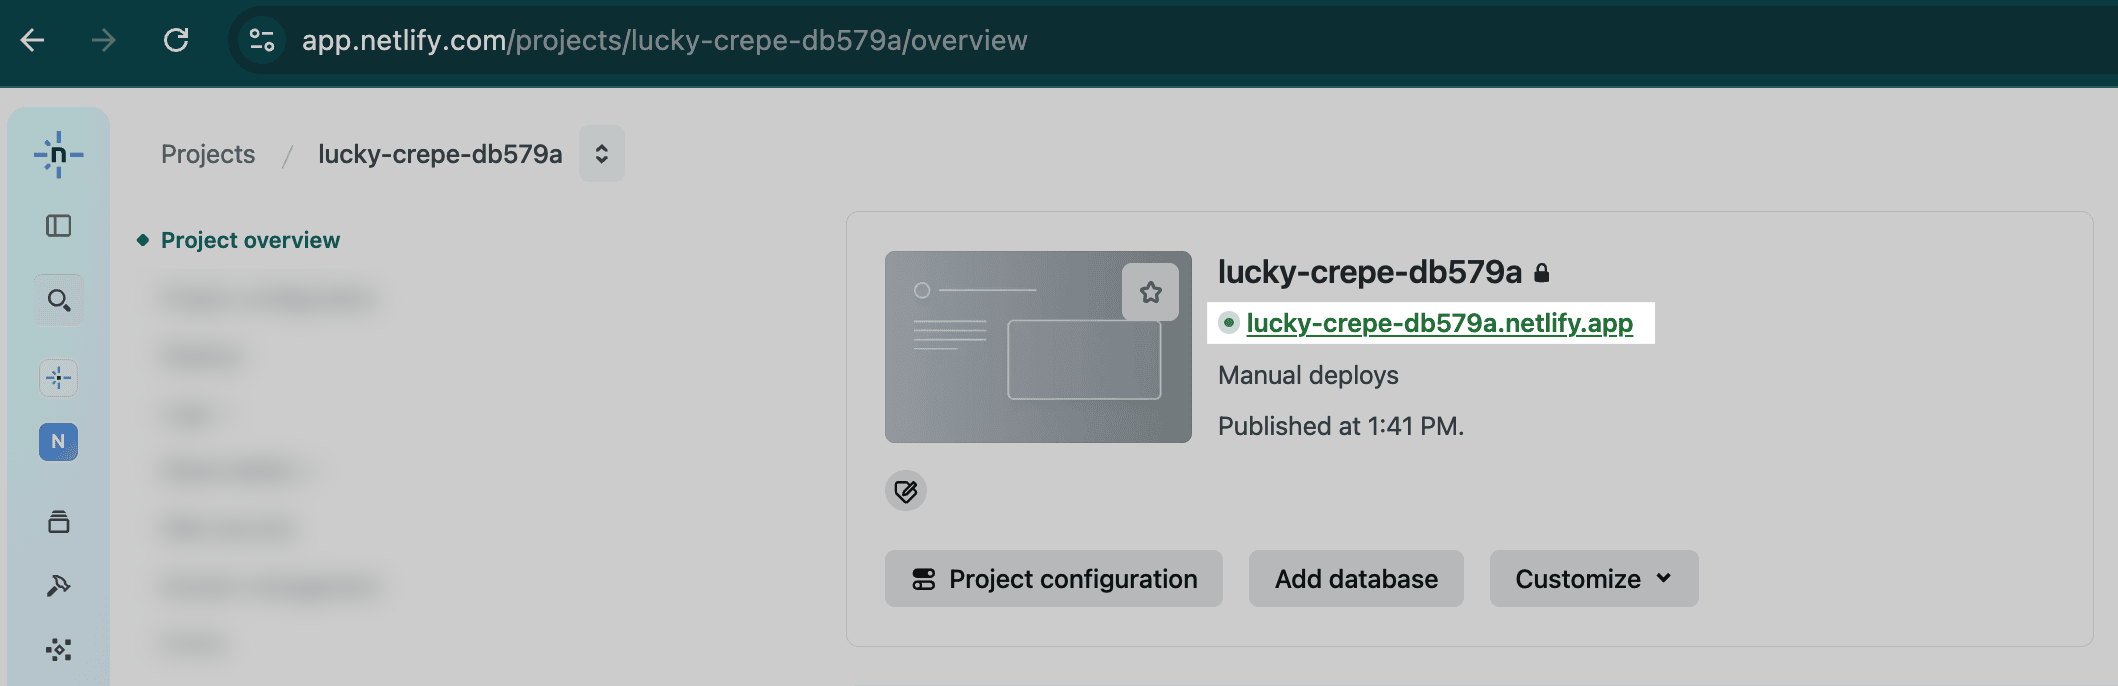
-
To customize your preview URL with a project name and to give your project an official name, select Customize under your Preview URL.
If you need to update a site that you created using drag and drop, update and rebuild your project locally. Then, drag the project’s updated output folder to the deploy dropzone at the bottom of the site’s Deploys page. This will start a new site deploy with the updated files. You can also use this functionality to manually update any site that is not connected to a Git repository.
FAQ for using the Drag and Drop publisher
- Which folder?
You can drag your project’s build or output folder. This folder usually contains your project’s HTML, CSS, JS, and related built files and may also be called dist, build, or public. Drag this folder into the Deploy zone.
- What if my project isn’t working?
- Make sure your project folder isn't too large. Deploys under 50MB work best, and individual files over 10MB may cause your deploy to get stuck. For larger projects, use the Netlify CLI.
- Check that you have a reliable network connection — any network hiccups can cause a deploy to stall.
- Use the latest version of a Chromium-based browser.
- Make sure your computer has sufficient free memory — roughly 4x your uncompressed project size is a good baseline.
- Ask an AI assistant to help troubleshoot. We recommend sharing Netlify context for agents with your AI tool or connecting the Netlify MCP server to help it understand how to build and deploy your project. You can also search errors using Ask Netlify or the Netlify CLI.
- Try running your project locally to confirm it works and to generate the build output folder.
- What if I update my project?
You can drag and drop your updated project folder into the Deploy zone to deploy your updated web project.
Start from zip files
Section titled “Start from zip files”You can programmatically publish your app/site by using the Netlify API. Learn more about deploying a zip file to a production site.
Start from local development
Section titled “Start from local development”Starting from local development, you can install the Netlify CLI and publish your project to the web with just a few commands.
Learn more about getting started with the Netlify CLI.
Start from an AI-powered site/app generator
Section titled “Start from an AI-powered site/app generator”If you already built your project with a site or app builder like Bolt, you can deploy and manage your project on Netlify by claiming your deployment or downloading your project files into a folder and then publishing them to the web with our drag and drop web publisher. For full guidance, see the Deploy from AI code generation tool quickstart.
Did you find this doc useful?
Your feedback helps us improve our docs.