For the complete Netlify documentation index, see llms.txt. Markdown versions of this page are available by appending .md to the URL. Set up prerendering to make your app’s content discoverable to AI agents, SEO crawlers, and preview services, such as for social media previews.
Overview
Section titled “Overview”Once set up, prerendering automatically serves pre-rendered HTML to crawlers, agents, and preview services, while regular site visitors continue to receive your standard JavaScript application.
Prerendering is designed for apps that use JavaScript to generate page content instead of serving most or all content in HTML, such as for single-page applications (SPAs) built with frameworks like React, Vue, or Angular.
Prerendering options
Section titled “Prerendering options”To help your project with prerendering you have the following recommended options:
Comparing options
Section titled “Comparing options”| Feature | Netlify Prerender extension | Prerender.io extension |
|---|---|---|
| Best for | Simple, self-serve setups | Business-critical, complex configurations |
| Setup complexity | Minimal configuration | Advanced configuration available |
| API key required | No third-party API key needed | Prerender.io API key required |
| Infrastructure | Netlify Edge Functions and Functions | External service with vendor support |
| Visibility | Full logs and metrics in Netlify | Prerender.io dashboard + Netlify logs |
| Support level | Netlify documentation and community | Vendor-level support |
| Enterprise features | Basic prerendering | Advanced configuration and reliability |
| Node.js requirement | Version 20 or later | No specific requirement |
| Recommended for | Most users, simple to moderate needs | Enterprise use cases, complex requirements |
Check prerendering needs
Section titled “Check prerendering needs”Not sure if your site/app needs prerendering?
Find out using our prerendering checker tool and your project URL.
Why does my project need prerendering?
Section titled “Why does my project need prerendering?”SPAs (single-page applications) rely on client-side JavaScript to render pages, leaving the HTML body mostly empty. While this works for browsers and major search engines like Google, many tools, such as AI agents, chat services, and crawlers, cannot run JavaScript. Even search engines that do run JavaScript may penalize slow-loading pages, lowering SEO scores.
Websites using Server-Side Rendering (SSR) or Static Site Generation (SSG) avoid these issues, though some use a hybrid approach.
Netlify Prerender extension
Section titled “Netlify Prerender extension”As a Team Owner, you can install the Prerender extension for your team. Then you or any developer on your team can enable the extension for a project they work on.
To set up the Netlify Prerender extension, follow these steps:
- If necessary, disable the legacy built-in Prerendering feature. To disable, go to Project configuration Build & deploy Post processing Prerendering.
- To install the Prerender extension, go to https://app.netlify.com/extensions/prerender.
- All your projects will now show the Prerender extension under Extensions in the left sidebar of your project navigation. To enable for a specific project, select the Prerender extension and Enable prerendering.
- To activate the extension, save your changes and re-deploy your project.
To learn more about advanced configuration options and how this extension works, check out the extension details page.
How it works
Section titled “How it works”Once enabled, the Netlify prerender extension adds two components to your site:
- Edge function - Runs only for relevant requests (made by a relevant user-agent for HTML content) and rewrites these requests to the prerender function.
- Serverless function - Uses a headless browser to load the requested page, and returns the fully-rendered HTML with proper caching headers.
Your human visitors continue to load your site normally, while crawlers and AI tools receive HTML with all content already rendered. There is no additional cost other than regular billing for the functions invoked, based on your plan. Since the functions are invoked in your account, you get full visibility with logs and metrics - just like for any other function you have deployed.
This extension uses sensible defaults, and very often requires no additional configuration.
After installing the extension to your team, you need to enable it for a specific project.
All other configuration changes beyond enabling/disabling do not require a re-deploy, as these are stored in a blob object.
To learn more about configuration options, check out the extension details page.
External services for prerendering
Section titled “External services for prerendering”You can use an external service such as the Prerender.io extension with your Netlify site/app for advanced prerendering needs if you have a Netlify Pro plan or Enterprise plan.
If you are using an external service that relied on the legacy in-app Netlify Prerendering feature (not installed as a Netlify extension), then you will need to update or migrate your prerendering service.
Set up the Prerender.io extension
Section titled “Set up the Prerender.io extension”To set up the Prerender.io extension, follow these steps:
- Go to https://app.netlify.com/extensions/prerenderio and select Install.
- For the Netlify project where you want to install the Prerender.io extension, from the left sidebar of your project overview, select Extensions, then choose Prerender.io and Enable Extension.
- From your Prerender.io dashboard, copy your API key. You must sign up with Prerender.io and choose a plan to get an API key. Learn more from the Prerender.io docs.
- On your Netlify project dashboard’s Prerender.io extension page, paste your API key under Prerender.io token and confirm with Save.
- Be sure to save your changes and re-deploy your project to activate the extension.
You have more custom configuration options available from your Prerender.io dashboard. Check out the Prerender.io docs for more information.
Migrate from the legacy Netlify prerendering feature
Section titled “Migrate from the legacy Netlify prerendering feature”If you set up the Prerender.io extension before January 6, 2026, then you will need to make some updates to your setup so that the extension doesn’t rely on the Netlify legacy prerendering feature, which is deprecated and will stop working on January 20, 2026 for users on the free plan.
Learn more about migrating your Prerender.io extension or the full deprecation schedule.
For more help migrating your Prerender.io extension, reach out to Netlify Support.
Legacy Netlify Prerendering
Section titled “Legacy Netlify Prerendering”This feature is deprecated. We recommend disabling it and using another prerendering option. Learn more about the deprecation schedule in our changelog post or how to migrate.
To disable this feature, go to Project configuration Build & deploy Post processing Prerendering.
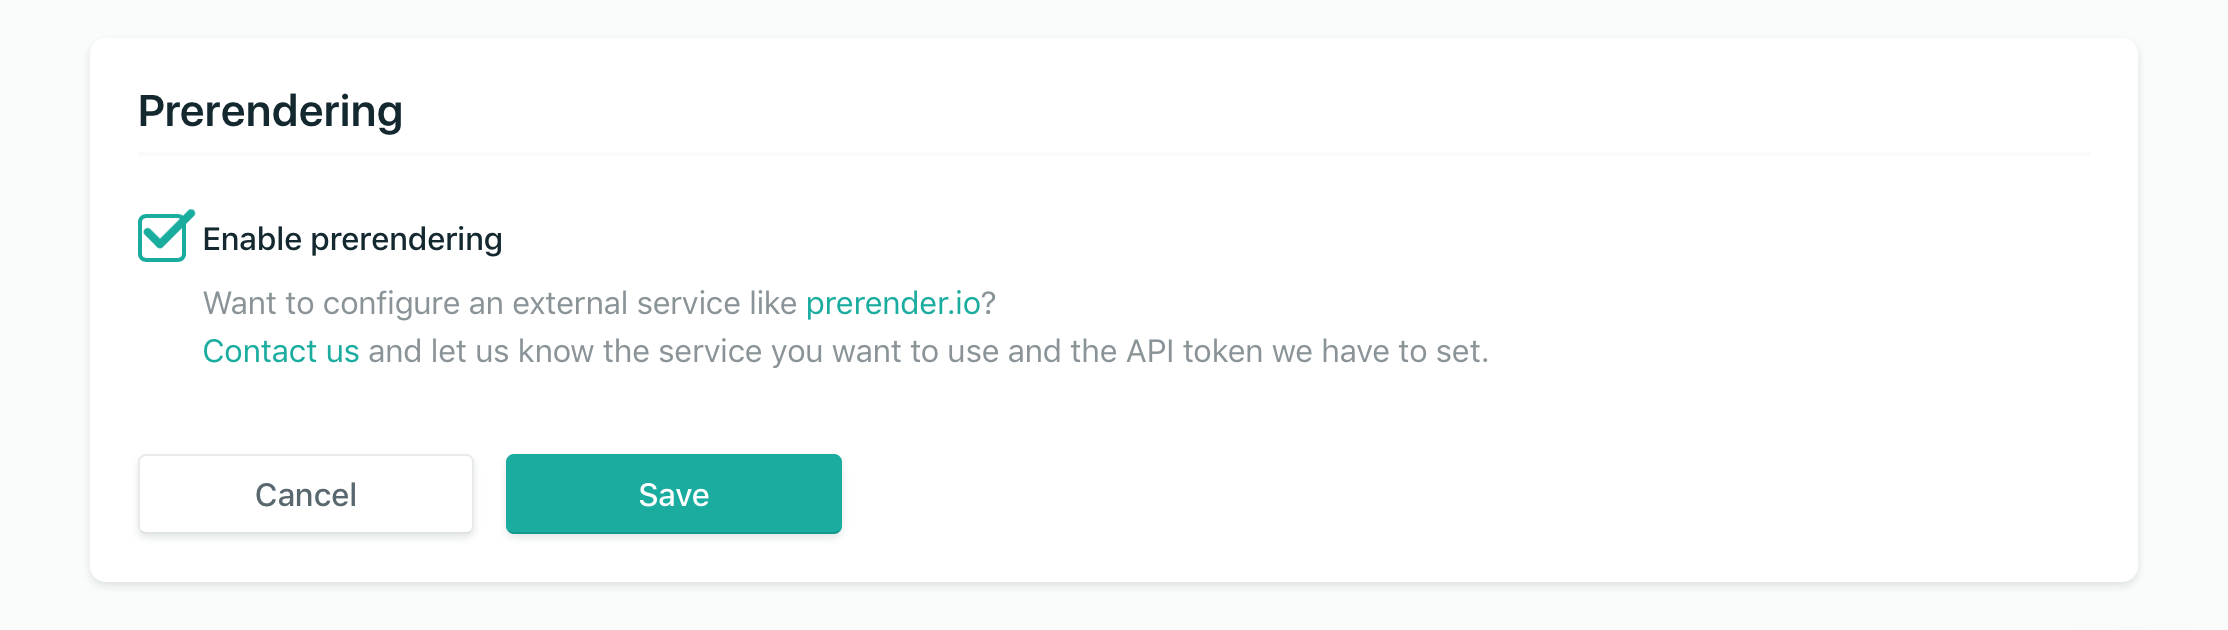
If enabled, our built-in prerendering service will cache prerendered pages for between 24 and 48 hours; this is not adjustable.
How it works
Section titled “How it works”This is how our Legacy Netlify Prerendering service works:
- When a request hits one of our CDN servers, our CDN software determines if it’s a prerendering request from a crawler.
- If prerendering is enabled for your site, our cache servers will contact the prerendering backend straight from our CDN nodes instead of serving the normal cached request.
Did you find this doc useful?
Your feedback helps us improve our docs.