Manage data /Connect /

Get started with Netlify Connect

This feature is available on Connect Enterprise plans.

To get started with Netlify Connect, create and configure your first data layer.

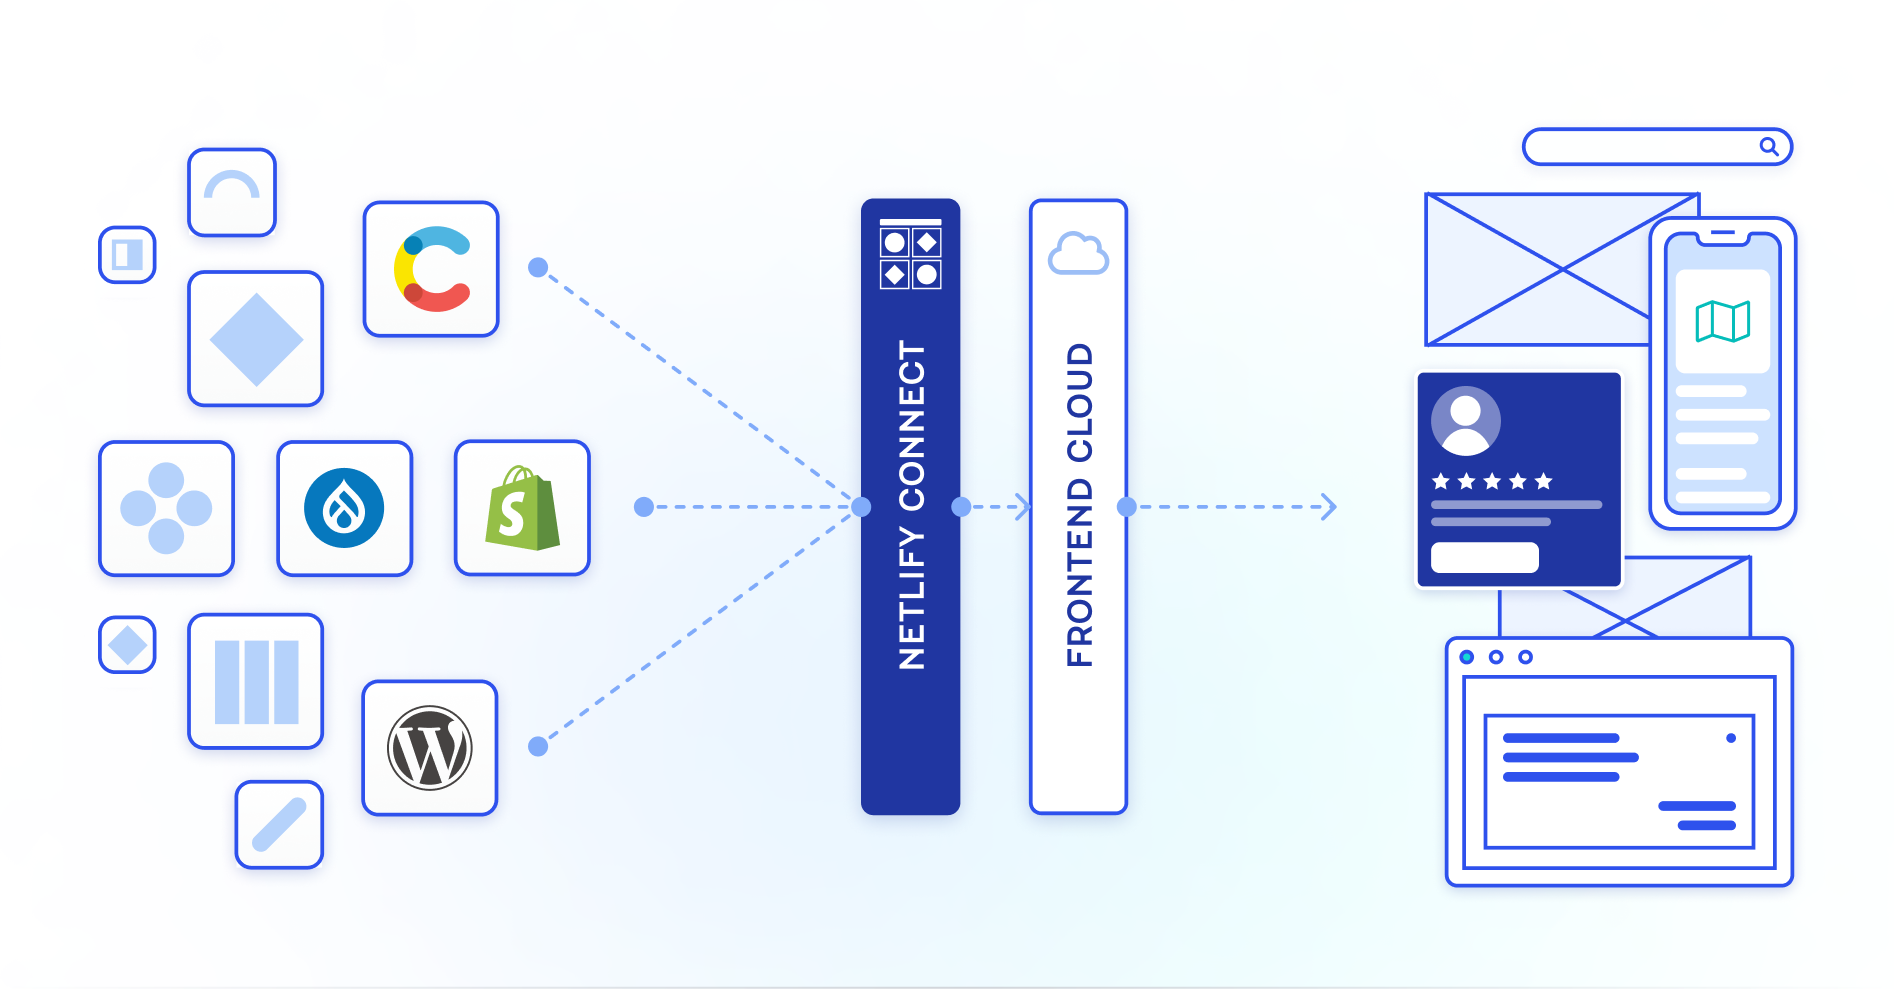
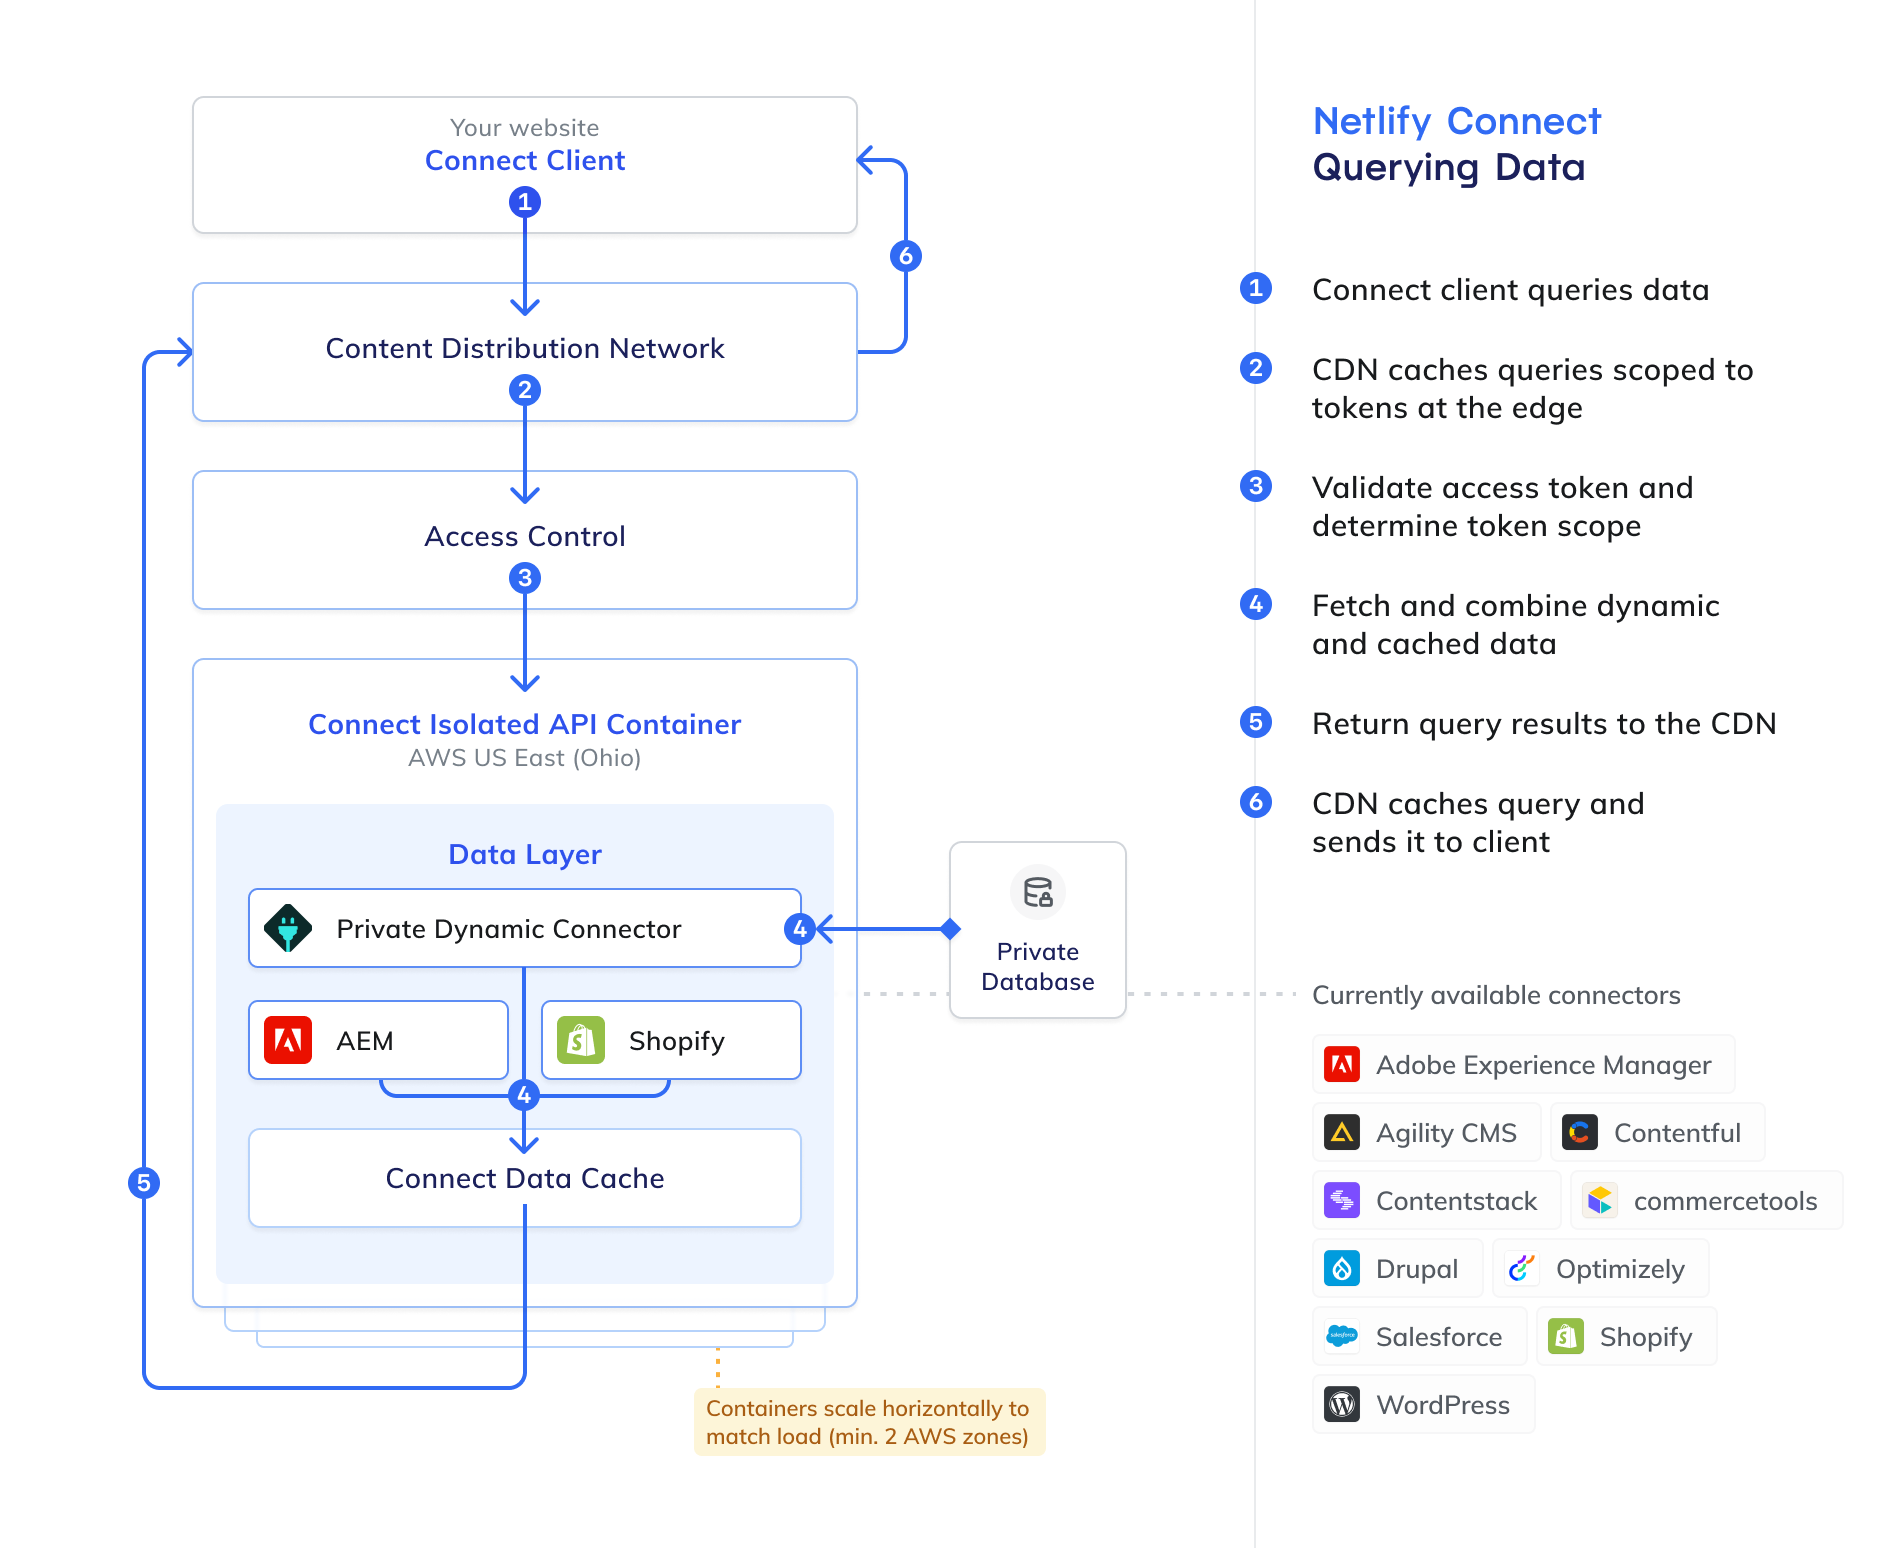
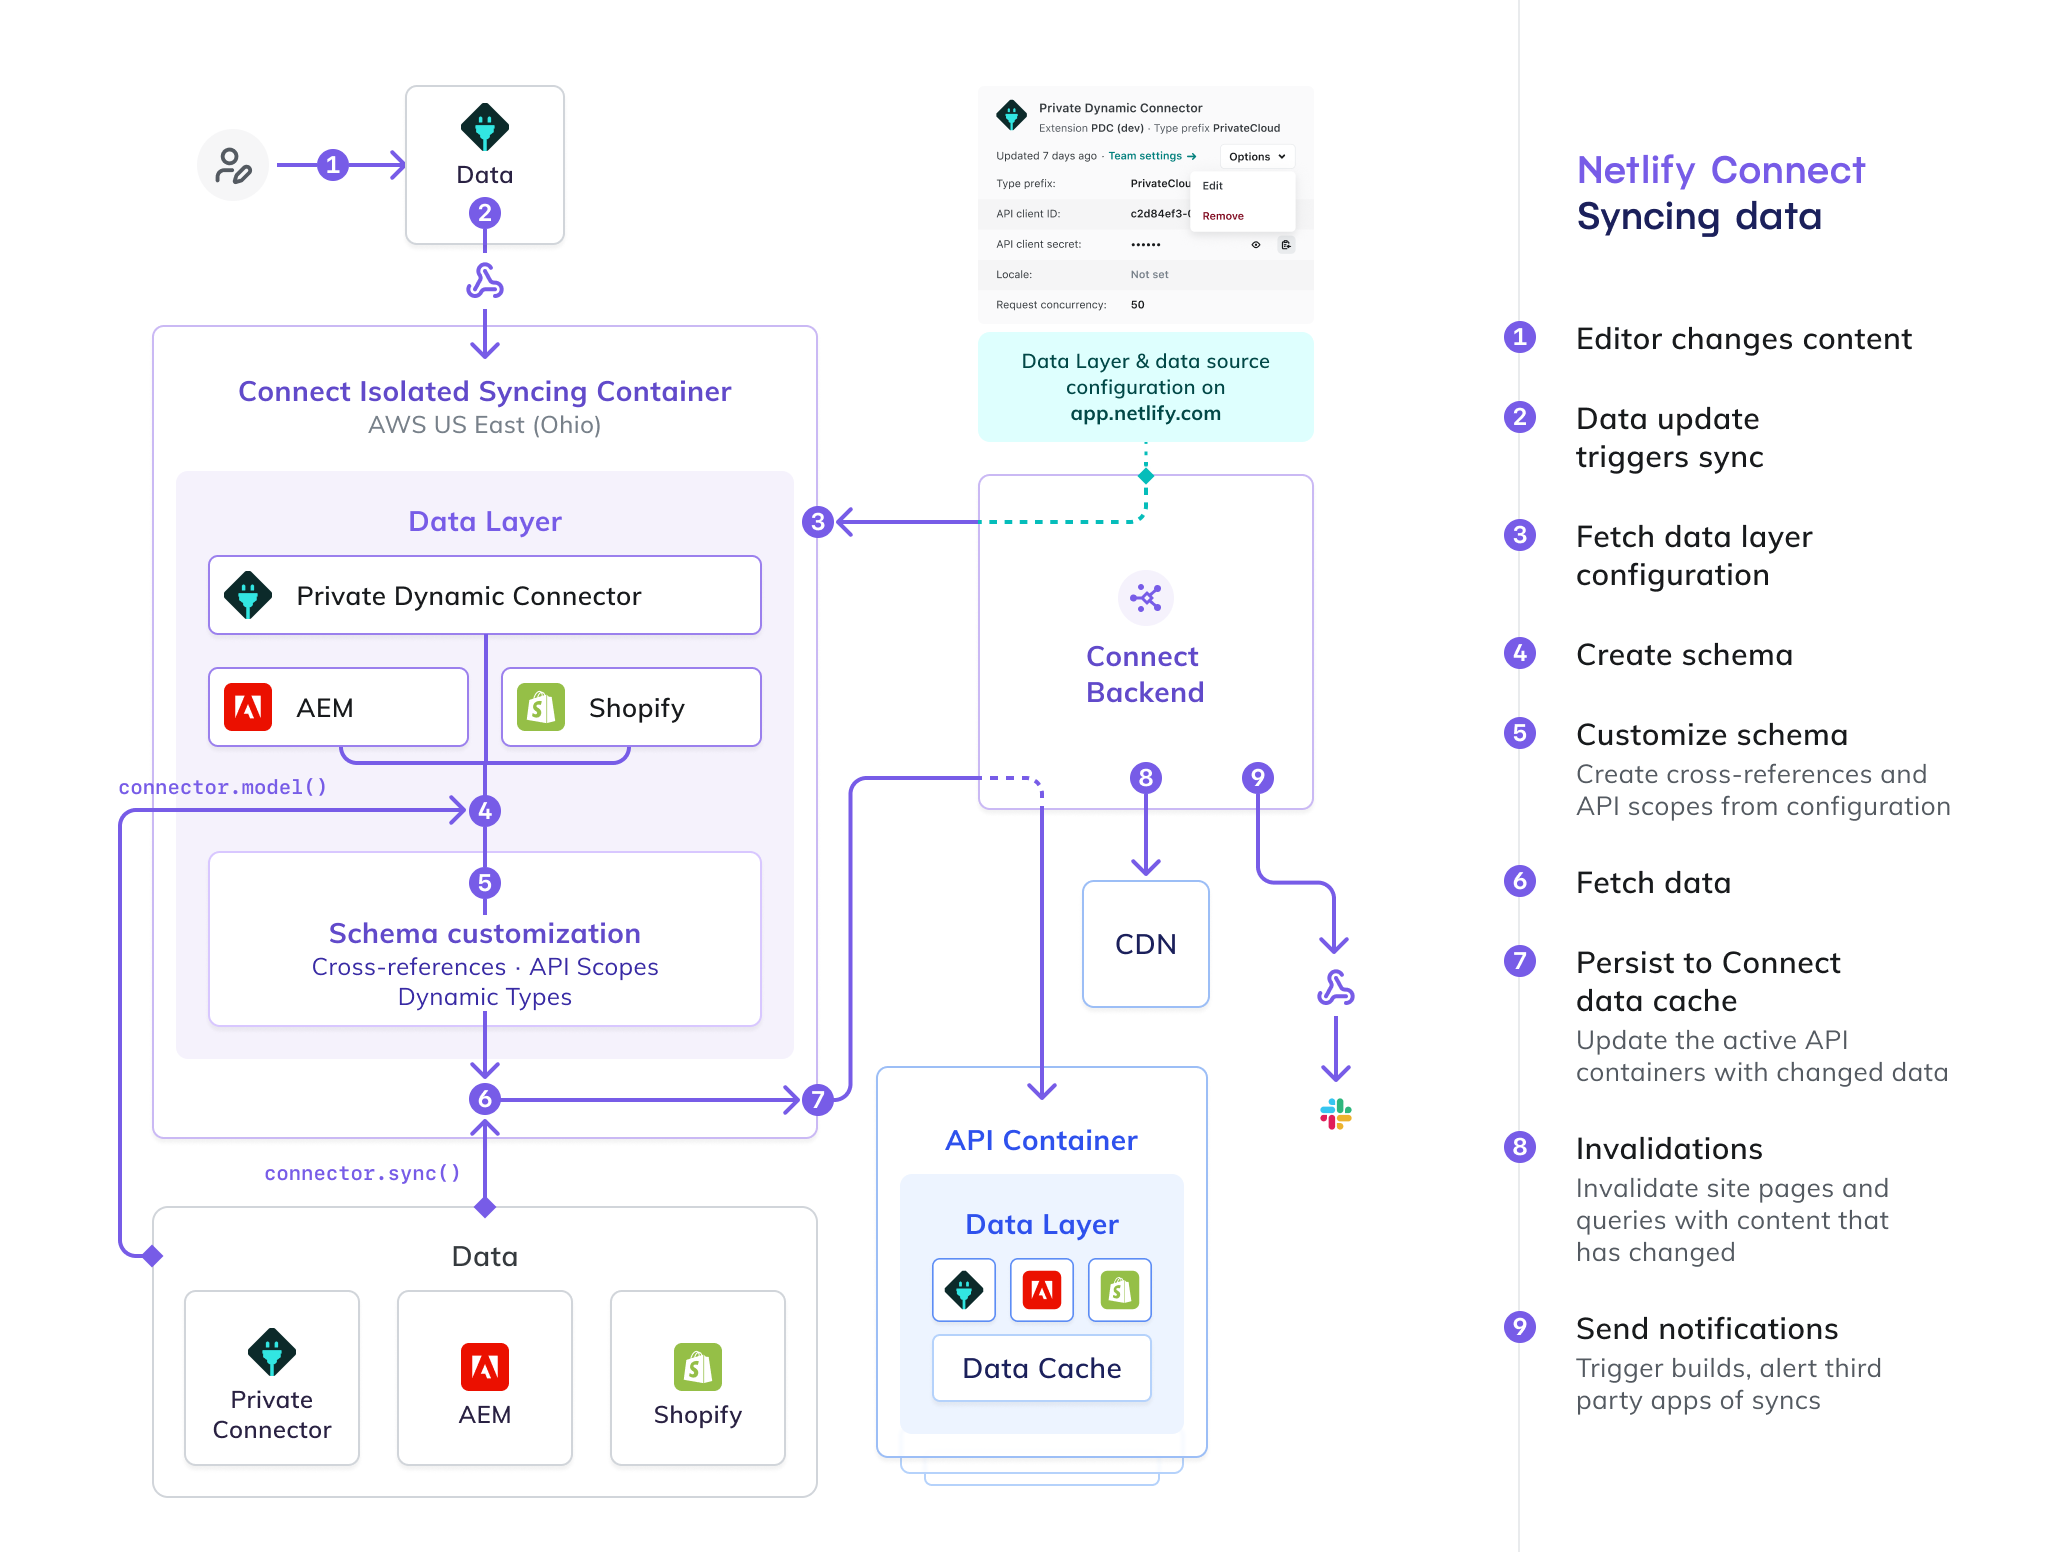
A data layer allows you to sync and combine data from multiple sources into a single real-time graph database that you can query against with a GraphQL API. When you set up a data layer, you add data sources to sync data from. You also connect sites and add webhooks to notify whenever data updates.

Diagram illustrating the parts of a data layer, and how data and notifications flow through the data layer to your sites and webhooks.

This document outlines some key terms, the four steps to create and configure a data layer, and what to do next.

# Definitions

Here are some key terms that are useful to understand as you get started with Connect:

  • Data layer: contains connections to one or more data sources, a real-time graph database containing all data synced from those sources, and a GraphQL API to access that data. It also supports connecting to sites to trigger builds when your data changes, and setting up notifications to notify external services.
  • Data revisions: every successful sync to a data layer generates a new data revision that represents the GraphQL schema and data at that point in time. By default, a data layer’s GraphQL API uses the latest data revision, but you can also pin a different revision instead. You can query a specific data revision using the revision’s GraphQL sandbox or its unique API URL.
  • Data source: an external system or service that contains your data, such as a content management system (CMS). Connect has built-in support for a number of data source types and you can add support for your own custom data source with the Netlify SDK.
  • Data integration: an extension built using the Netlify SDK that allows you to sync data from a custom data source to Connect. Data integrations use Connectors.
  • Type prefix: required when you want to add multiple data sources of the same type to a data layer, such as two Contentful CMS instances. When Netlify generates the GraphQL schema for your data layer, it will add the prefix to all GraphQL types from that data source.
  • Cross-reference: a link that you can create between fields across data sources. Netlify automatically resolves cross-references when you query, so you can retrieve combined data through one query instead of a series of queries.
  • GraphQL API: allows web clients to query and receive data from a data layer on Connect. A data layer’s GraphQL API defaults to use the latest data revision unless you pin a different data revision. Each data revision has a specific GraphQL schema based on your data sources, and you use this schema to construct queries and API requests.
  • GraphQL sandbox: an isolated environment in the Netlify UI that you can use to build and test queries against a data layer’s GraphQL API. Netlify creates a unique sandbox for each data layer that you create and for each data revision that results from a successful sync.
  • Connected sites: sites in your Netlify team that will automatically build and deploy when data changes. We use build hooks to trigger these builds.
  • Notifications: outgoing webhooks that will notify other services when there is a new sync for your data layer.
  • Webhooks: used to trigger a data layer sync from an external system. For example, your data source may send a POST request to a webhook URL to start a new sync.
  • Sync events: activities that occur in Connect when you add a data source and when data changes. These events include Sync from all data sources and Sync from {data source type}.

# Prerequisite: Enable Connect

To enable Connect, contact our sales team to request a demo.

Once enabled, the

page will be unlocked in the Netlify UI for your team.

# Create and configure a data layer

Team Owners and Developers can set up data layers for your team. This includes creating the data layer, adding data sources, connecting Netlify sites, and adding notifications — activities that Netlify automatically logs to the team audit log.

You can create more than one data layer to fit your needs. For example:

  • One data layer for production data and sites to use, and another for staging data and sites to use
  • Different data layers for different departments or products across your organization

Once you create a data layer, you can add one or more data sources to sync data from. You can select from the data sources Netlify officially supports as well as custom data sources supported through integrations built with the Netlify SDK.

The Netlify UI includes a guided flow to help you create and configure a new data layer. To get started, add a data layer.

Need to add a new data source to an existing data layer?

If you want to add a new data source, site, notification, or webhook to an existing data layer, you can do this from the data layer settings page. To learn more, review our manage data layers doc.

# 1. Add a data layer

To start the guided flow to add and configure a new data layer:

  1. Navigate to the

    page for your team in the Netlify UI.

  2. Select Add new data layer.

  3. Enter a Name for this data layer.

  4. (Optional) Enter a Description.

  5. Select Add data layer.

At this point, Netlify will create an empty data layer for your team with the provided name and description. The next step is to add data sources.

# 2. Add data sources

The second step in the data layer configuration flow is to add one or more data sources to your data layer. We recommend that you add at least one data source now, but you will have the option to add more after you complete this flow.

Each supported data source type has different credentials, options, and set up instructions.

Select the type of data source:

# commercetools

commercetools is a dynamic data source

The data integration for commercetools uses a dynamic connector, which means that Netlify proxies requests directly to the commercetools API every time you make a request for data. As a result, the data is never cached in Connect and you cannot use cross-references and API scopes with this data source.

To use commercetools, complete the following steps:

  1. Set up an API client in Account Manager.
  2. Add your commercetools instance and API information to your data layer.
# Set up an API client in your commercetools project

To enable syncing data from commercetools, you need to create an API Client with the correct scopes in the commercetools Merchant Center:

  1. In the Merchant Center for your commercetools project, navigate to .
  2. Select Create New API Client.
  3. Enter a name for the client.
  4. Under Scopes, select the Admin client template.
  5. Select Create API client to finish.

Copy and save the client_id, secret, and scope values in a safe place because you will need them to set up the data source connection.

# Add your commercetools instance

Once you have set up an API client, take the following steps in the Netlify UI to add it to your data layer:

  1. Select Add a data source.

  2. Select commercetools as the Data source type.

    If you haven’t already installed the extension for this data source, follow the install extension prompt to open the commercetools extension details page in a new tab. As a Team Owner, select Install to install and make the extension available to all data layers on your team.

    After you install the extension, close the tab and return to the Add a data source flow in Connect to continue with the next steps.

  3. Enter a Name for this data source.

  4. Enter a Type prefix for this data source. The prefix must start with an uppercase letter, and can only consist of alphanumeric characters and underscores.

    When you query data, the data types synced from this data source should be nested under this prefix in the GraphQL schema. For example, if your prefix is StoreCA, your query for orders would be formatted as:

    query {
        StoreCA {
            orders {
                ...
            }
        }
    }
    
  5. Enter the Secret for the API client you created in commercetools Merchant Center.

  6. Enter the Client ID for the API client. The Merchant Center displays this value as the client_id.

  7. Enter the Region for your project. For example, us-east-2.aws.

  8. Enter the Scope for the API client.

  9. Enter the Project key for your project.

  10. Select Save to add this data source.

When you add a new data source, Netlify automatically connects to it and starts syncing data to your data layer.

In the meantime, you can add another source or select Continue to move to the next step in the data layer configuration flow.

If you want to add cross-references between your data sources, you can configure them after you complete the data layer configuration flow.

# 3. Connect sites

The third step in the data layer configuration flow is to set up connections to sites on Netlify that should automatically build and deploy when data changes in this data layer.

We recommend that you connect any sites that use static site generation (SSG) to ensure they always have access to the latest data. All other site types should skip this step. Learn more about when to connect your site.

For Netlify to automatically build and deploy your site when data changes, your site must be linked to a Git repository to enable continuous deployment, and it must have active builds.

To connect a site to this data layer:

  1. Select Search by site name or domain and start entering the name or domain of the site you want to connect.
  2. When the site appears in the results list, select the site. The connected site will appear in the Connected sites list.

Once you connect a site, the build hooks for the site will include a Netlify Connect - Data layer build hook with the data layer ID as the value. This provides a convenient way on the site level to check whether a site is connected to a data layer.

Repeat the above steps to connect as many sites as needed. Once you’re done, select Continue to move to the last step.

# 4. Add notifications

The final step in the flow allows you to add notifications to notify external services whenever data changes in your data layer. For example, you may want to add a notification to notify a Slack channel when your data layer updates.

To add a notification:

  1. Select Add a notification.
  2. Enter a Name and URL for the notification.
  3. Select Create notification.

Repeat these steps to add as many notifications as needed.

Once you’re done, select Finish data layer configuration to complete the set up process.

# What next?

Once you finish the configuration flow for a new data layer, you can review sync events while Netlify completes the initial data sync from your data sources.

After the sync events are successful, you need to generate an API token for the GraphQL API. Once you do that, you can access the data with the GraphQL sandbox or through the GraphQL API in your app.

If the sync events are not successful, review our troubleshooting tips for support.

If you need to, you can now pin a data revision so that your data layer’s API always uses that specific data revision.

You can also review and modify the data layer to add or update configured data sources, sites, and webhooks. After you configure more than one data source on the data layer, you can add cross-references to create links between fields across data sources and retrieve the combined data through a single query.

You may also want to restrict access to certain data using API scopes and generate new API tokens to access that data.