Git branching
The visual editor interacts with branches in your remote Git repository when in cloud setup mode (not local development). In this mode, the visual editor works with two Git branches — working branch and a content publishing branch.
# Working branch
The visual editor uses the working branch to run your site in the container. The working branch is the branch that content editors work with.
This branch name defaults to preview, which gets automatically created when visual editing is enabled for a site.
Learn more about changing the working branch.
# External updates
Visual Editor uses webhooks to listen for updates to the working branch in its remote repository, then immediately updates the local branch.
# Content publishing branch (Git CMS only)
The visual editor uses the content publishing branch to merge or send a pull request with content changes.
The content publishing branch defaults to the default branch of the repository (e.g. main or master) when enabling visual editing for the first time.
For sites with content managed from a headless CMS, configuring a content publishing branch is not needed because content changes are pushed directly to the content source(s).
# Branch synchronization (Git CMS only)
The content publishing branch is only used during the publishing process.
Keeping the working branch in sync with changes committed to the content publishing branch must be handled separately. This should not be needed if content changes are made from the visual editor exclusively.
# Configure branches
You can override these defaults from your visual editor settings or when you enable visual editing for the first time.

# Change working branch
As a Developer or Owner, you can adjust the working branch of your site for use with the visual editor.
- Go to your visual editor settings:
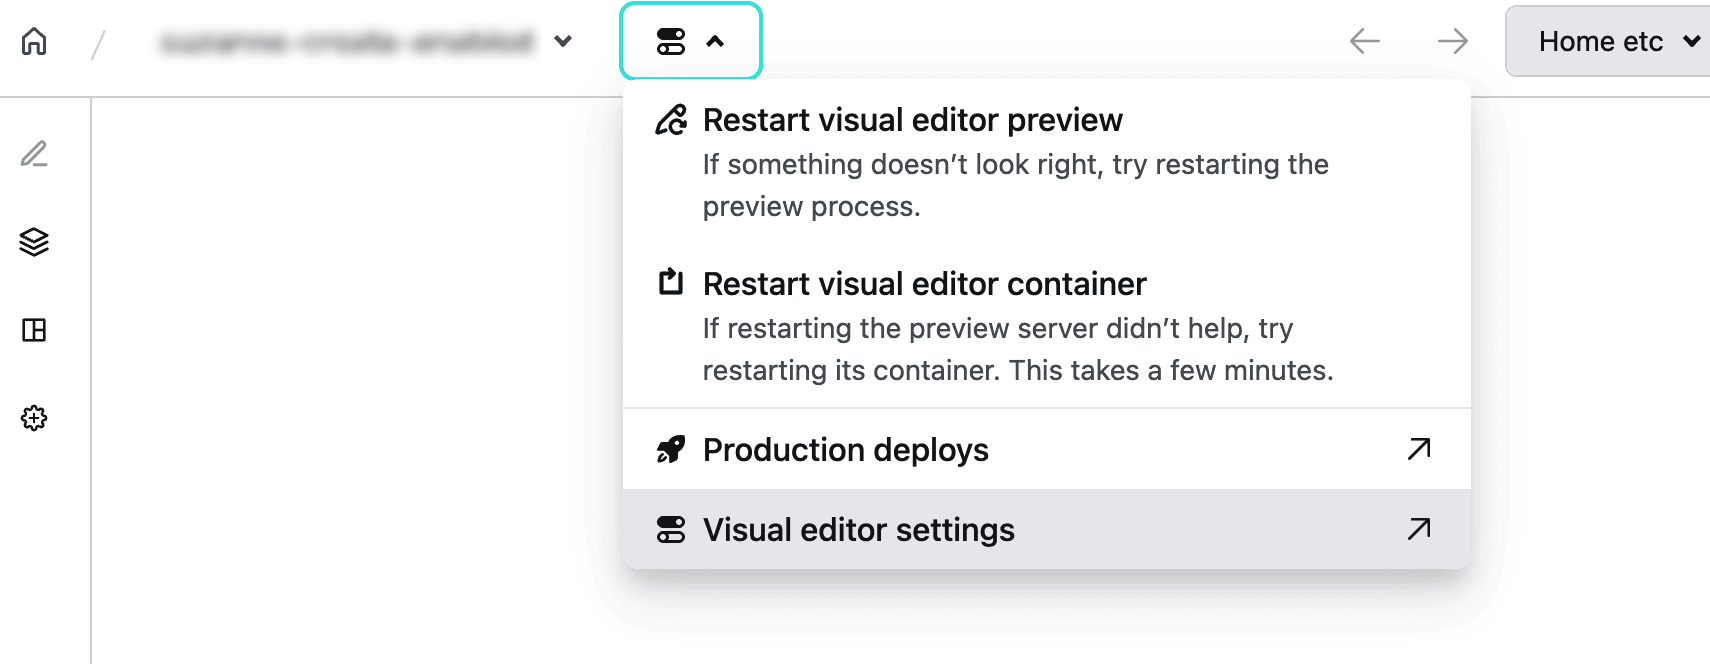
- From your site workspace in the visual editor, select the options icon next to your site name and select Visual editor settings from the drop-down menu.
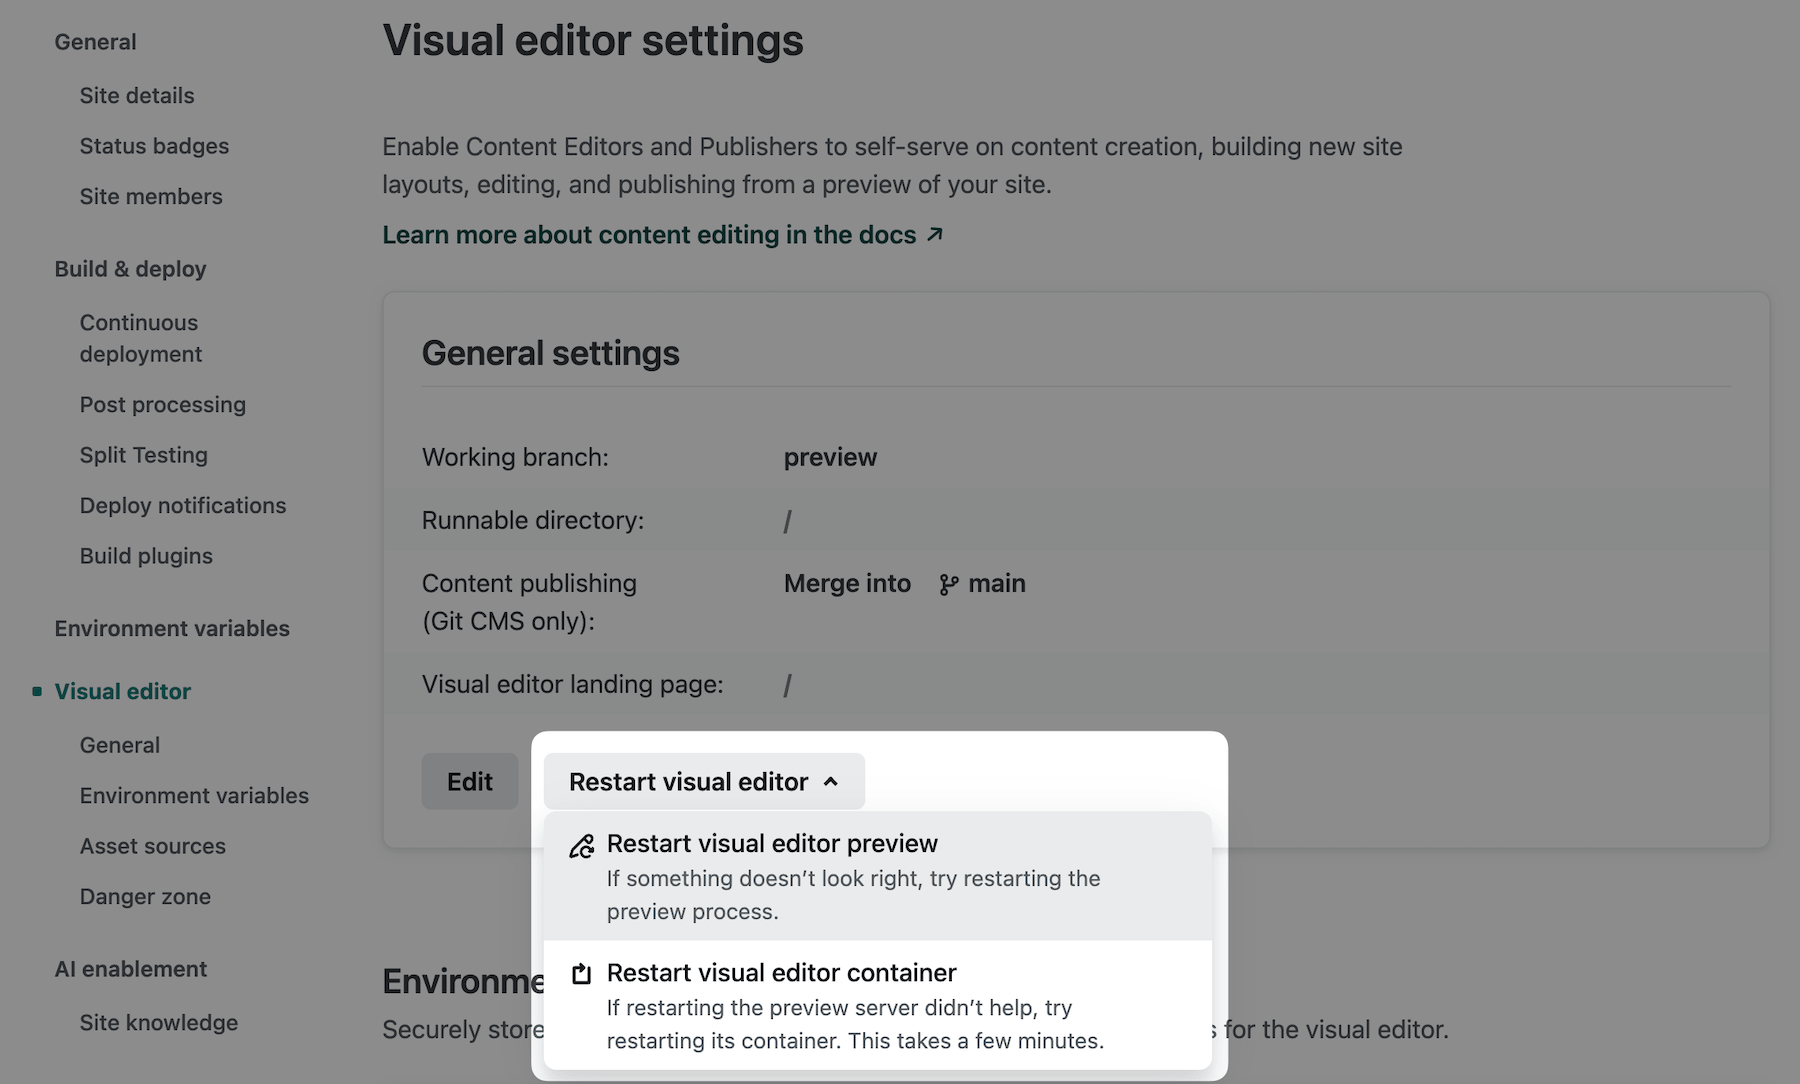
- From your Site overview where you manage site deploys, go to . Then select Edit.
- From your site workspace in the visual editor, select the options icon next to your site name and select Visual editor settings from the drop-down menu.
- Choose an existing branch to use as the working branch. Note that you will not find the target branch as an option. You must work on a separate branch.
Before you start editing and publishing, we recommend you confirm you’re using the correct branches.
Did you find this doc useful?
Your feedback helps us improve our docs.