Configure Organization SAML SSO
Set up SAML single sign-on (SSO) with an identity provider (IdP) for all teams in your organization.
Org SSO versus Team SSO
Netlify organizations are available for certain Enterprise plans and allow you to:
- set up Org SSO with more identity providers and a guided setup process (when compared to Team SSO)
- set up SCIM Directory Sync
- manage multiple teams with organization admin settings
To set up an organization, reach out to your account representative.
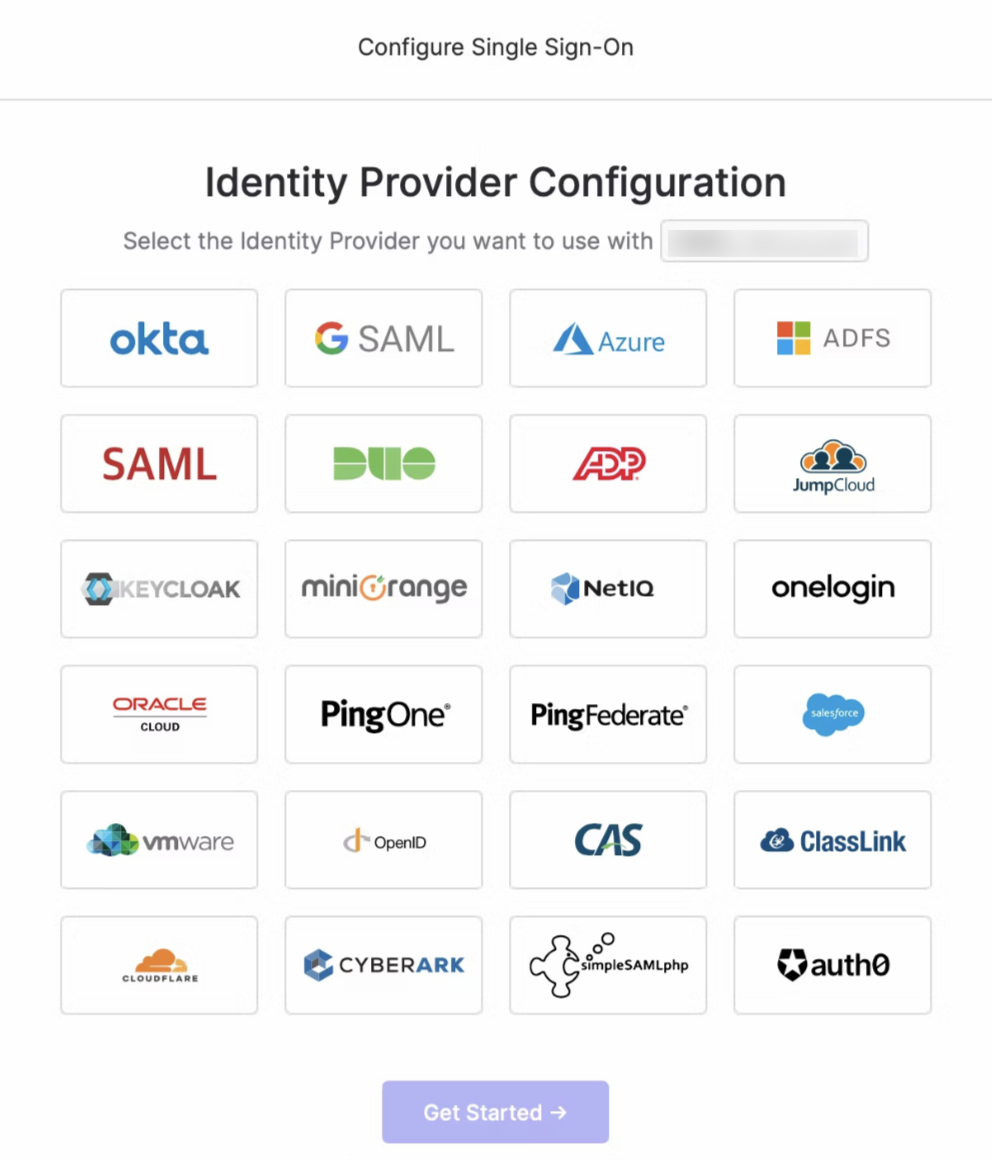
Organization SSO offers a secure and streamlined way to manage access to your organization and supports many popular identity providers, including:
- ADP
- Auth0
- Azure AD SAML
- Duo
- LastPass
- Okta
- OpenID
Users who log in with Organization SSO must have an email address that matches their user ID in your identity provider. For example, a Netlify user with the email address jane@company.com must also have this exact email address in your identity provider. Organization SSO does not support multiple email domains for your users.
SSO login support for Reviewers
The ability for Reviewers to log in to the Netlify app and collaborate on deploys using SAML SSO is currently in beta and is available on Enterprise plans.
# Best practices for setting up SSO
For better security, we recommend enforcing Organization SSO so that Owners, Developers, and Billing Admins must log in through your identity provider to access the Netlify app/dashboard.
Using team login for Site Protection?
Note that if a Team Owner has set up team login for a site deploy, then all site visitors will be required to log in through your identity provider to access the relevant site deploys.
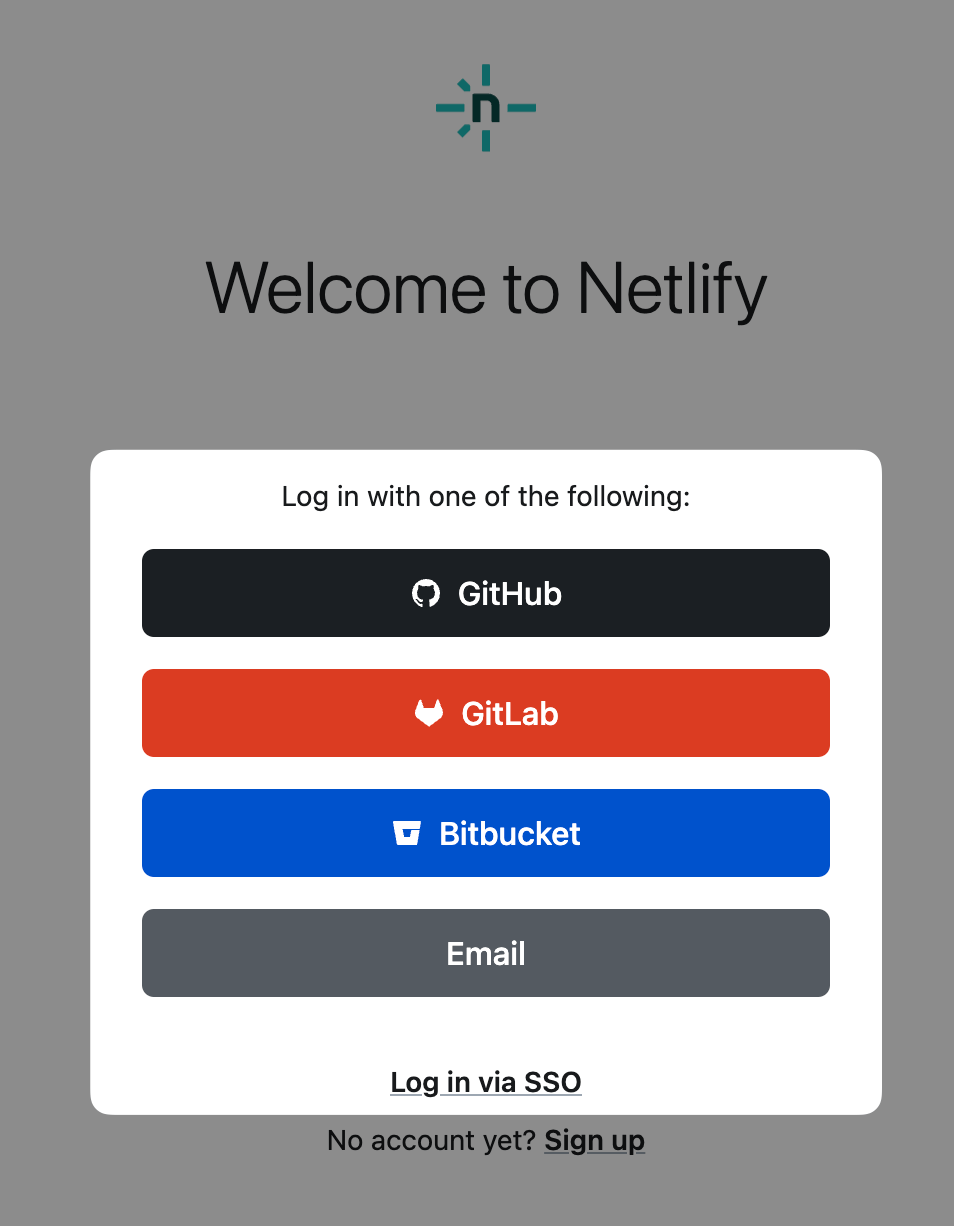
If an Organization Owner does not enable strict SSO to enforce Organization SSO, then users can still log in to Netlify in different ways. For example, if Organization SSO is not enforced, then all Owners, Developers, and Billing Admins can log in to the Netlify app using any of the Netlify login options, including:
- GitHub
- GitLab
- Bitbucket
- a standard email
- SAML SSO through an identity provider
What about Git Contributors?
Git Contributors do not have access to your Netlify dashboard. You can only log in using Organization SSO if you are a Developer, Team Owner, Reviewer, or Billing Admin.
# Understanding the user login experience with SSO
Are you a team member who needs to log in with Organization SSO?
If you are trying to log in as a team member, check out these docs just for you. Note that you can only log in using Organization SSO if you are a Developer, Team Owner, Reviewer, or Billing Admin.
If you don’t enforce Organization SSO, then users can log in with SSO or use their username and password to access a team in the organization. We recommend enforcing Organization SSO for the most secure experience.
To log in to Netlify with Organization SSO:
Navigate to your SSO login page with https://app.netlify.com/sso or by choosing Log in via SSO from the Netlify login page. Note that if you are newly invited to a team or organization, then you must accept the invite and verify your email address before you can log in to Netlify with SSO for the first time.

Enter a Netlify team ID for a team you have access to in the organization. This team ID may be a slug, such as
test-team-2.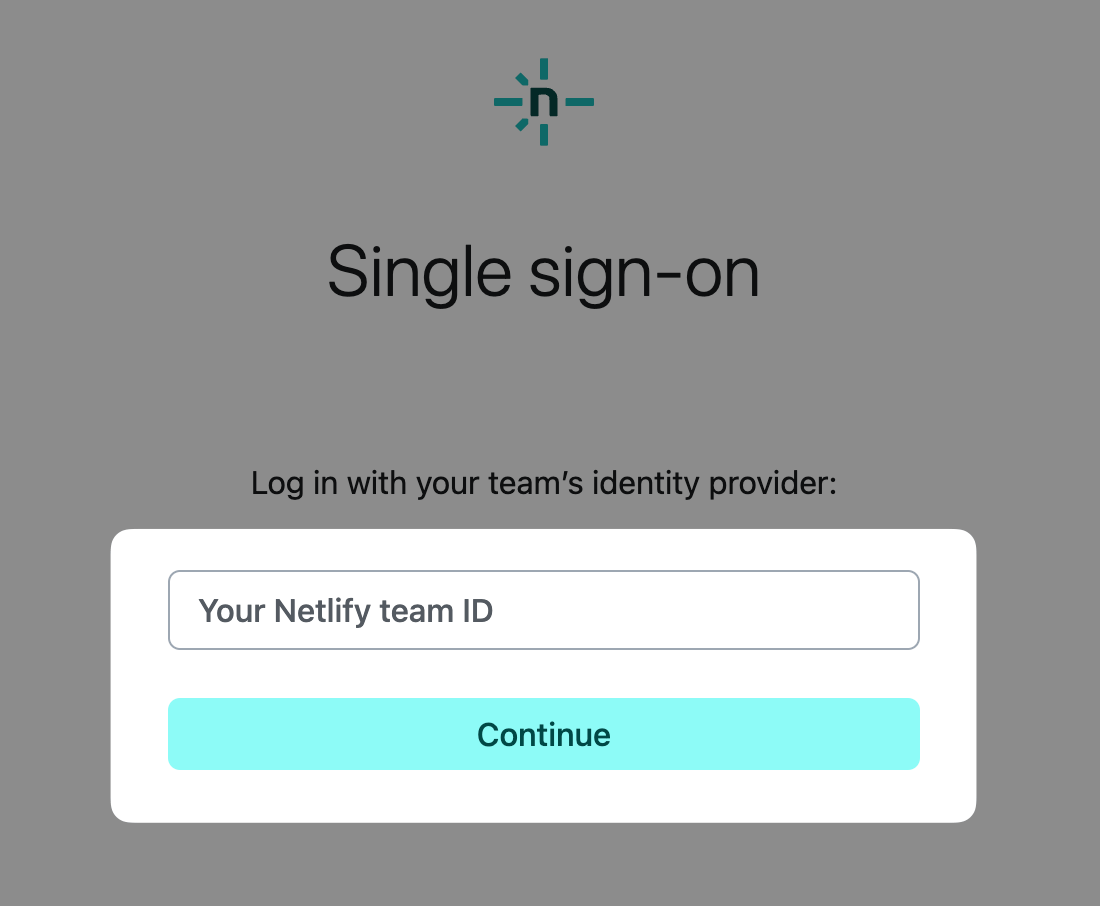
Netlify will redirect you to your identity provider’s login page. Follow the prompts there to complete your authentication.
# Configure Organization SSO
As an Organization Owner, to set up a new Organization SSO connection with a supported identity provider:
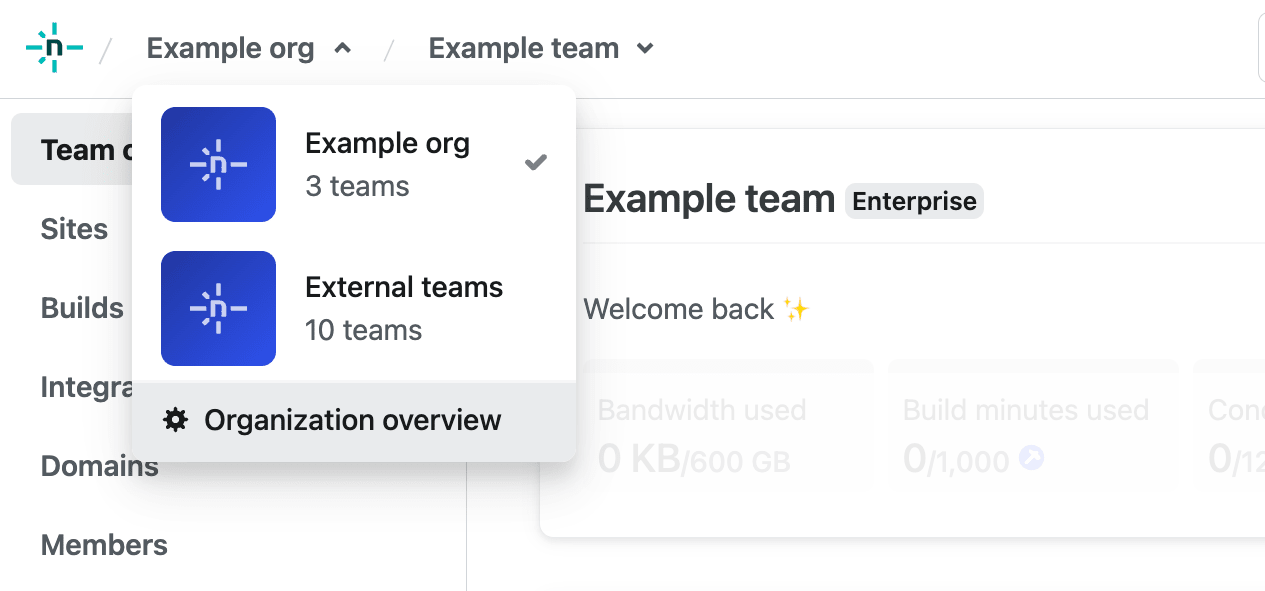
Navigate to your Organization overview page. In the navigation, select the organization name and then select Organization overview.
Go to
, and select Edit configuration.Follow the guided flow to set up an Organization SSO connection with your preferred identity provider. We recommend testing your SSO connection after you set it up.
Once successfully configured, your team has the option to log in to Netlify and access your organization’s resources using Organization SSO. To require users to sign on to Netlify through your identity provider, you’ll need to enforce Organization SSO.
# Enforce Organization SSO
As an Organization Owner, after you successfully set up SSO for your organization, you can enforce SSO login for all teams in your organization.
As soon as you successfully set up Organization SSO, any existing Team SSO settings are disabled automatically. Organization SSO overrides Team SSO and Team Owners can no longer manage SSO settings for their teams once Organization SSO is set up.
Once you set up Organization SSO and log in with SSO as an Organization Owner, you can enforce SSO login.
Once enforced, all Team Owners, Developers, and Billing Admins must use your Organization SSO configuration to access project configuration and team settings. Enforcing Organization or Team SSO does not apply to the Git Contributor Netlify role, since they cannot access your Netlify dashboard with team settings or project configuration.
# Prepare to enforce Organization SSO
As an Organization Owner, you must log in using your Organization SSO connection before you can require this authentication for all teams in your organization.
To ensure consistent site access, ensure that everyone who needs access to your site or team settings already has an account with your identity provider. If inviting new Netlify users, learn more.
New personal access tokens needed
Once you enforce Organization SSO, any existing personal access tokens (PAT) will no longer work. You will need to generate new access tokens.
# Enforce Organization SSO by editing your SSO configuration’s allowed login types
Once you log in using SSO at https://app.netlify.com/sso, follow these steps to enforce Organization SSO for all of your teams:
Navigate to your organization overview page. In the navigation, select the organization name and then select Organization overview.
On your organization settings page, go to Organization SSO, and select Edit login types.
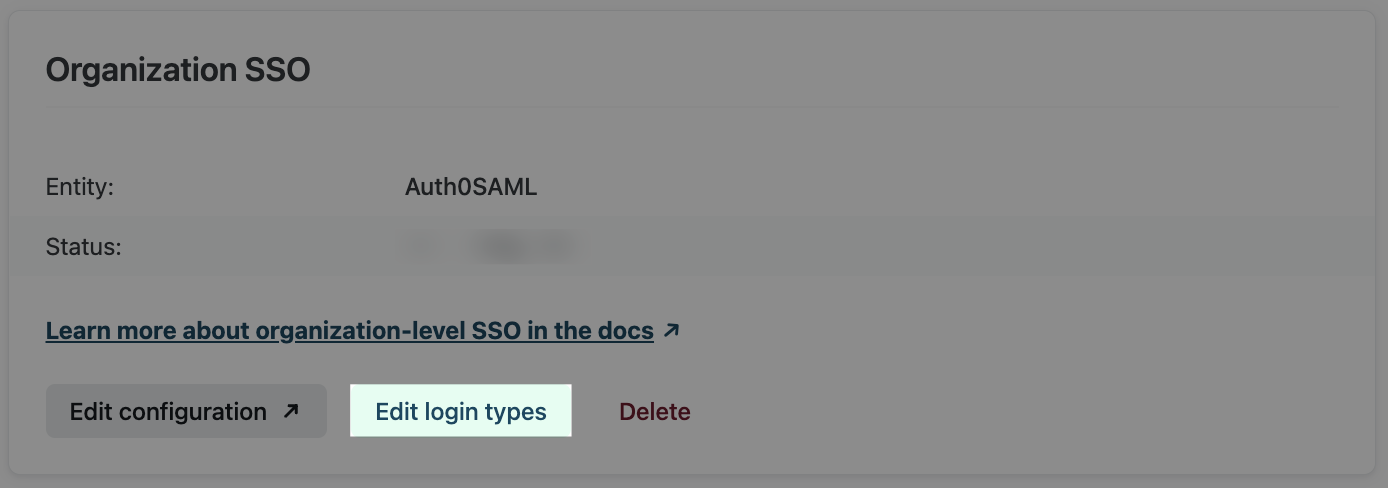
Select Only SSO allowed (strict), then Save.
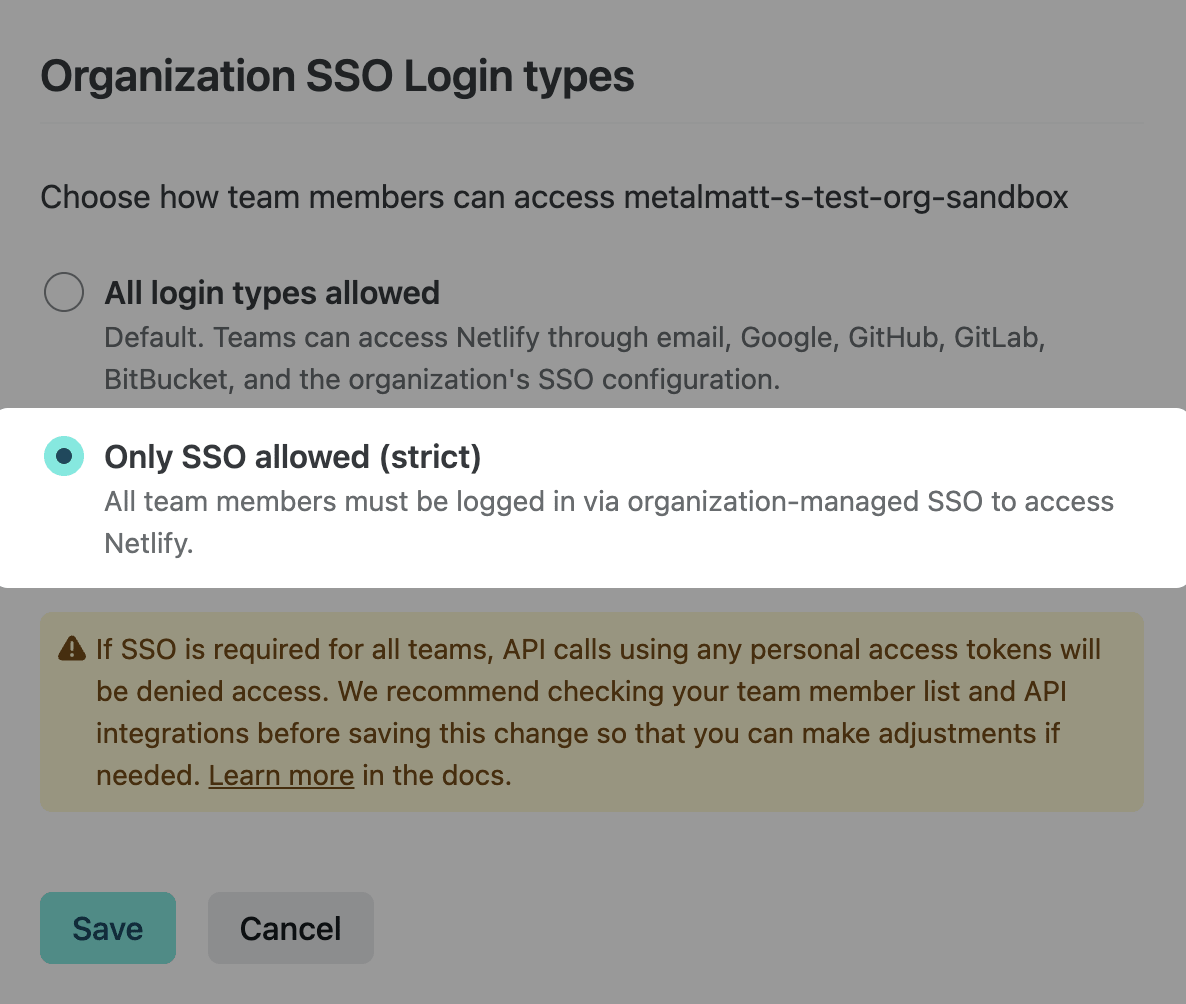
Can’t select the strict SSO option?
If you cannot select the strict SSO option, confirm that your Organization SSO connection is successfully configured and that you have logged in to Netlify through your identity provider.
Now, anyone who wants to access your site or team settings must authenticate through your organization’s identity provider.
As an Organization Owner, you can reverse enforced Organization SSO at any time by selecting All login types allowed and confirming with Save.
# Invite new users through Organization SSO
As an Organization Owner, you can invite new Netlify users to your organization and give them customized access to the Netlify app.
To invite a new user to access the Netlify app with Organization SSO enabled:
- If you haven’t already, invite the user to your identity provider using the same email address that you will use to invite them to Netlify.
Invite new user to identity provider first
If you do not invite the new user to your identity provider before inviting them to Netlify, they will not be able to log in with Organization SSO. You must invite them to the identity provider first.
Navigate to your Organization overview page. In the navigation, select the organization name and then select Organization overview.
On your Organization overview page, under Teams, select the team you want to add the Netlify team member to.
Go to your team’s
page, and select Add members.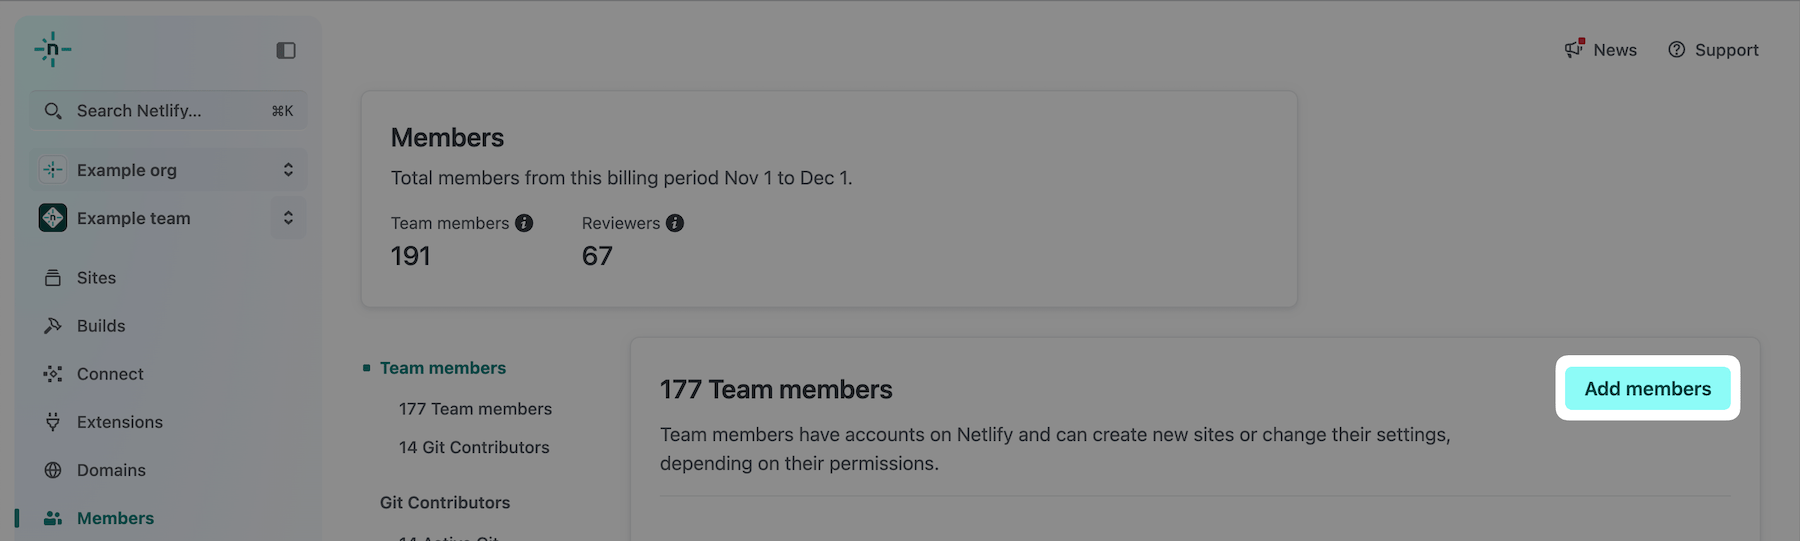
Enter the email addresses for the people you want to add and select Continue. Note that while you can add more than one person at a time, you will only be able to give them the same role in the next step.
Choose one role for the new Netlify team members. You can choose from Team Owner, Developer, or Billing Admin. If you chose Developer, choose which sites they can access. Then, select Send invites.
New Netlify users will receive a confirmation email. After confirming their email address, they can log in with Organization SSO.
# Manage your Organization SSO configuration
Once successfully configured, you can test your SSO connection, change your metadata configuration, or reset your SSO connection.
To change your Organization SSO configuration:
Navigate to your Organization overview page. In the navigation, select the organization name and then select Organization overview.
On your Organization settings page, go to Organization SSO, and select Edit configuration.
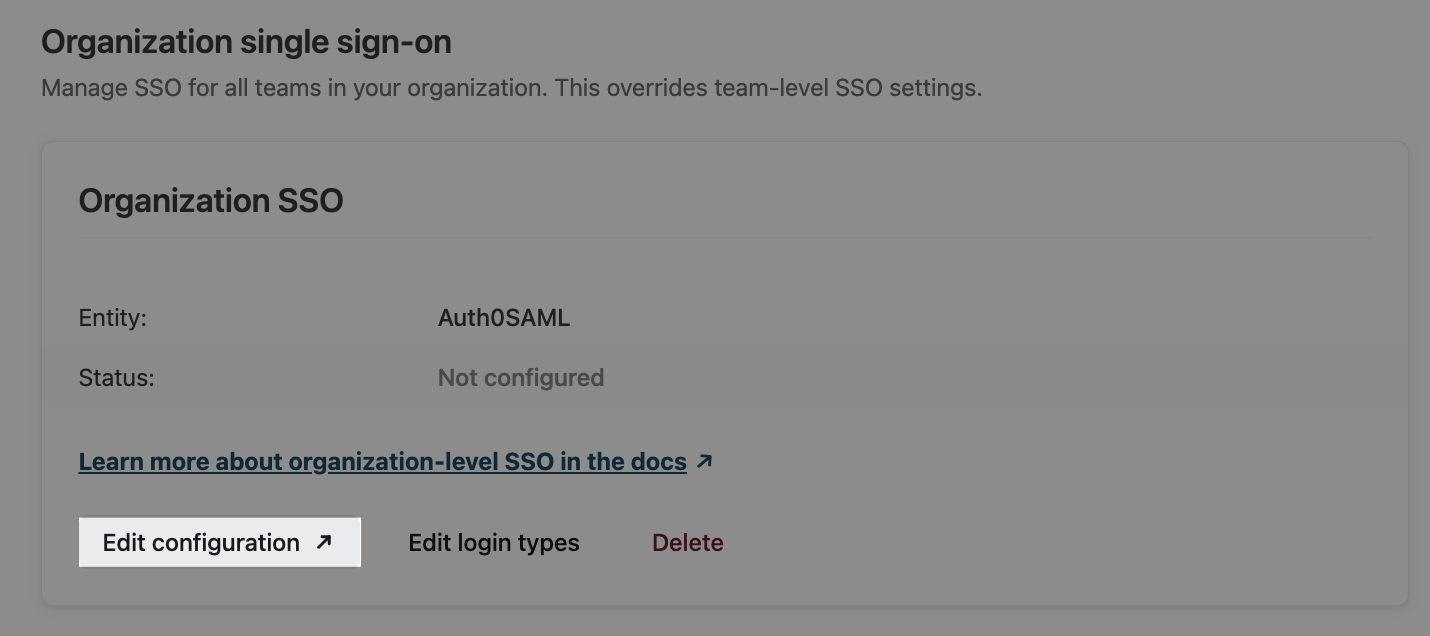
Use the SSO configuration portal to change your configuration.
# Delete your Organization SSO configuration
If you want to use a different identity provider or default to any Team SSO settings, you can delete your Organization SSO configuration. If you would like to reset your SSO connection, consider managing your Organization SSO configuration.
New personal access tokens needed
Once you delete your Organization SSO configuration, any existing access tokens will no longer work. You will need to generate new access tokens.
To delete your Organization SSO configuration:
Navigate to your Organization overview page. In the navigation, select the organization name and then select Organization overview.
Go to Organization settings > Organization SSO and select Delete.
Did you find this doc useful?
Your feedback helps us improve our docs.