For the complete Netlify documentation index, see llms.txt. Markdown versions of this page are available by appending .md to the URL. Improve your team’s security and reduce your vulnerabilities with the Security Scorecard. The scorecard offers actionable insights on using Netlify and applying security best practices.
Overview
Section titled “Overview”The Security Scorecard is designed to help you identify risks in your security posture and take action to remediate them. We recommend using the scorecard as an ongoing part of your own security policy.
Team Owners can review an autogenerated scorecard at a team’s Security Scorecard tab. To start a new security audit, refresh the browser page.

The Security Scorecard offers recommendations for your team based on these areas:
Authentication recommendations
Section titled “Authentication recommendations”Configure secure access to your Netlify team to help protect sensitive information and prevent others from gaining control over your sites.
Set up 2FA for Team Owners
Section titled “Set up 2FA for Team Owners”We recommend setting up 2FA for all Team Owners to reduce the risk that an adversary gains full administrative control of your team and sites.
You can configure 2FA through an identity provider or within Netlify. Either way, it’s critical that you protect access to your team/organization with 2FA.
Most recommended
Section titled “Most recommended”To remediate this risk with a more robust and longer-term fix, configure and enforce SSO with an identity provider and Netlify. After configuring SSO, you have the option to set up 2FA through your identity provider. We recommend FIDO2 2FA for the most robust security.
Alternative
Section titled “Alternative”Whether or not you have set up SAML SSO, you can enforce 2FA within Netlify.
When you enforce 2FA within Netlify, team members cannot access your team/organization without authenticating through the 2FA authenticator app that they set up for their Netlify user ID. As a fallback method, they can use recovery codes they saved.
Once a team member sets up 2FA for their Netlify user ID, they must always authenticate with 2FA to log in to Netlify.
Before enforcing 2FA, you can encourage Netlify team members to set up 2FA within Netlify with a warning banner that appears at the top of every page in the Netlify UI for team members who haven’t enabled 2FA.

To start the 2FA enforcement process through Netlify:
- If you haven’t already, configure 2FA for your Netlify user ID.
- Encourage team members to set up 2FA or enforce 2FA for your team or organization with these 2FA enforcement docs.
Set up 2FA for Developers
Section titled “Set up 2FA for Developers”We recommend setting up 2FA for all Developers to reduce the risk that an adversary gains access control to your site settings and private site deploys.
You can configure 2FA through an identity provider or within Netlify. Either way, it’s critical that you protect access to your team/organization with 2FA.
Most recommended
Section titled “Most recommended”To remediate this risk with a longer-term fix, configure and enforce SSO with an identity provider and Netlify. After configuring SSO, you have the option to set up 2FA through your identity provider. We recommend FIDO2 2FA for the most robust security.
Alternative
Section titled “Alternative”Whether or not you have set up SAML SSO, you can enforce 2FA within Netlify.
When you enforce 2FA within Netlify, team members cannot access your team/organization without authenticating through the 2FA authenticator app that they set up for their Netlify user ID. As a fallback method, they can use recovery codes they saved.
Once a team member sets up 2FA for their Netlify user ID, they must always authenticate with 2FA to access any other Netlify teams where they are a Developer, Team Owner, or Reviewer.
Before enforcing 2FA, you can encourage Netlify team members to set up 2FA within Netlify with a warning banner that appears at the top of every page in the Netlify UI for team members who haven’t enabled 2FA.
To start the 2FA enforcement process through Netlify:
- If you haven’t already, configure 2FA for your Netlify user ID.
- Encourage team members to set up 2FA or enforce 2FA for your team or organization with these 2FA enforcement docs.
Enforce SSO login
Section titled “Enforce SSO login”We recommend strict enforcement of SSO. Otherwise SSO is simply another authentication option that team members aren’t required to use, offering convenience without security.
Netlify allows you to enforce SSO login through an identity provider with Organization SSO or Team SSO. You can enforce SSO by enabling Strict SSO for your team or organization.
To enforce SSO with an identity provider:
-
If you haven’t already, consider whether Organization SSO, which offers SCIM provisioning and guided setup, is best for your team over Team SSO.
-
To ensure site access, confirm that everyone who needs access to your site or team settings has an account with your identity provider.
-
Follow these steps to enable strict SSO for Organization SSO or Team SSO.
Set up SSO with an identity provider
Section titled “Set up SSO with an identity provider”We recommend you set up SSO login with an identity provider. This reduces the risk that users log in with insecure authentication methods and compromise your team’s security.
Netlify allows you to set up SSO login through an identity provider using Organization SSO or Team SSO. Organization SSO supports more identity providers, a guided setup, and SCIM provisioning.
To set up SSO with an identity provider:
-
Check whether your identity provider is supported by Organization SSO or Team SSO.
-
Choose whether to use Organization SSO or Team SSO:
- For the most scalable security, SCIM provisioning, guided setup, and wider identity provider support, choose Organization SSO.
- For basic SSO login for a single team without guided setup or Netlify-integrated SCIM provisioning, choose Team SSO.
-
Follow the set up steps for either Organization SSO or Team SSO.
User Management recommendations
Section titled “User Management recommendations”Apply security best practices to how you manage users and their access to your Netlify team, sites, and sensitive information.
Provision users with SCIM Directory Sync
Section titled “Provision users with SCIM Directory Sync”We recommend provisioning users with SCIM Directory Sync to securely manage access control through your identity provider at scale. This reduces the risk that people who have left your company can still control your sites and access sensitive information.
To set up SCIM Directory Sync, you must have a Netlify Organization and also have an Organization Owner role. Learn more about Netlify’s SCIM Directory Sync.
Reduce Team Owners
Section titled “Reduce Team Owners”We recommend maintaining a maximum of 5 Team Owners per team to ensure you are giving the least privilege needed and applying a security best practice.
To reduce the number of Team Owners on your team:
-
Navigate to your team’s Members page to review Team Owners.
-
Decide whether it makes sense to demote a Team Owner to a Developer role or remove them from the team completely.
-
Edit a Team Owner’s role or remove them from the team. There are two different ways to do this depending on whether or not a Team Owner is provisioned through SCIM Directory Sync.
-
If not provisioned with SCIM: Navigate to your team’s Members page. Next, you can edit their role or remove them from the team completely.

-
If provisioned with SCIM and managed by a Netlify organization: In your identity provider, deprovision the user or change their user role. To change their user role, move them to a directory group that has a different Netlify role. You can check the Netlify role assigned to directory groups from your Directory Sync settings.
-
Remove inactive Team Owners
Section titled “Remove inactive Team Owners”We recommend removing inactive Team Owners from your team to ensure you’re not giving privileged access to people who should no longer control or access your team and sensitive information.
A Team Owner is considered inactive when they haven’t logged in nor triggered a build in the last 30 days.
Remove a Team Owner in Netlify UI
Section titled “Remove a Team Owner in Netlify UI”You can remove a Team Owner in the Netlify UI if that user is not provisioned through SCIM Directory Sync.
If a user is provisioned through SCIM Directory Sync, the Netlify UI shows that they are Managed by org in the Members list.
To remove an inactive Team Owner:
- Navigate to your team’s Members page to review Team Owners.
- Choose a relevant Team Owner from the Member list.
- Next to your chosen Team Owner, select Options, then Remove from team.
Deprovision a Team Owner in your identity provider
Section titled “Deprovision a Team Owner in your identity provider”If an inactive Team Owner is currently provisioned through SCIM Directory Sync, you must deprovision the Team Owner in your identity provider.
To deprovision an inactive Team Owner:
-
Go to your identity provider.
-
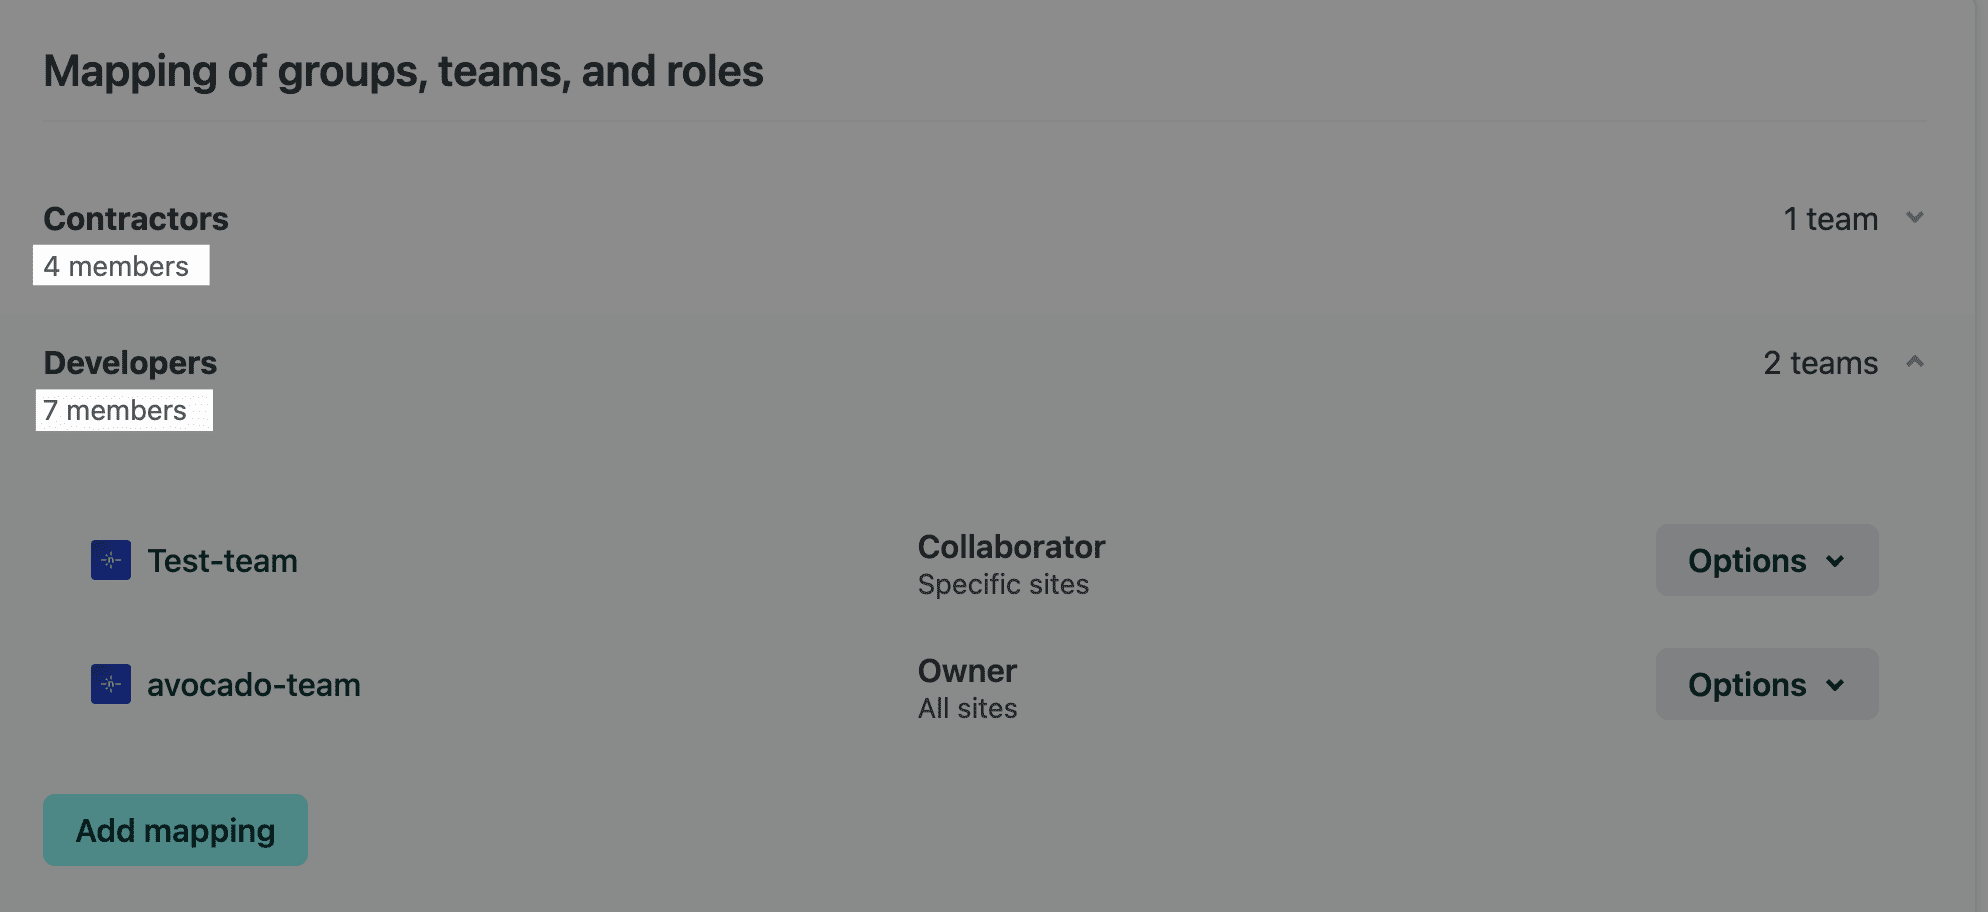
In your identity provider, review users in any directory groups that are assigned the Netlify Team Owner role. You can review the Netlify roles assigned to directory groups in your Directory Sync settings on Netlify. For example, you may have a directory group in your identity provider called Team Admins. In Netlify, an Organization Owner can assign the Team Admins directory group to the Team Owner role.
-
Remove inactive Team Owners from the directory group.
For more details check out your identity provider’s docs.
Remove inactive Developers
Section titled “Remove inactive Developers”We recommend removing inactive Developers from your team to ensure you’re not giving access to Developers who should no longer access site deploy management or sensitive information in your team.
A Developer is considered inactive when they haven’t logged in nor triggered a build in the last 30 days.
Remove a Developer in Netlify UI
Section titled “Remove a Developer in Netlify UI”You can remove a Developer in the Netlify UI if that user is not provisioned through SCIM Directory Sync.
If a user is provisioned through SCIM Directory Sync, the Netlify UI shows that they are Managed by org in the Members list.
To remove an inactive Developer:
- Navigate to your team’s Members page.
- Choose a relevant Developer from the Member list.
- Next to your chosen Developer, select Options, then Remove from team.
Deprovision a Developer in your identity provider
Section titled “Deprovision a Developer in your identity provider”If an inactive Developer is currently provisioned through SCIM Directory Sync, you must deprovision the Developer from your identity provider.
To deprovision an inactive Developer:
- Go to your identity provider.
- In your identity provider, review users in the directory groups assigned to the Netlify Developer role. You can review the Netlify roles assigned to directory groups in your Directory Sync settings on Netlify. For example, you may have a directory group in your identity provider called Site Maintainers. In Netlify, an Organization Owner can assign the Site Maintainers directory group to the Developer role.
- Remove inactive Team Owners from the directory group.
For more details check out your identity provider’s docs.
Site Security recommendations
Section titled “Site Security recommendations”We recommend securing your sites with the following:
- Protect unreleased content and intellectual property with Netlify's built-in Password Protection
- Ensure sites with sensitive information are not left inactive
- Apply Git repository best practices
Set up default Password Protection for your team
Section titled “Set up default Password Protection for your team”To prevent unwanted access to unreleased content and intellectual property, we recommend enabling Password Protection for preview environments of your site, such as for Deploy Previews and any branch deploys.
You can also enable Password Protection for your entire site, which is ideal for internal-only sites.
When you set up default Password Protection for all sites in your team, all sites are protected by default. You can also further customize Password Protection for different sites.
Most recommended
Section titled “Most recommended”For the most robust security, we recommend enabling Team login protection with strict SSO, which requires all site visitors to log in with their Netlify team credentials through your identity provider to access site previews. Learn more about Team login protection.
To enable strict SSO, you must first enable Organization SSO or Team SSO.
To set up Password Protection for your team:
-
For your team, go to Team settings Access & security Visitor access Default Password Protection settings.
-
Select Configure Password Protection.
-
To require site visitors to use their Netlify login credentials to access your sites, choose Team login protection. Site visitors must be a member of your Netlify team to access your sites.
-
Choose the scope of your default Password Protection. This will apply to all new sites and all existing sites with no custom configuration.
- To only protect preview versions of your sites, such as Deploy Previews and branch deploys, select Non-production deploys only.
- To protect entire sites for an internal site experience, select All deploys.
-
To confirm, select Save.
These default Password Protection settings apply to all new sites and all existing sites with no custom configuration. Developers can customize protection for a specific site without changing the team default.
Alternative
Section titled “Alternative”As an alternative to setting up Password Protection for all sites in your team, you can set up Password Protection for just a single site.
Check out the docs for setting up Password Protection for a single site.
We still recommend team-configured Password Protection as a default for all new sites and for existing sites that don’t have their own custom Password Protection settings.
Delete or update inactive sites
Section titled “Delete or update inactive sites”Inactive sites have not had a build in 90 or more days. Inactive sites with environment variables and custom domains are at greater risk of compromising sensitive information.
To avoid this risk, we recommend you delete these sites or start maintaining them by triggering a new build of your site.
Maintain an inactive site
Section titled “Maintain an inactive site”If you choose to maintain an inactive site, we recommend you review its purpose and audit its functionality with a new build. You can trigger a new build of your site with the CLI, API, or Netlify UI.
Delete an inactive site
Section titled “Delete an inactive site”As a Team Owner, to delete an inactive site with environment variables:
- For the inactive site, go to Project configuration Danger zone.
- Follow the guided steps to delete your site.
Apply Git repository best practices
Section titled “Apply Git repository best practices”For the most secure site setup, we recommend you follow these Git repository best practices:
- Link your sites to a Git repository, especially sites with access to sensitive information, such as environment variables
- Link a private Git repository for your site whenever possible
- If you linked a public Git repository to your site, enable the sensitive variable policy to protect sites built from public repos from giving unapproved open source builders access to sensitive variables
Learn more about linking or unlinking a Git repository.
Account Settings recommendations
Section titled “Account Settings recommendations”To ensure the most secure experience and fastest support, we recommend you configure these account settings for your team or organization.
Add contacts for security incidents
Section titled “Add contacts for security incidents”To ensure that Netlify can quickly contact you about potential abuse, fraud, or other security incidents, add at least one email address as an incidents contact. If you have an organization, you can only add a contact in your organization settings.
Add a contact for a team
Section titled “Add a contact for a team”-
As a Team Owner, go to Team settings General Primary Contacts, then select Edit contacts.
-
Add at least one email address as a primary contact for security, abuse, or fraud incidents.
Add a contact to an organization
Section titled “Add a contact to an organization”If your team is a part of an organization, you can only add contacts in your organization settings.
-
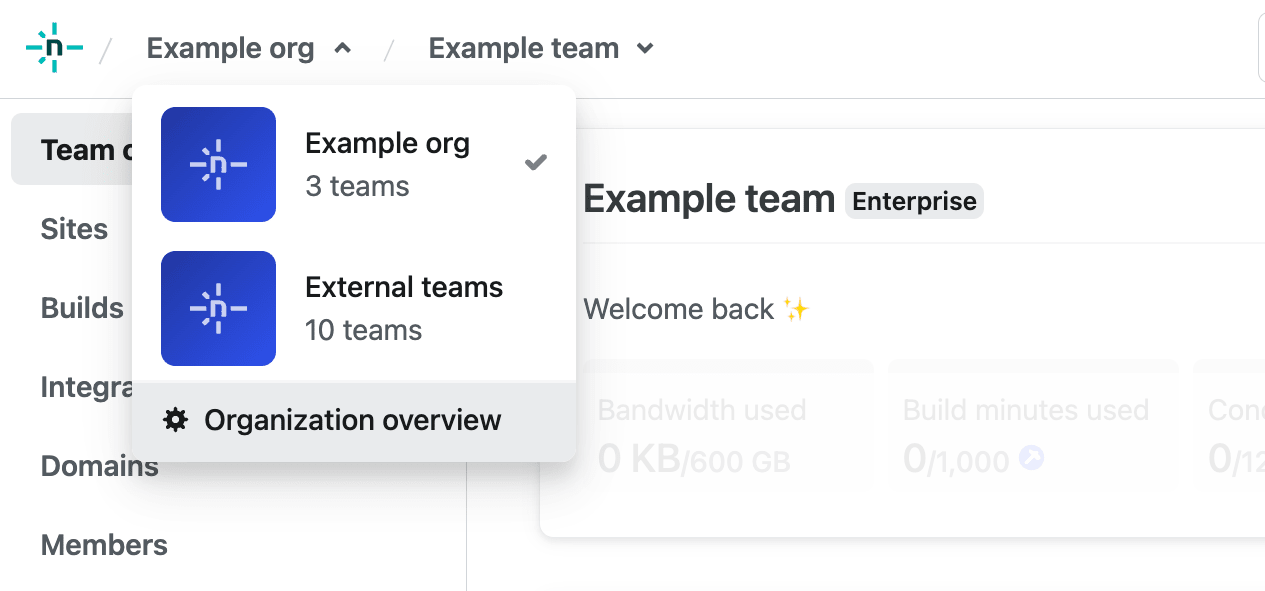
As an Organization Owner, navigate to your Organization overview page. In the navigation, select the organization name and then select Organization overview.
-
Select your Organization’s Settings page, go to Primary contacts, then select Edit contacts.
-
Add at least one email address as a primary contact for security, abuse, or fraud incidents. This contact info will appear as read-only in team settings.
More resources
Section titled “More resources”Learn more on security best practices and how Enterprises are using Netlify for better security:
Did you find this doc useful?
Your feedback helps us improve our docs.