Use these prompt examples to get started with using Agent Runners.
These prompt examples include supporting steps and are designed to be run in the Netlify Agent Runners dashboard.
Quick maintenance tasks
Section titled “Quick maintenance tasks”Whether you want to run multiple AI agents for routine maintenance tasks at once or you’re on the go and want to quickly fix something using Netlify from your mobile phone, Agent Runners can help.
To help you get started, here are some quick maintenance task ideas and prompt examples.
Fix broken links
Section titled “Fix broken links”We recommend running a broken link checker separately and then sharing those results with an AI agent to fix with some basic guidelines on what to do. If you need help setting up a broken link checker, you can check out a link checker plugin for your framework or use an open source link checker like Lychee.
After running your broken link checker and copying the results:
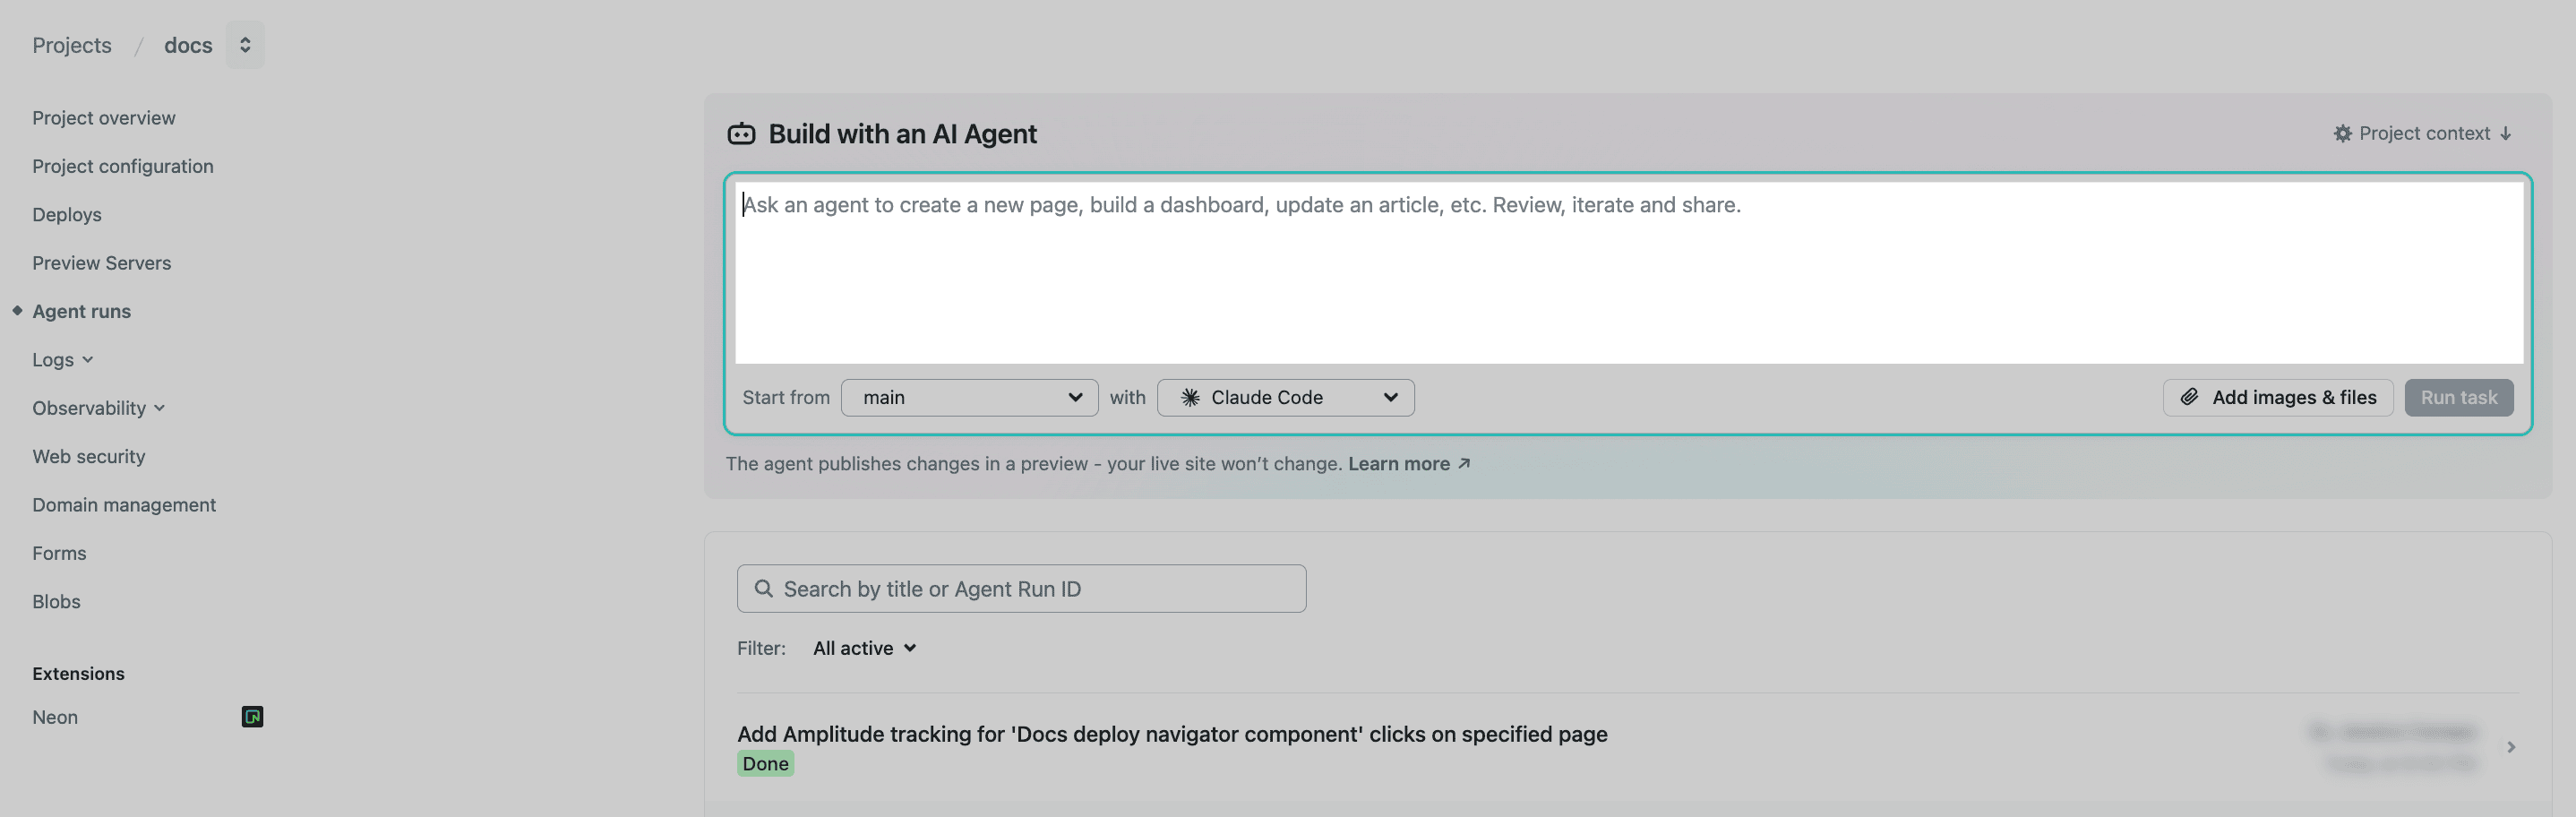
- From your Netlify project dashboard, go to your project’s Agent runs page.
- Under “Build with an AI Agent”, paste your broken link checker results.
- Add the following to your task prompt and any other specific instructions you want to add.
Using the broken link results above, identify all instances of these links and fix them. If you can't find an updated link, you can remove the link.
- Review the changes in the agent run diff and when you’re ready, you can either publish the changes directly or open a pull request for engineering review. We recommend opening a pull request if your project is connected to Netlify with a GitHub repository.
Remove feature flag code
Section titled “Remove feature flag code”- From your Netlify project dashboard, go to your project’s Agent runs page.
- Select the AI agent you want to use.
- Under “Build with an AI Agent”, enter this prompt and update it for your needs. Then select Run task.
This project uses [feature flag provider]. Remove all feature flag code from this project.
- Review the changes and open them in a pull request, where you can make additional changes as needed.
- Merge your pull request with your agent runner updates when you’re ready.
Update content on a site
Section titled “Update content on a site”Netlify team members, such as Internal Builders, Publishers, Developers, or Team Owners can update your site/app’s content using AI agents and clear prompts.
This can be done from your Netlify project dashboard on your computer or on a mobile device.
This is ideal for when you need to:
- fix a quick content bug
- make routine or well-defined content updates
- add a new landing page
- add a banner to a page
Add a banner to a page
Section titled “Add a banner to a page”- From your Netlify project dashboard, go to your project’s Agent runs page.
- Select the AI agent you want to use.
- Under “Build with an AI Agent”, enter this prompt and update it for your needs. Then select Run task.
Using your project's framework and framework docs, add a banner with the following text and link.Banner Text: " "Banner Text that appears as a link: " "Page to add banner to: "URL" (homepage, about page, all pages, etc.)
- Review the changes and create a follow-up prompt if needed.
- Once you’re satisfied with the changes you can either publish the changes directly or open a pull request if your Netlify project is connected to a GitHub repository.
Update content on a page
Section titled “Update content on a page”You can tell an AI agent to update content on a page by describing the content you want to update, remove, or add.
- From your Netlify project dashboard, go to your project’s Agent runs page.
- Select the AI agent you want to use.
- Under “Build with an AI Agent”, enter this prompt and update it for your needs. Then select Run task.
Remove all content that mentions the "Fall Campaign". Instead, add content that mentions the "Winter Campaign".
- Review the changes and create a follow-up prompt if needed.
- Once you’re satisfied with the changes you can either publish the changes directly or open a pull request if your Netlify project is connected to a GitHub repository.
Add a new landing page
Section titled “Add a new landing page”- From your Netlify project dashboard, go to your project’s Agent runs page.
- Select the AI agent you want to use.
- Under “Build with an AI Agent”, enter this prompt and update it for your needs. Then select Run task. Note that you can include screenshots to give the AI agent more context or examples.
Using your project's framework, framework docs, and existing web design patterns, add a new landing page to this project at [location description] with the following details:- [Expected URL]- [Where to find page in navigation]- [What the page should look like]- [Content for the page using Markdown or HTML to show the content structure and hierarchy]
- Review the landing page and how it renders in a preview. Create follow-up prompts as needed to finish creating the landing page.
- Once you have the landing page ready, you can either directly publish or open your changes as a pull request for further review and testing.
Monitoring
Section titled “Monitoring”Add tracking to a user action
Section titled “Add tracking to a user action”- From your Netlify project dashboard, go to your project’s Agent runs page.
- Select the AI agent you want to use.
- Under “Build with an AI Agent”, enter this prompt and update it for your needs. You can include additional context using documentation for your analytics. Then select Run task.
This project uses [Analytics tool and any version information needed]. Add tracking to the following user action on all relevant pages.User action: "User clicks on the `component`"Page: "[path to page]"
- Review the changes and create a follow-up prompt if needed.
- Once you’re satisfied with the changes you can either publish the changes directly or open a pull request if your project is connected to a GitHub repository.
Did you find this doc useful?
Your feedback helps us improve our docs.