Manage the DNS records for domains using Netlify DNS. You can add records to connect external services like email providers, verify domain ownership, and configure subdomains. For domains using external DNS, manage your records through your DNS provider.
Access your DNS records
Section titled “Access your DNS records”To view and manage DNS records for a domain:
- Go to your Netlify Team dashboard.
- From your project dashboard, in the top left, choose Projects next to your project name.
- From your project dashboard, in the top left, choose Projects next to your project name.
- Select DNS from the left sidebar.

- Select the domain you want to manage DNS records for. This opens the domain’s DNS panel. To expand details and view additional information, select the DNS record row.
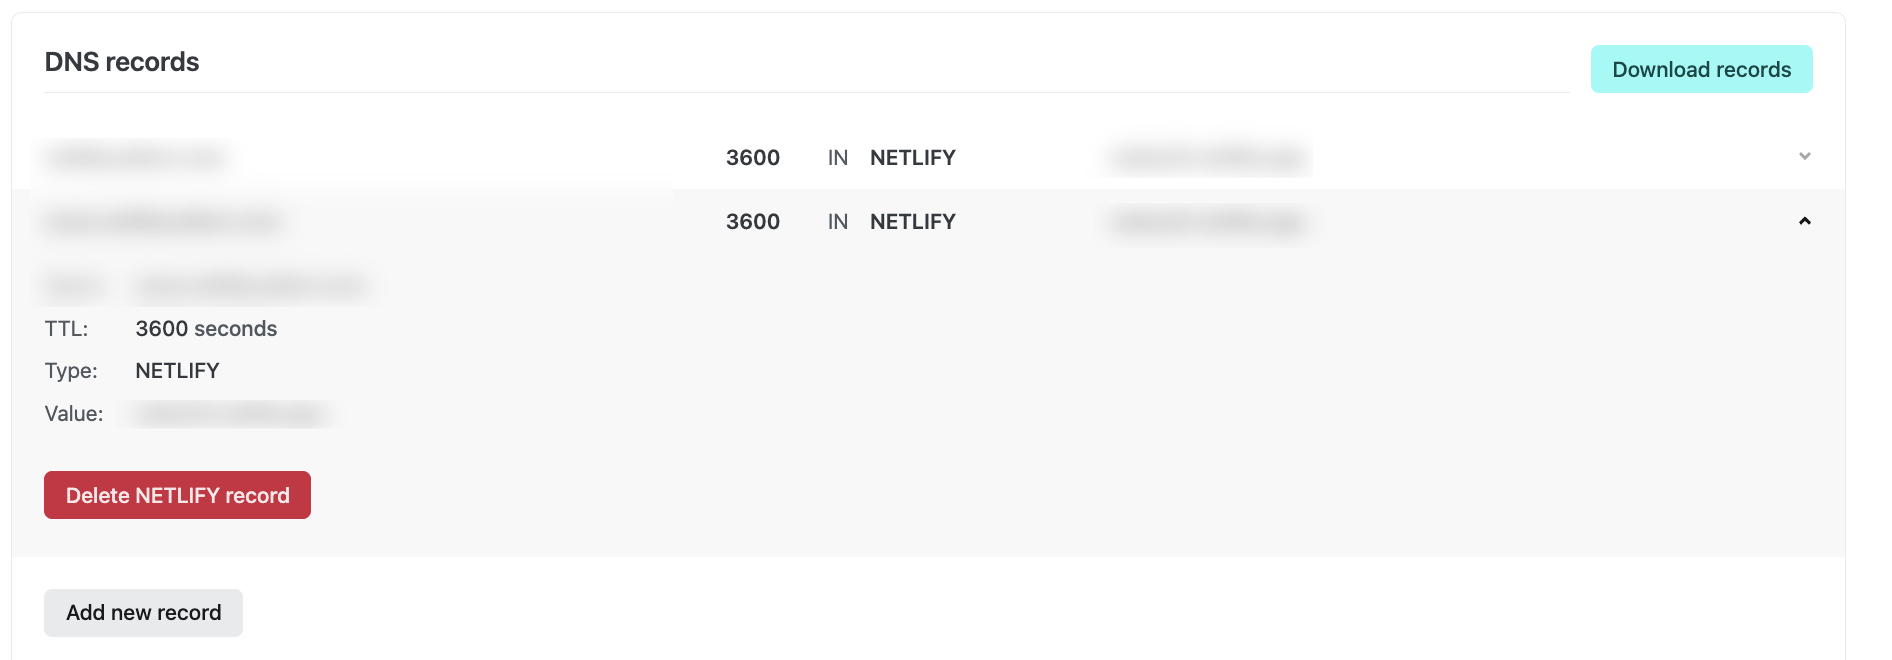
You can also download a CSV file of your DNS records by selecting Download records.
Add a DNS record
Section titled “Add a DNS record”To add a new DNS record:
- From your domain’s DNS panel, scroll to the DNS records section.
- Select Add new record.
- Choose the record type from the dropdown menu.
- Fill in the required fields based on the record type you selected.
- Select Save to create the record.
Edit a DNS record
Section titled “Edit a DNS record”DNS records cannot be directly edited. To change a record:
- Add a new record with the updated values.
- Delete the old record.
This approach prevents downtime by allowing both records to exist during the transition.
Delete a DNS record
Section titled “Delete a DNS record”To delete a DNS record:
- From your domain’s DNS panel, find the record you want to delete in the DNS records section.
- Select the DNS record row to expand its details.
- Select Delete.
- Review the confirmation message and select Delete to confirm.
Manage DNS records with the API
Section titled “Manage DNS records with the API”You can programmatically manage DNS records using the Netlify API:
- Get DNS records - List all records for a DNS zone
- Create DNS record - Add a new record
- Delete DNS record - Remove an existing record
Related resources
Section titled “Related resources”- DNS records - Learn about supported DNS record types
- Set up Netlify DNS - Enable Netlify DNS for your domain
- Check DNS propagation - Verify your DNS changes have propagated
Did you find this doc useful?
Your feedback helps us improve our docs.