Previewing with Visual Editor
See and share changes in the visual editor before publishing to production.
With the visual editor, you’re always in a preview state. There are ways to further customize that state and invite others to view.
Preview Server
Section titled “Preview Server”In the visual editor, the preview is an iframe that points to your site running in development mode.
Learn more about this based on whether you are working in local development mode or not.
Adjust preview viewport
Section titled “Adjust preview viewport”Adjust the preview mode using the desktop and eye icons in the top toolbar.

- The desktop icon adjusts the size of the viewport within the preview frame.
- The eye icon enables preview mode, which hides Visual Editor editing controls. Click the edit icon (top left) to return to edit mode.
Custom viewport sizes
Section titled “Custom viewport sizes”Viewport sizes can be customized by providing the viewports configuration property.
export default defineStackbitConfig({ viewports: [ { label: "iPhone 14", size: { width: 390, height: 844 } }, { label: "iPhone 14 Plus", size: { width: 428, height: 926 } } ]});
Share preview
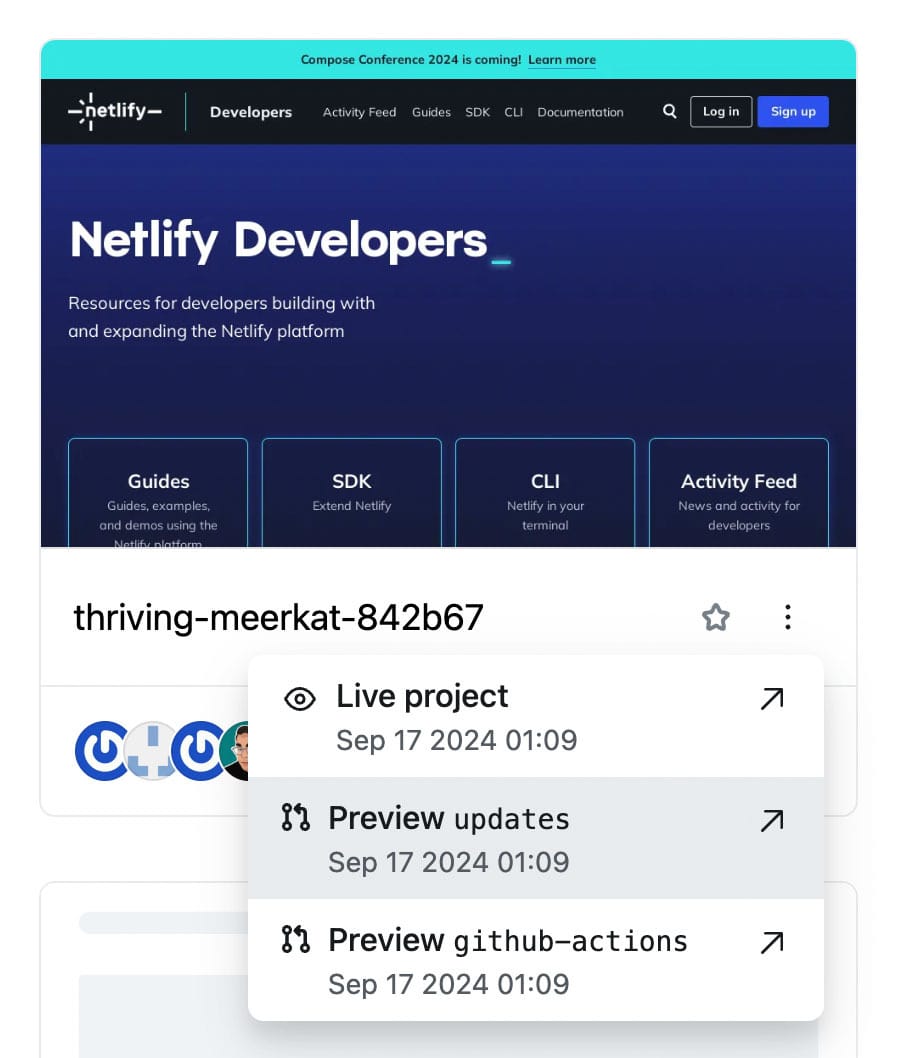
Section titled “Share preview”All users on the project can copy a link to the preview by opening the project’s ellipsis menu in the Visual Editor dashboard. Deploy Preview URLs and branch preview URLs are open to anyone with the link, unless password protection or team login are set up.

Note that people without access to the Netlify web app will not be able to make content changes on the site through the Visual Editor unless they are also part of the team account. To add people to your Netlify account, go to Members and select Add members.
Did you find this doc useful?
Your feedback helps us improve our docs.