

For the complete Netlify documentation index, see llms.txt. Markdown versions of any documentation page are available by appending .md to its URL. As a Netlify Owner or Developer, learn the basics of managing visual editing for a site using the Netlify visual editor.
Enable visual editing
Section titled “Enable visual editing”Once a site has visual editing enabled, you can either test out visual editing if your site is already pre-configured or you can follow the configuration steps to complete the setup.
Enabling visual editing requires the Visual Editor section of project configuration, which is only available for teams that already have Visual Editor. If your team doesn’t have it, you can’t enable visual editing for a project.
As a Developer or Owner on a team with Visual Editor, to enable visual editing for an existing site on Netlify:
-
After a successful deploy of your site, go to your project configuration page in
app.netlifyand select Enable visual editor.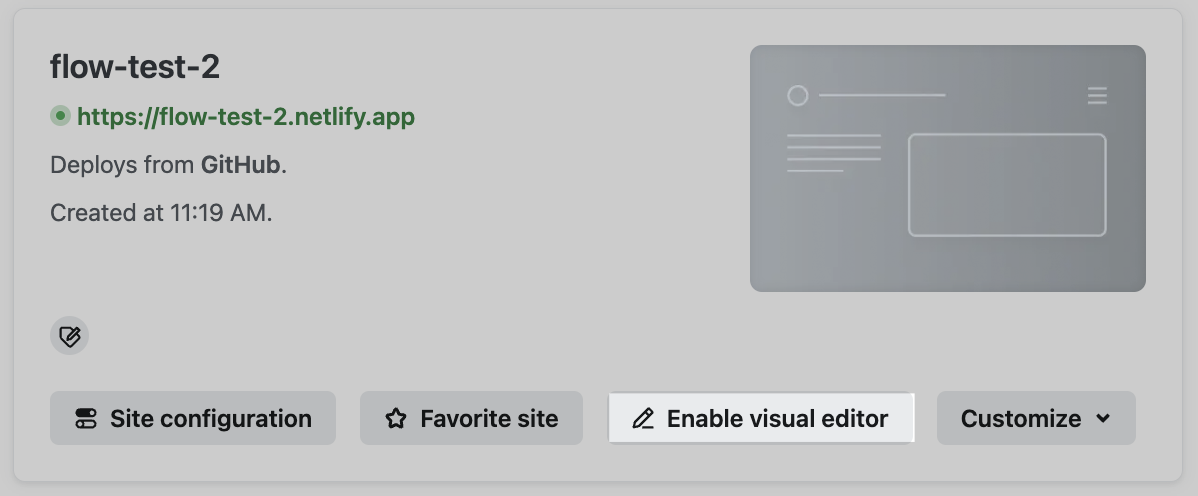
-
Select Enable visual editor.
From your visual editor settings page, you’ll find the setup walkthrough in the Netlify UI that prompts you for the next steps. Note that you may not need to complete all of these steps, depending on how much your site is already pre-configured for the visual editor.
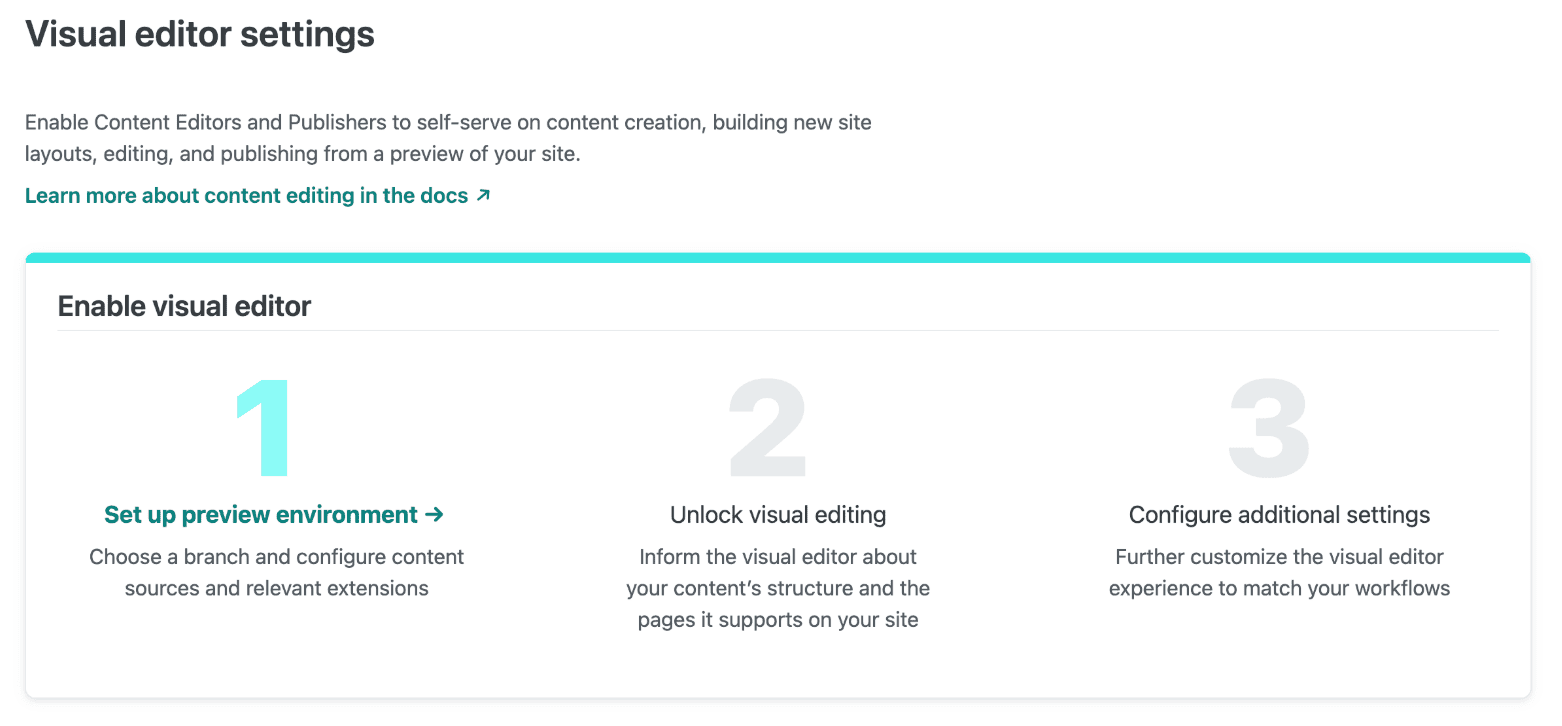
For additional guidance, check out the visual editor walkthrough help doc.
Find a site with visual editing
Section titled “Find a site with visual editing”To find a site with visual editing enabled, go to your team’s Projects page and select a project with the visual editing icon or the Open in visual editor link.
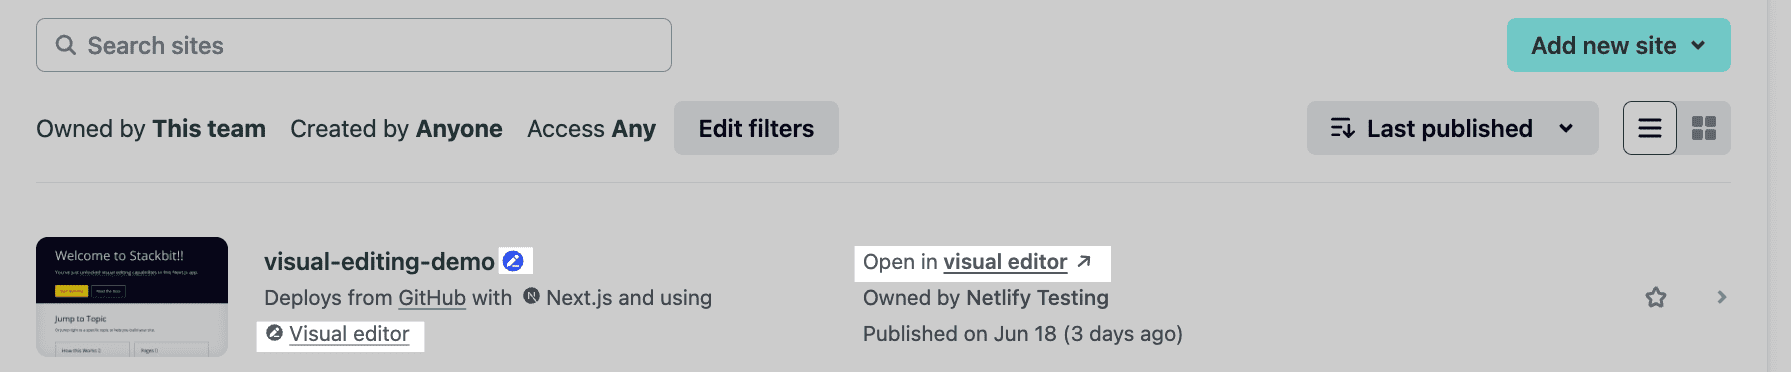
The visual_editor=true search parameter filters your projects list down to projects with visual editing enabled. For example, https://app.netlify.com/teams/YOUR_TEAM_NAME/projects/?visual_editor=true returns only projects with visual editing enabled.
The Visual editor dashboard link is no longer part of the navigation for your team, so use the projects list to find your sites. Publishers and Internal Builders are still directed to the visual editor dashboard when they log in to Netlify.
Manage access to visual editor
Section titled “Manage access to visual editor”To manage access for the visual editor, you must have certain permissions. Learn more in Editorial permissions.
Open the visual editor
Section titled “Open the visual editor”When visual editing is enabled for a site, you can access the visual editor through the following:
- the navigation after you select a site in the Netlify UI
- in the project details card
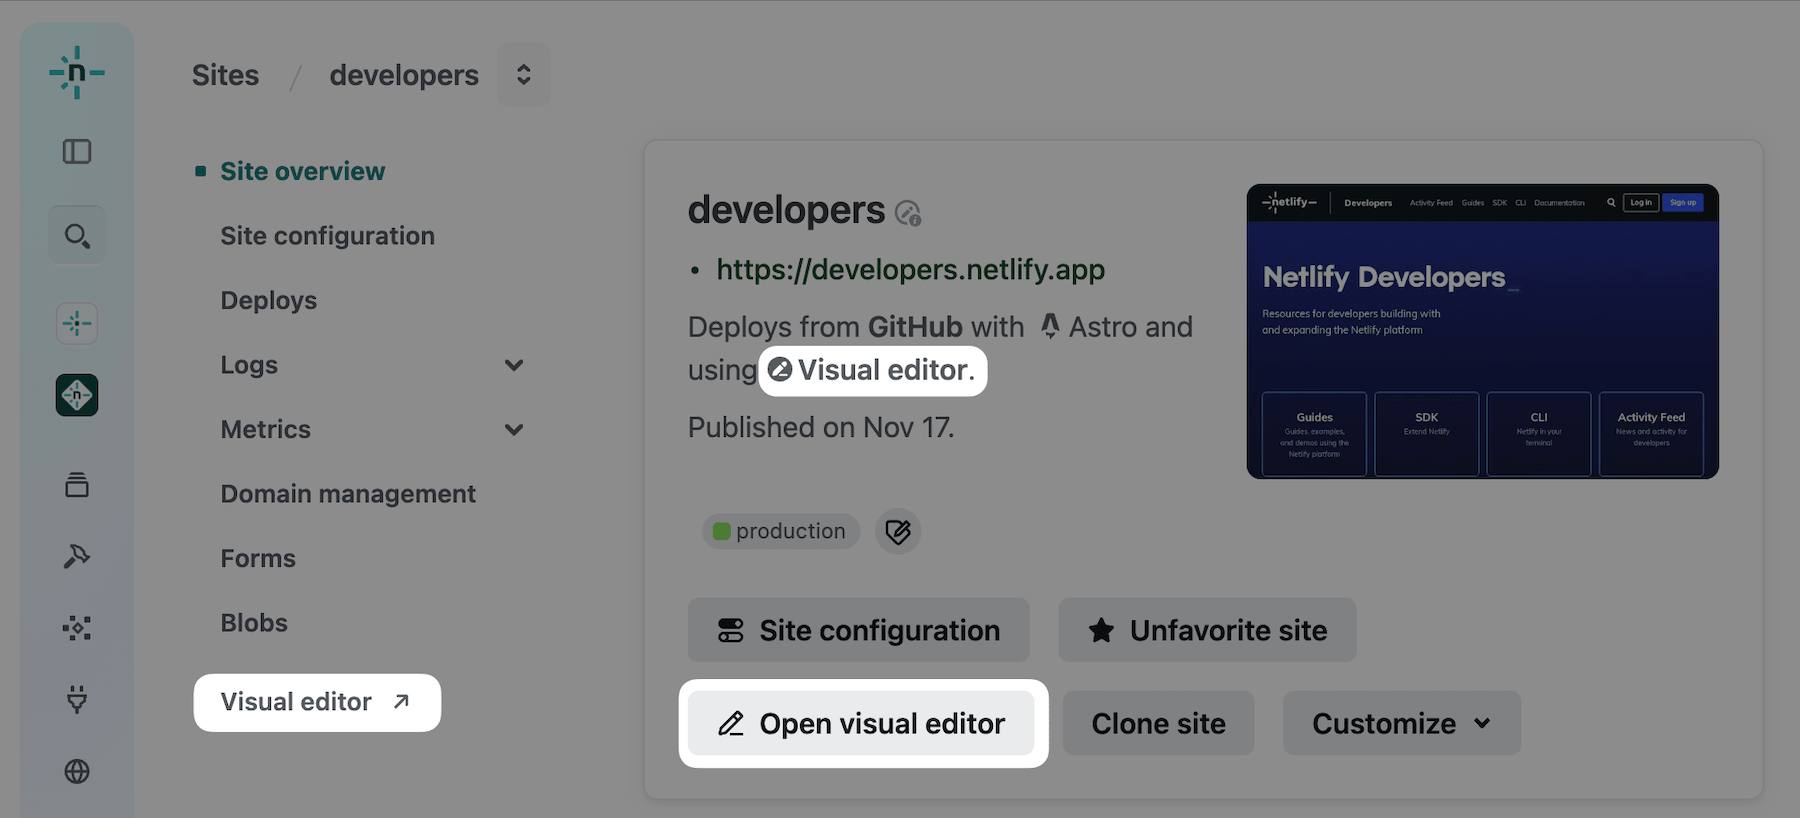
Find the working status of the visual editor
Section titled “Find the working status of the visual editor”The working status of the visual editor is shown near the project details card in the Netlify app UI. You can also find a status update in the visual editor interface.
Disable visual editing
Section titled “Disable visual editing”To turn off Netlify’s visual editor functionality for a site:
-
As a Developer or Owner, go to your project configuration page in
app.netlify. -
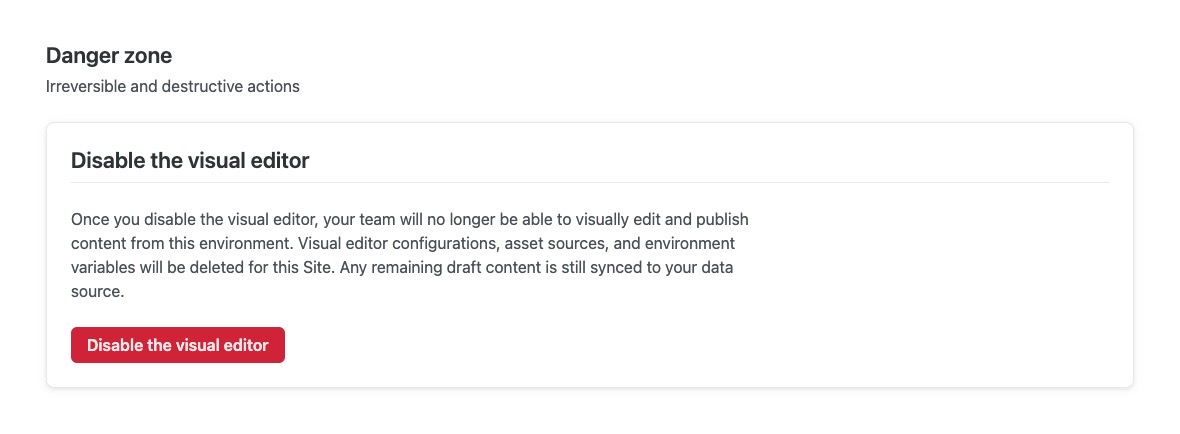
Select the Disable the visual editor button and confirm you want to stop visual editing for the site.
Did you find this doc useful?
Your feedback helps us improve our docs.