Customize the visual editor to work with your existing publishing workflows.
To optimize publishing for your needs, you can scope how and when to publish changes.
Publishing workflow
Section titled “Publishing workflow”The publish modal changes context based on the current page being viewed in the preview and sitemap.
When there are changes made to the current page, objects referenced within the page, or global objects, the Publish button is activated and lists all changes.
Publish content changes to production
Section titled “Publish content changes to production”By default, publishing from the visual editor will publish content changes to the content source, but it won’t automatically trigger a production deploy. In order to do so, a build hook needs to be configured.
An exception to this is if the content is stored in local files (Git CMS), in which case the behavior will be inferred from the site’s configuration in Netlify to build and deploy the site.
Content changes with Git CMS
Section titled “Content changes with Git CMS”When working with files as the content source (Git CMS), content is always merged by default from the working branch to the content publishing branch.
This behavior can be configured to open a pull request instead in the Content publishing section of the visual editor settings.
When content changes are configured to open a pull request, the publish dialog with the pending changes will be updated after the pull request is merged.

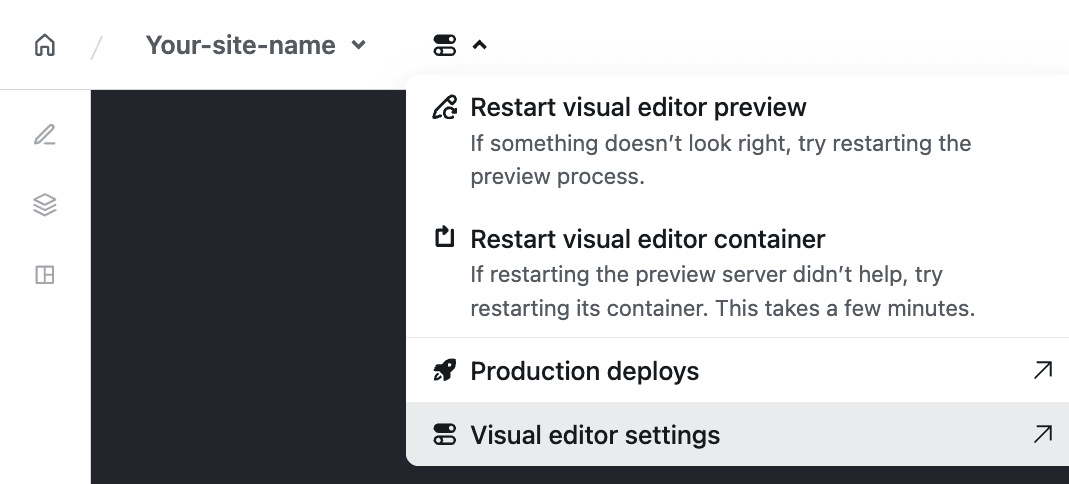
To navigate to your site’s visual editor settings from the visual editor, select Visual editor settings from the options menu.
Merge conflicts
Section titled “Merge conflicts”When publishing content changes with Git CMS, merge conflicts prompt an error message and cancel the publishing action.
Pending changes
Section titled “Pending changes”If new changes are made while publishing, the list shown in the publish dialog won’t be updated until the current publish action is complete.
Publishing granularity
Section titled “Publishing granularity”Content can be published per page or per object. The publish modal changes context based on the current page being viewed in the preview and sitemap.
Global (data) objects
Section titled “Global (data) objects”Changes to global objects will appear in all pages. They only need to be published once to affect the pages on which they are used.
Publish individual objects
Section titled “Publish individual objects”Individual objects can be selected and published without publishing the page. For example, you can publish changes to an author object without publishing changes to a blog post.

Objects can also be published from the content tab.

Statuses are noted here to give a visual representation between new and changed items. Those without labels are assumed to be changed. Read more about document status labels.
Publish multiple pages
Section titled “Publish multiple pages”Per page is the most you can publish at one time. However, it is possible to implement bulk publish with Bulk Document Actions.
Scheduled publishing
Section titled “Scheduled publishing”In order to use scheduled publishing ensure that you are using the most recent version of your content source package.
Scheduled publishing is supported for Contentful and Sanity content sources, enabling content editors to defer publishing events to a future date and time in a specific timezone.
- Publishing schedules are handled on a per-document (content entry) basis.
- Documents are published with all of their pending changes, no matter if those were made before or after the content was scheduled to be published.
- If content validations are not met, the content will still be published. Review all the content validations carefully before scheduling content for publishing.
- Schedules cannot be edited, but can be deleted and recreated with different settings.
- Only publish events can be scheduled. Unpublishing content must occur in real-time.
See below for further details.
Schedule content to be published
Section titled “Schedule content to be published”Scheduled publishing is handled through the publishing modal, as with the typical publishing workflow.
Open the publish modal and select the documents to schedule. Then click on the schedule icon next to the publish button.

Choose a date and, time, and timezone.

Finally, click on Set Schedule and wait for the confirmation message.
View publishing schedule
Section titled “View publishing schedule”Upcoming publish events can be viewed on individual documents in the publishing modal. Hover over the schedule icon to prompt a tooltip with the schedule for that document.

The schedule is also available on individual documents in the content editor.

Scheduled publishing granularity
Section titled “Scheduled publishing granularity”As with the typical publishing workflow, a single document or a select set of documents can be scheduled together.
This can be done by selecting a specific document in the publishing modal, or when editing the document in the content editor.

Edit publishing schedule
Section titled “Edit publishing schedule”Once the date for a content entry to be published in the future is set, it can’t be changed. Instead, cancel the current schedule and create a new schedule.
Cancel publishing schedule
Section titled “Cancel publishing schedule”Canceling schedules is handled in the content editor. Click the schedule icon and then the delete icon to cancel a specific schedule event.
Group publishing schedules
Section titled “Group publishing schedules”Each document’s publishing schedule is managed individually, and cannot be managed as a group.
To add a single document to be published to an existing schedule, choose the same day and time (in the same timezone) as the existing schedule.
To see all the content entries that are scheduled to be published, navigate to ‘Content’ and filter by:
- Scheduled for Publish to see all content entries scheduled for publishing
- Scheduled Date to see all content entries scheduled for publishing at a certain date

Set timezone
Section titled “Set timezone”By default, the timezone shown in the scheduling modal will be your local time, regardless of how the modal was triggered.

Choosing a different timezone for a schedule will be translated to your local timezone when viewing a schedule.
User visibility
Section titled “User visibility”Avatars representing users who have many any changes on the current page are shown to the left of the Publish trigger (1).
Within the publish dialog, avatars are attached to each individual object (2).
![]()
See my changes
Section titled “See my changes”You can optionally choose to select only the changes you’ve made to the current page and objects on that page.

Did you find this doc useful?
Your feedback helps us improve our docs.