Try out visual editing more quickly by starting from one of our pre-configured visual editor template sites from your Netlify dashboard and deploying your site first.
By starting with a pre-configured template site, you have less configuration to customize before trying out the visual editor.
-
As a Developer or Owner, go to the Projects list page for your team, open the Add new project menu in the upper right, and select Start from a template.

-
Choose a template site pre-configured for visual editing. You can choose a template that is set up to work with a headless CMS, such as Contentful or Sanity. Or you can choose a template that is set up to work without a headless CMS and that relies on Git to manage content versions for you (also called Git CMS).
Site repository Content source Optimized for ContentOps Starter Git CMS - learning about content types with over 35 content types
- try more complex content type scenariosAuto-annotated portfolio Git CMS - learning about auto annotating your site
- lots of auto annotated components
-
Clone the template to your Git provider, such as GitHub.
-
Choose a site and repository name and whether you want the cloned repository to be private or public.
-
If you chose a headless CMS template, you must sign in to your headless CMS and follow the setup prompts.
-
Deploy your template site. Netlify applies some default settings but you can update them as needed later.
-
After your first site deploy is successful, go to Project configuration Visual Editor and select Set up preview environment.
-
Next, follow the prompts to finish setting up the visual editor for your site and confirm with Save.
If you need additional help you can check out the Visual editor walkthrough help.
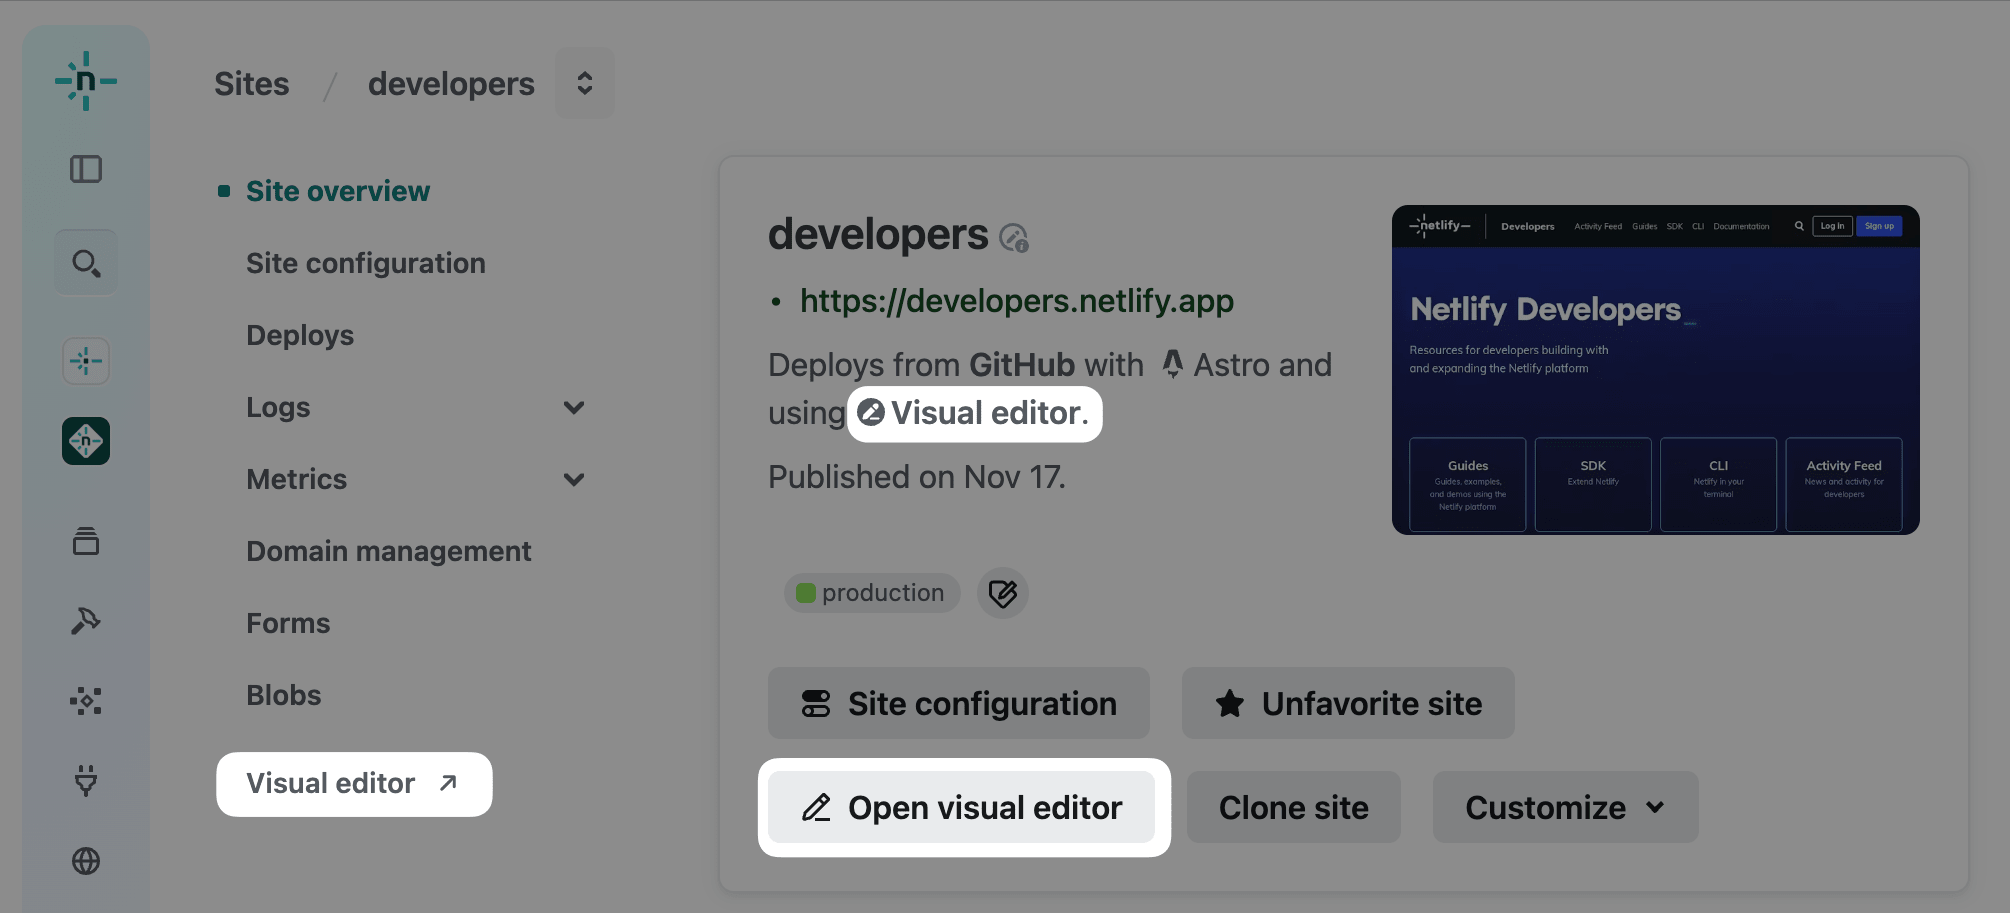
- To try out the visual editor after completing the configuration, open the Visual editor under your site overview details.
Did you find this doc useful?
Your feedback helps us improve our docs.