Quickstart for Agent Runners
Get started using Agent Runners to optimize your project and AI workflows.
Prerequisites
Section titled “Prerequisites”Before you begin, you must have the following:
- a Netlify team account with a Credit-based plan and some available credits
- a Team Owner, Developer, Content Editor, or Publisher role on your Netlify team
- Netlify AI features enabled
Quickstart overview
Section titled “Quickstart overview”To get started using Agent Runners, follow these steps:
- Start an agent run
- Check the status of your agent run
- Preview Agent Runners updates
- Ship your agent run updates
1. Start an agent run
Section titled “1. Start an agent run”To start an agent run, follow these steps:
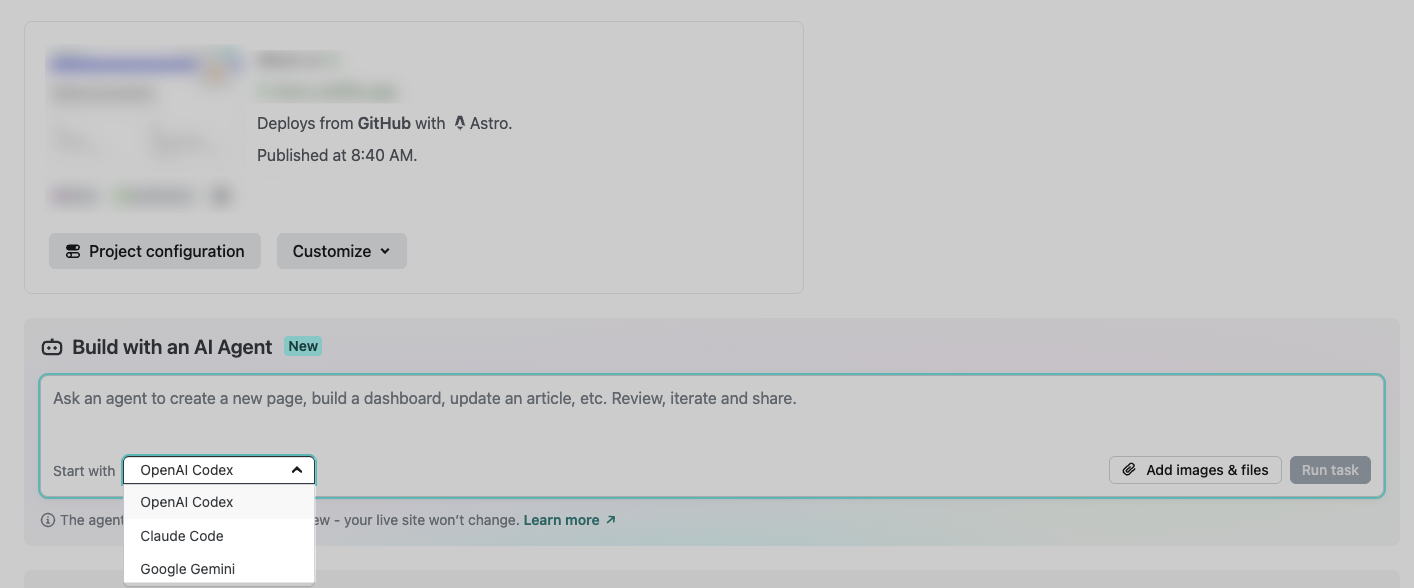
- Go to your Netlify project dashboard. Under Build with an AI agent, select your preferred AI agent, such as Claude Code, Google Gemini, or OpenAI Codex.

- Add your prompt. For examples of prompts, check out our prompt examples. You can optionally add more context as a file or image. Or you can add project context that applies to all agent runs, such as a project-specific prompt guidelines or a link to a publicly available design system or style guide.
- Choose Run task.
- Your chosen AI agent will complete the task asynchronously and notify you when it’s done. At this point, you can wait or take care of other tasks.
2. Check the status of your agent run
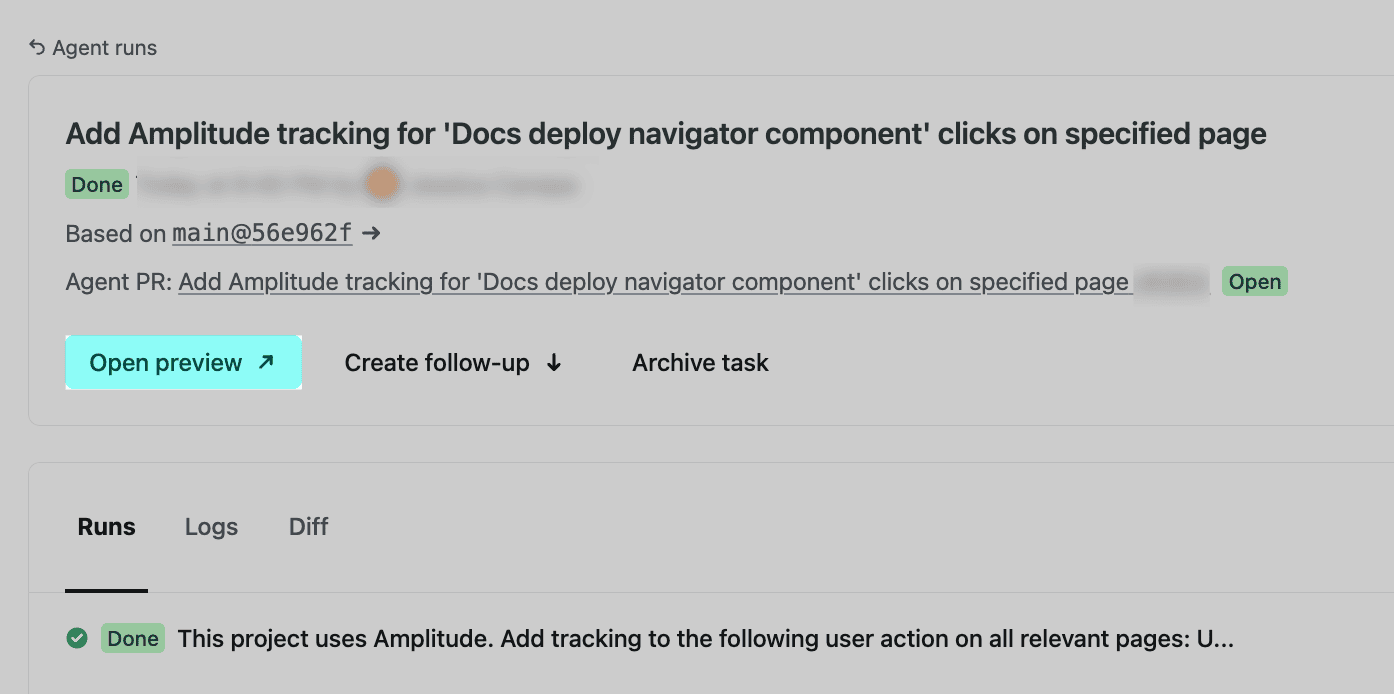
Section titled “2. Check the status of your agent run”To check the status of your agent run, go to the Agent Runs tab in your Netlify project dashboard. Then choose your agent run and check the log for the current status.
3. Preview Agent Runners updates
Section titled “3. Preview Agent Runners updates”To preview your agent run’s proposed updates, check out the agent run diff, which shows you the changes that the agent made.
You can also preview your agent run’s proposed updates in a preview environment by choosing Open preview, which opens a Deploy Preview of your changes.

If your project is connected to a GitHub repository, then you can optionally open up a pull request or update an existing pull request with your updates from your agent run.
4. Ship your agent run updates
Section titled “4. Ship your agent run updates”To ship your agent run updates, you have two options:
- For projects using Git & GitHub: Open a pull request or update an existing pull request with your updates from your agent run. When you merge your pull request into your production branch, Netlify publishes your changes to your production site/app for you.
- For projects without Git: You can ship your agent run updates directly by deploying a new build by zip file. Learn more about this deployment method in this guide.
Did you find this doc useful?
Your feedback helps us improve our docs.