For the complete Netlify documentation index, see llms.txt. Markdown versions of this page are available by appending .md to the URL. Netlify automatically backs up your database based on two triggers. How long your backups are retained differs by plan.
All backups include the full data and schema (i.e., structure of the database), and can be used to restore your database to exactly how it was when the backup was taken.
Backups are always taken off the production branch of the database. When restoring a backup, it is always the production branch that gets replaced with the backup contents.
When are backups taken
Section titled “When are backups taken”On a schedule: A backup is taken every day at midnight (UTC). This does not depend on the level of activity in your database or project, and requires no action on your part.
On publish: When a production deploy is published for a project that has a database, a backup is automatically taken.
For example, if you add a new field to your online store inventory in an agent run or pull request and then publish these changes to production, then Netlify will automatically back up your database once your production deploy goes live.
Netlify takes this backup because issues affecting database data are typically correlated with a new deploy containing faulty code or schema changes (even if the schema remains the same, a bug in a new code version can alter data in unwanted ways). For safety, this type of backup is taken on any new published deploy, regardless of what has changed in that deploy and whether its code has any new database migrations.
Backups and manual publishing
Section titled “Backups and manual publishing”By default, any new production deploy in a Netlify Project is automatically published. That means that a backup is taken for any new successful production deploy, just prior to its automatic publishing.
However, there are two cases in which deploys are manually published by a user, and require more attention regarding backup & restore:
- When rolling back to a previous deploy.
- When auto-publishing is locked and a user manually chooses when to publish deploys.
When rolling back
Section titled “When rolling back”Netlify allows you to rollback to a previous production deploy, in case you have determined that the currently published deploy is faulty in some way. This is performed by manually publishing a previous deploy.
When you rollback to a previous deploy, Netlify does not automatically restore the database from an on-publish backup. The production branch of your database remains intact, with its current data and schema.
It is up to you to decide if you want to restore any of the available backups. To learn more, read: Should I restore a backup?.
When auto-publishing is locked
Section titled “When auto-publishing is locked”If you lock a deploy to stop auto-publishing, any subsequent production deploys are not automatically published, allowing you to manually publish any production deploy at a time of your choosing - typically, publishing a newer deploy (or, rolling forward).
In that mode, the automatic on-publish backup is taken only when you manually publish a deploy, not when it was built. This is because only at publishing does a deploy start serving your primary domain (your live site), and any pending migrations are run.
Note that for projects that have a database provisioned, Netlify does not allow manually publishing a deploy preview directly (which is a shortcut that skips the step of merging its code into production branch first) - you can only manually publish another production deploy. To get a deploy preview published, merge its code into your production branch first - which is the typical and safe way to do it.
Backup retention
Section titled “Backup retention”Backups are retained based on your Credit-based pricing plan.
The retention mechanism depends on the type of backup:
- On-schedule backups are kept for a fixed amount of days.
- On-publish backups are kept for up to a fixed amount of previous backups - so the time duration they are kept for depends on the frequency of publishing a project to production.
| Plan | On-schedule backup retention | On-publish backup retention |
|---|---|---|
| Free | 3 days | Backup of the most recently published deploy only |
| Personal | 7 days | Backups of last 3 deploys |
| Pro | 30 days | Backups of last 10 deploys |
| Enterprise | 30 days | Backups of last 10 deploys |
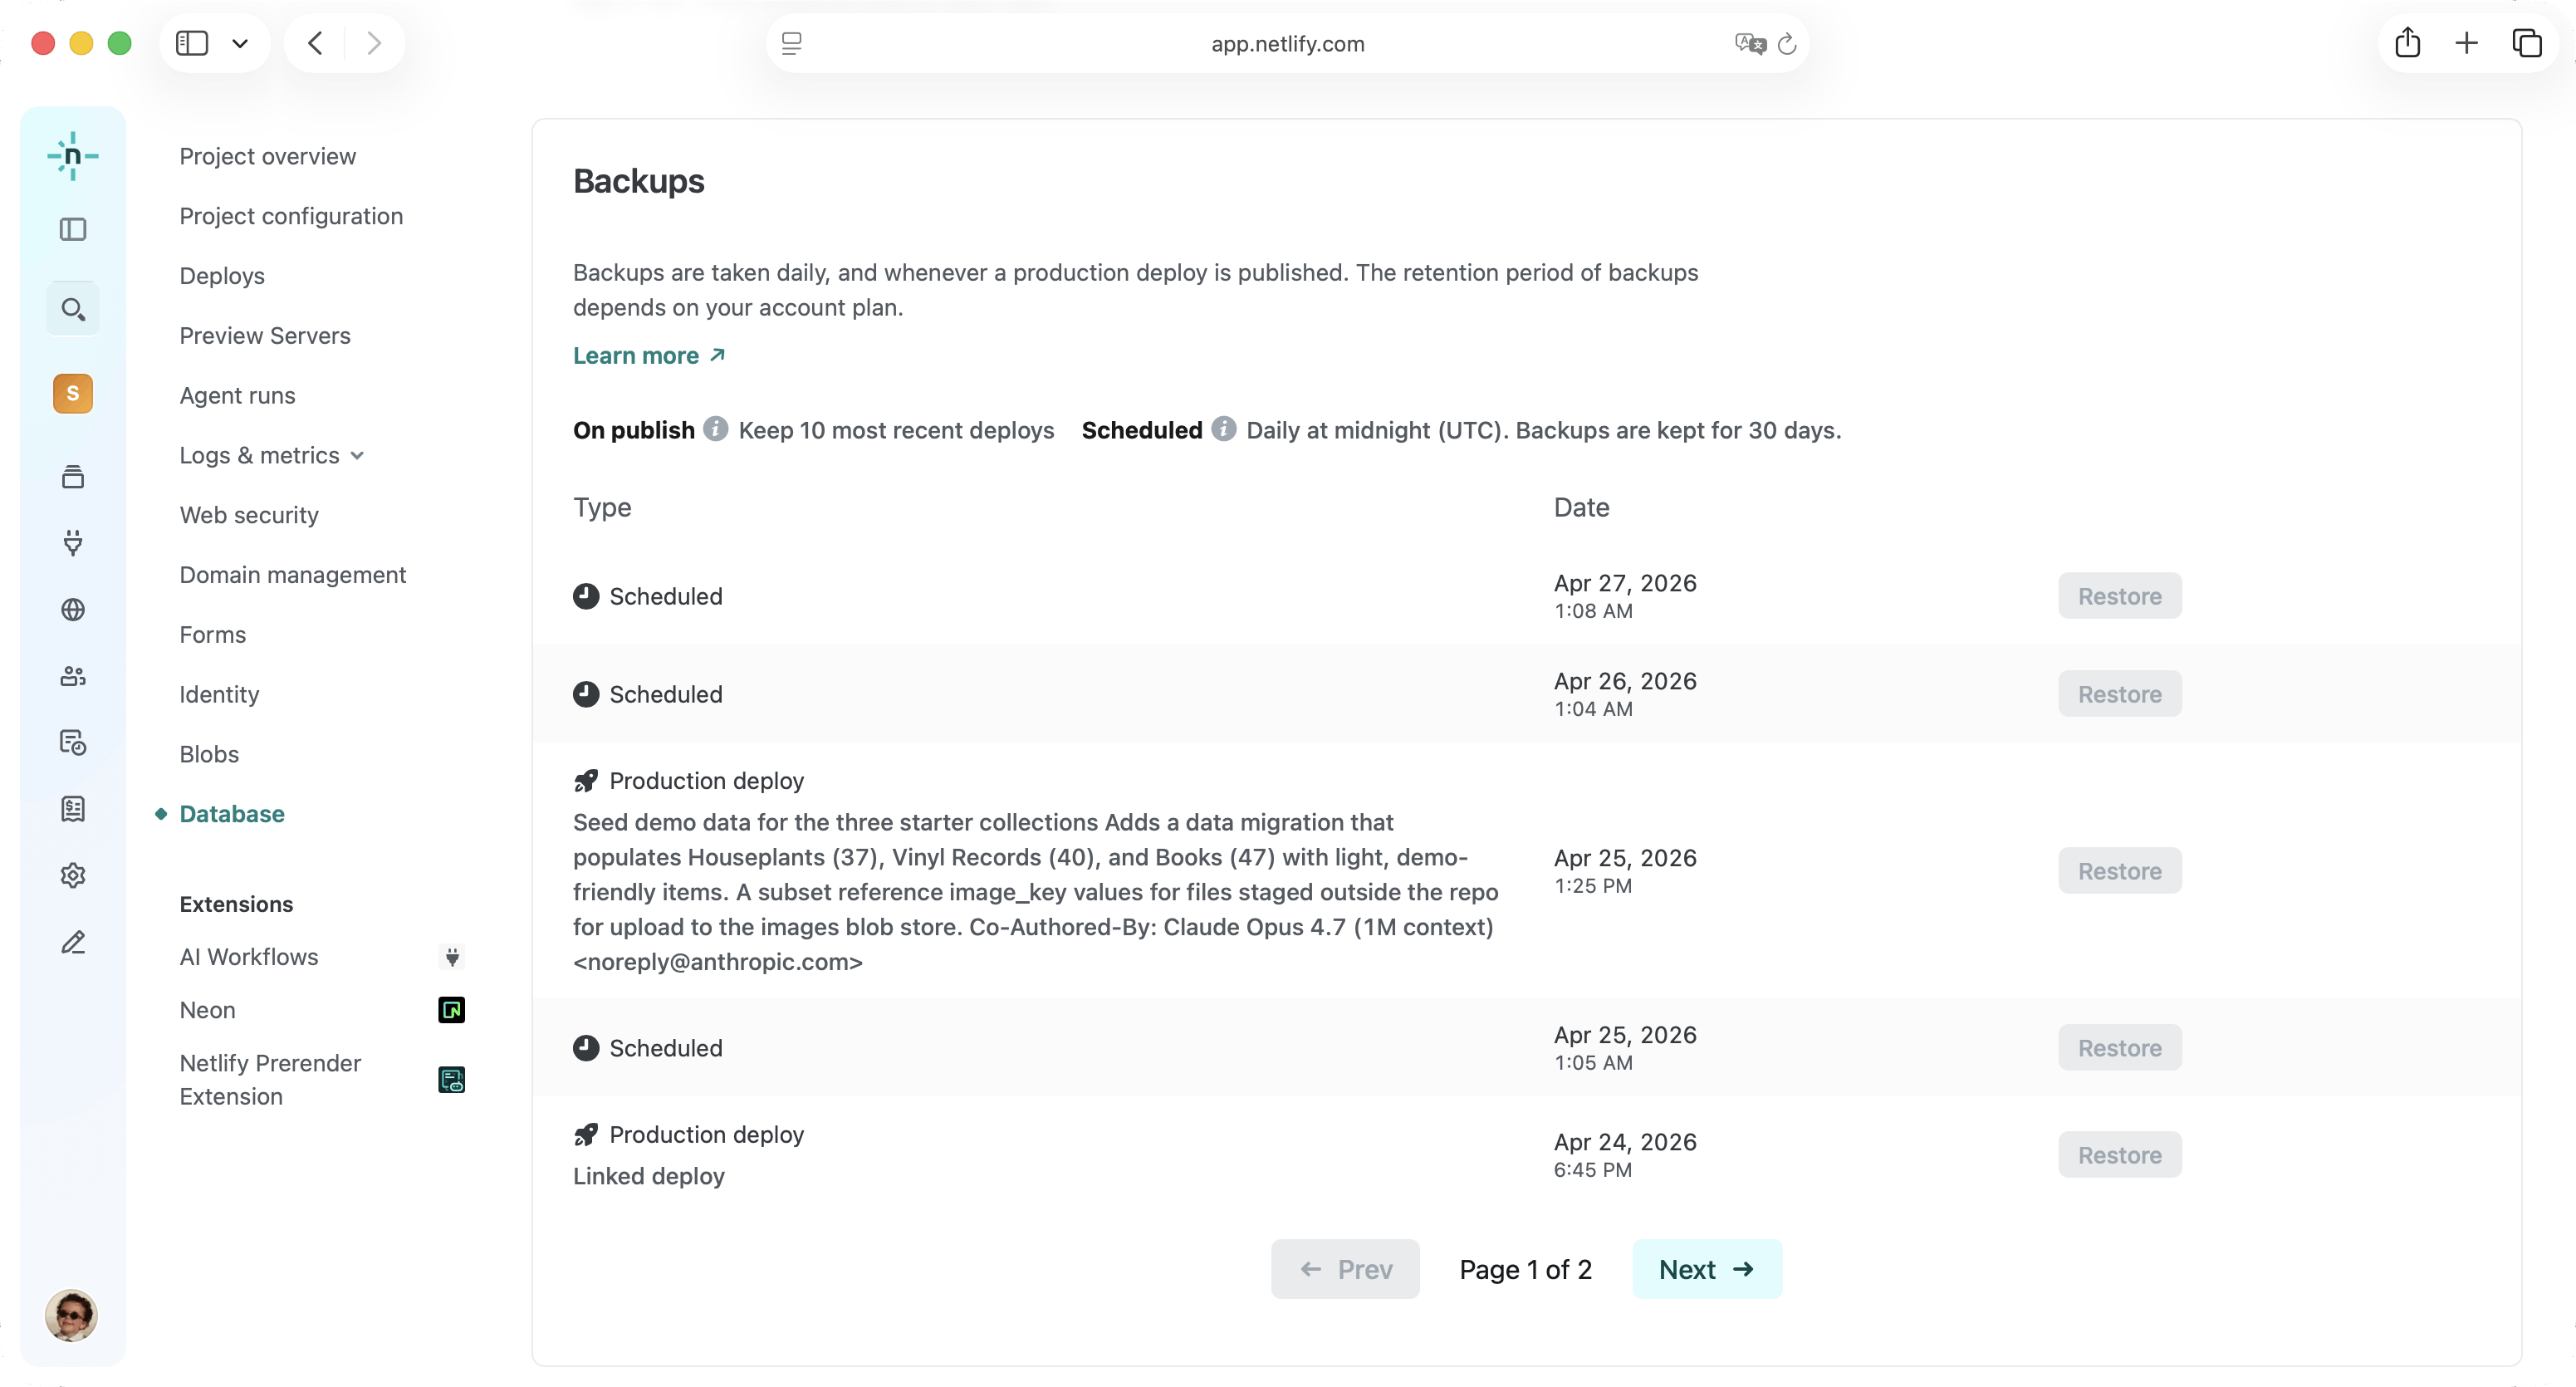
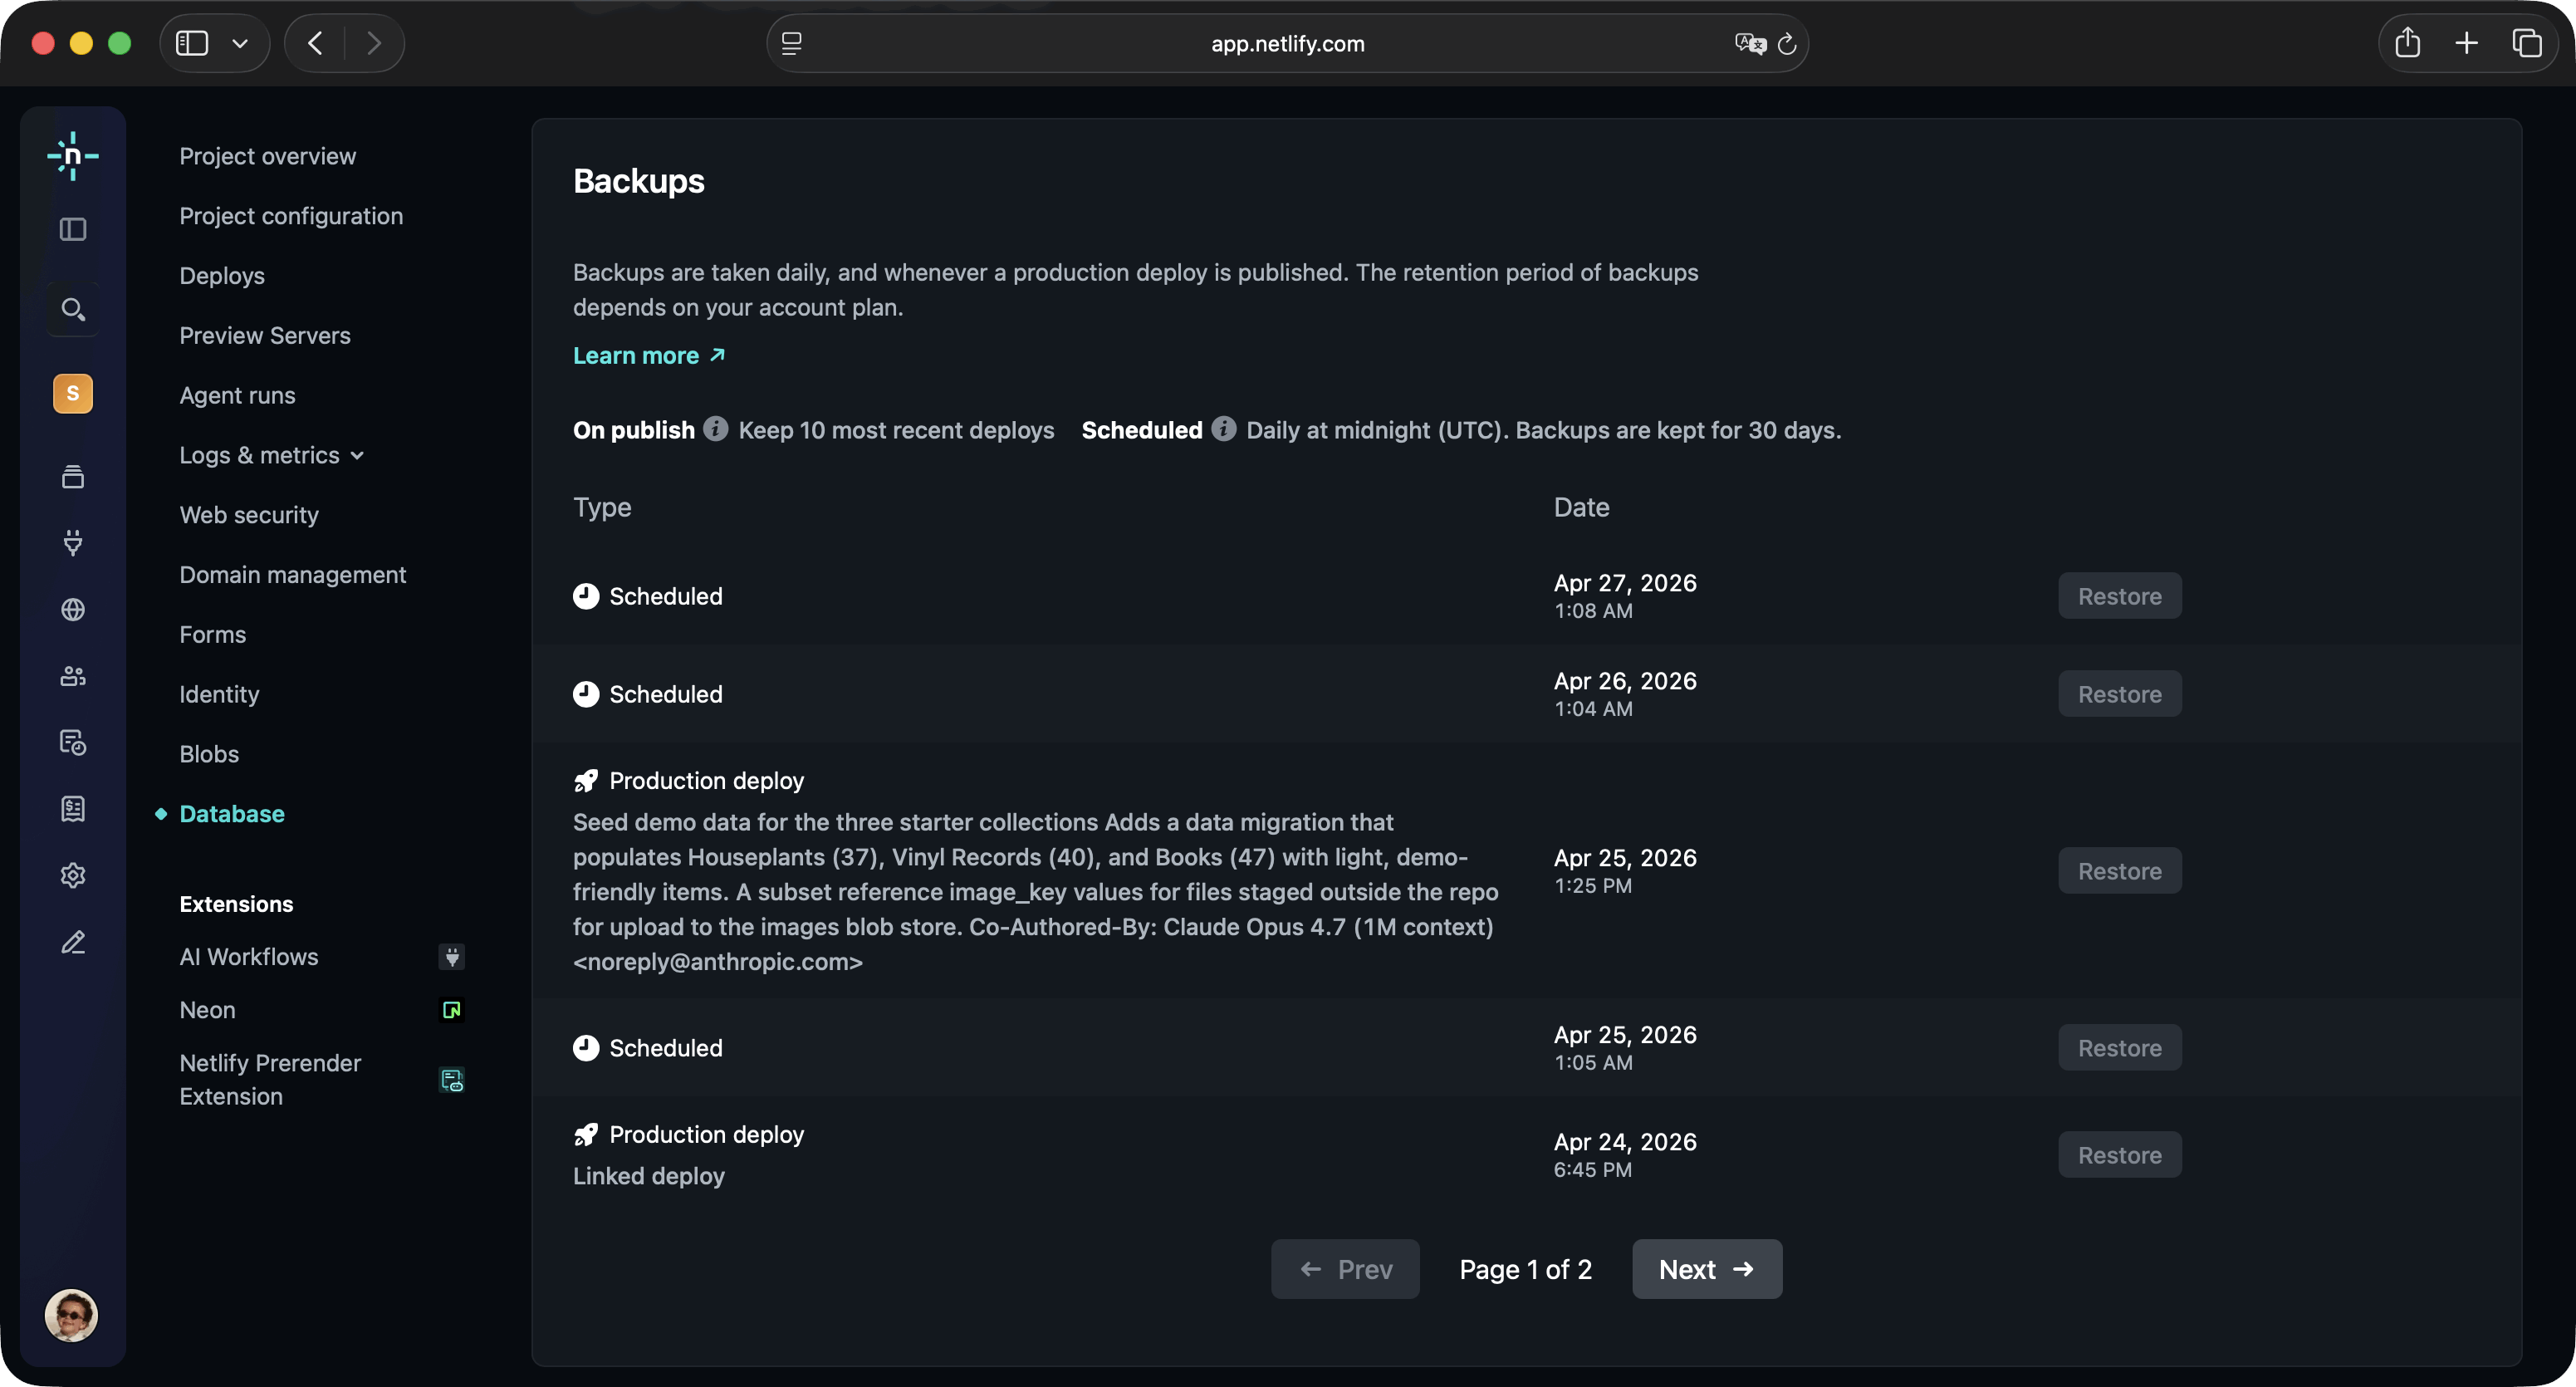
Restore a backup
Section titled “Restore a backup”To restore a backup, you must have the Team Owner role.
Follow these steps:
- From your project dashboard, on the left, select Database.
- Scroll to Backups, and next to the backup you want to restore, select Restore and confirm.
Did you find this doc useful?
Your feedback helps us improve our docs.