For the complete Netlify documentation index, see llms.txt. Markdown versions of this page are available by appending .md to the URL. The database editor in the Netlify UI lets you inspect and modify the contents of your Netlify Database without writing SQL. You can use it to spot-check data, adjust a row mid-development, or clear out test records — across any database branch and any table in your database.
Open the database editor
Section titled “Open the database editor”- From your project dashboard, in the left sidebar, select Database.
- Find the branch you want to inspect from the Database branches section.
- Click on View/edit.
Browse a table
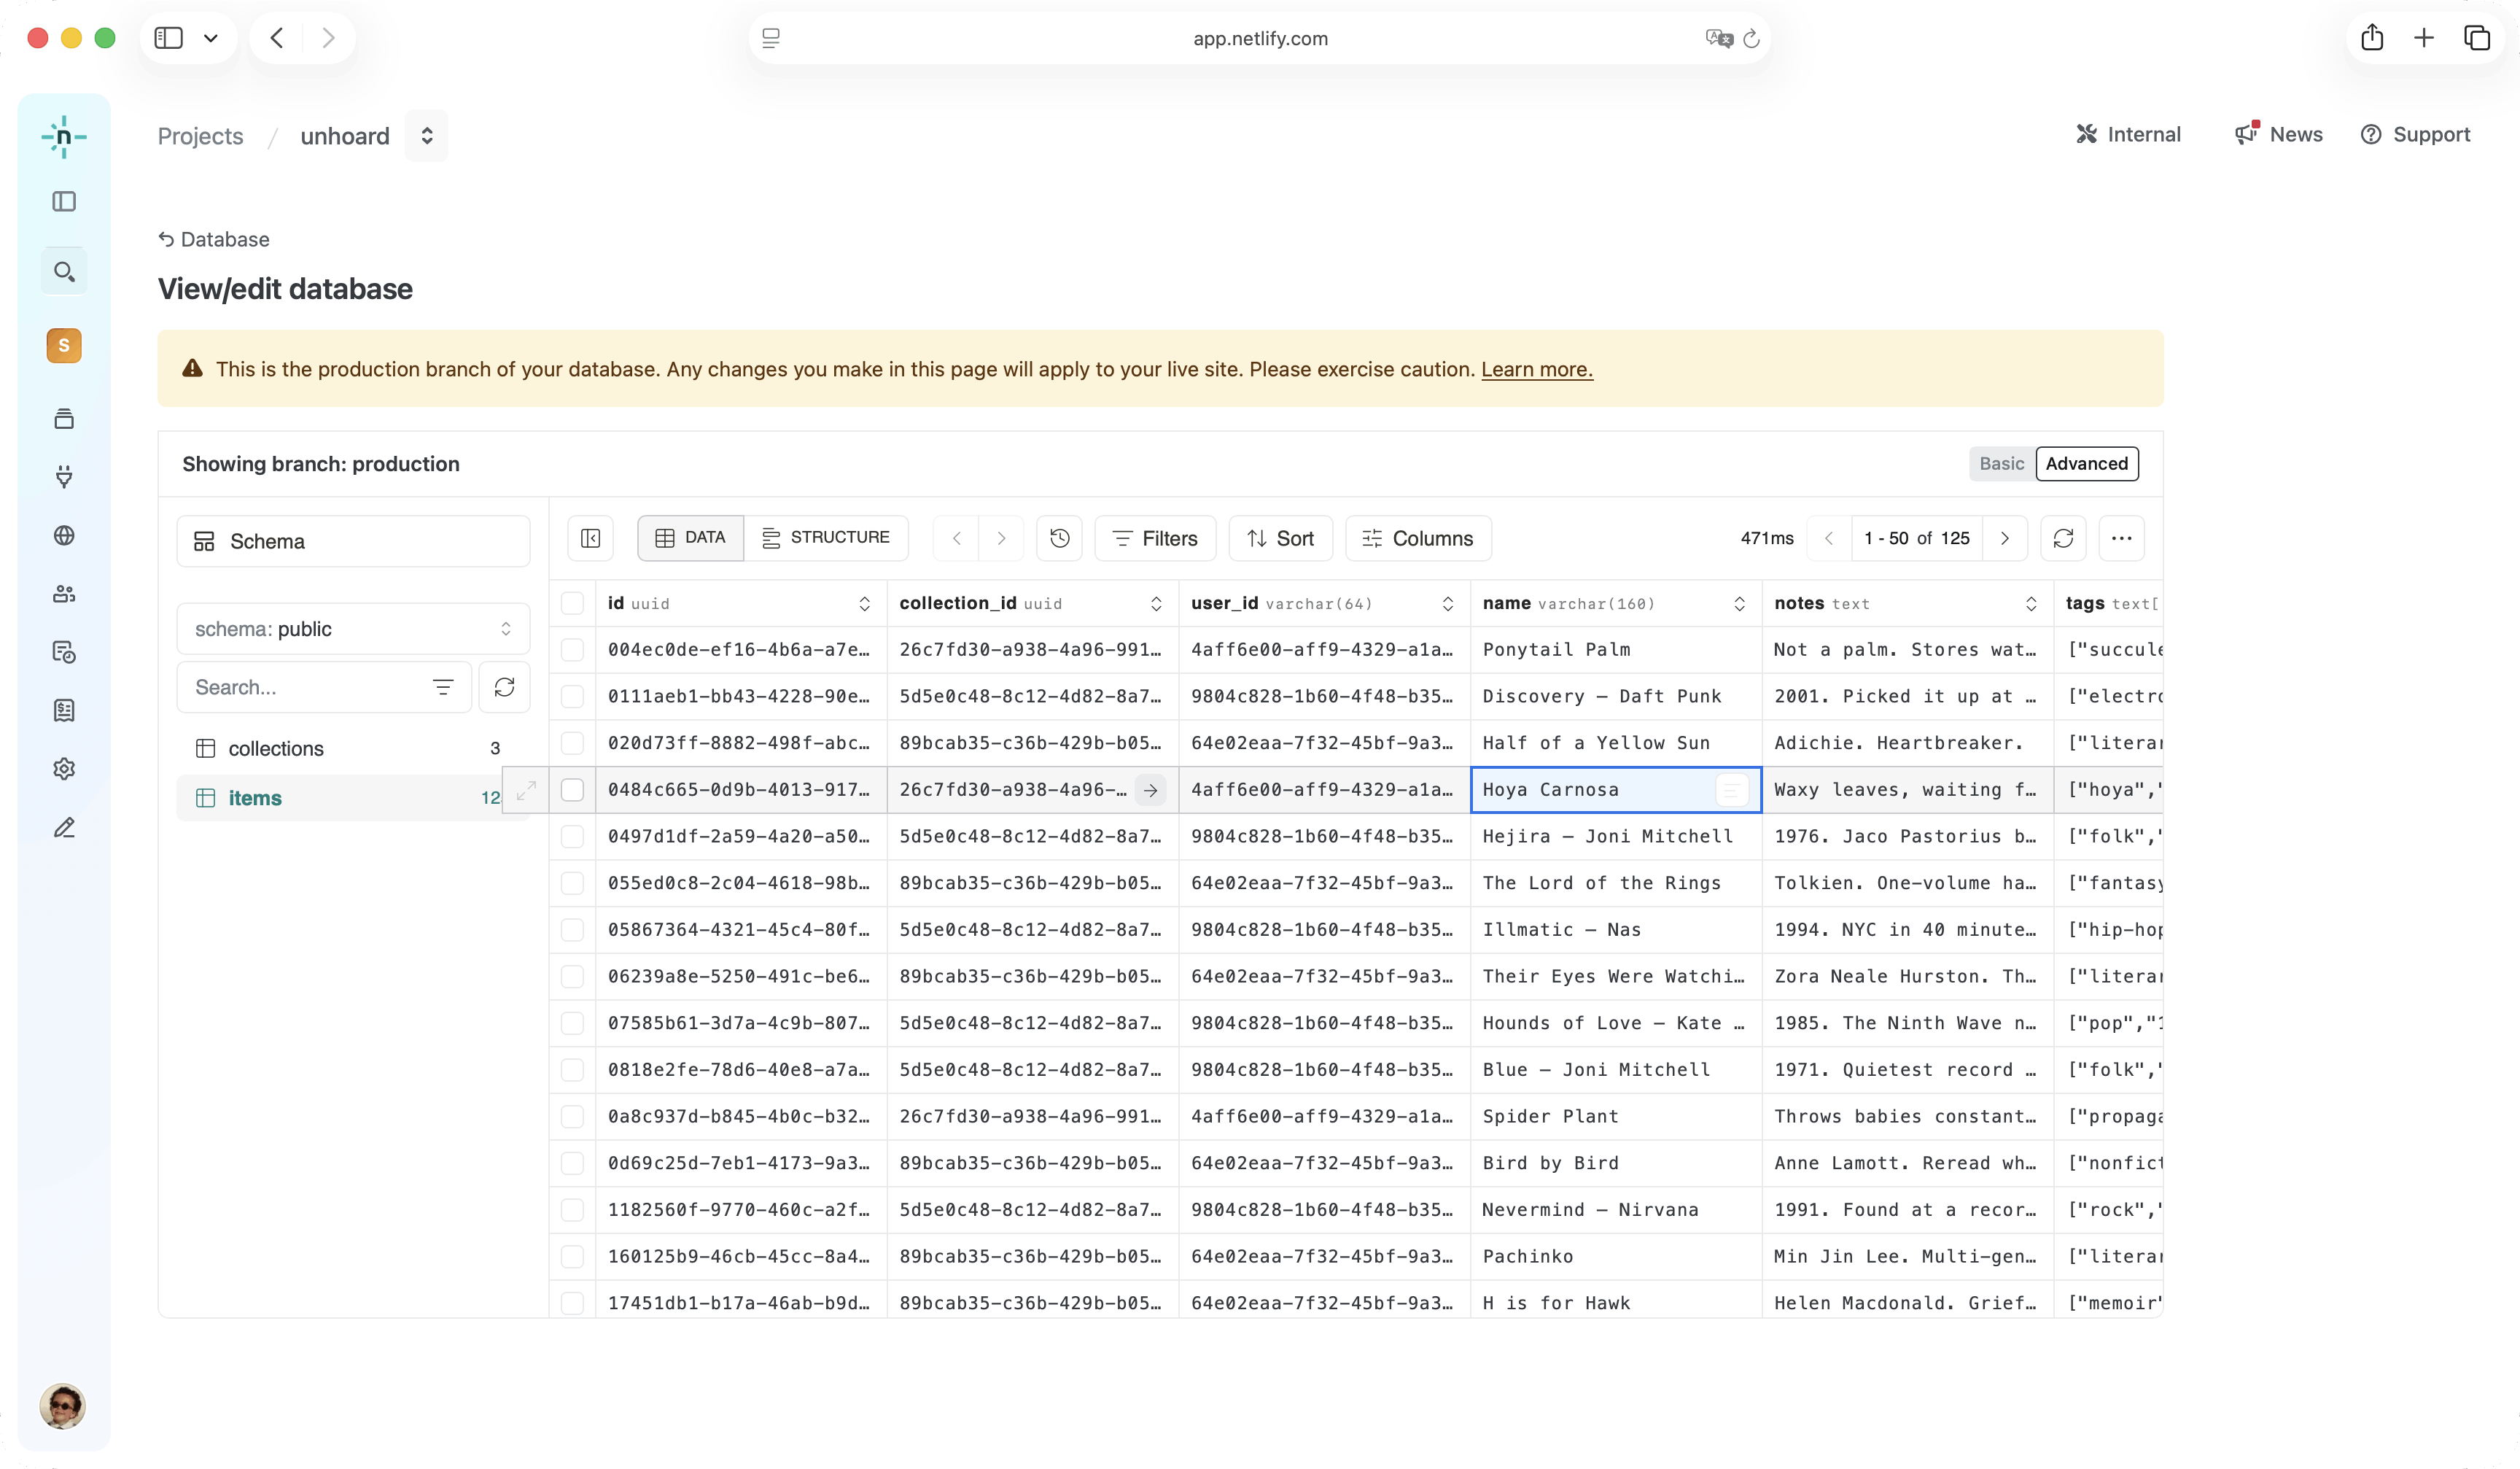
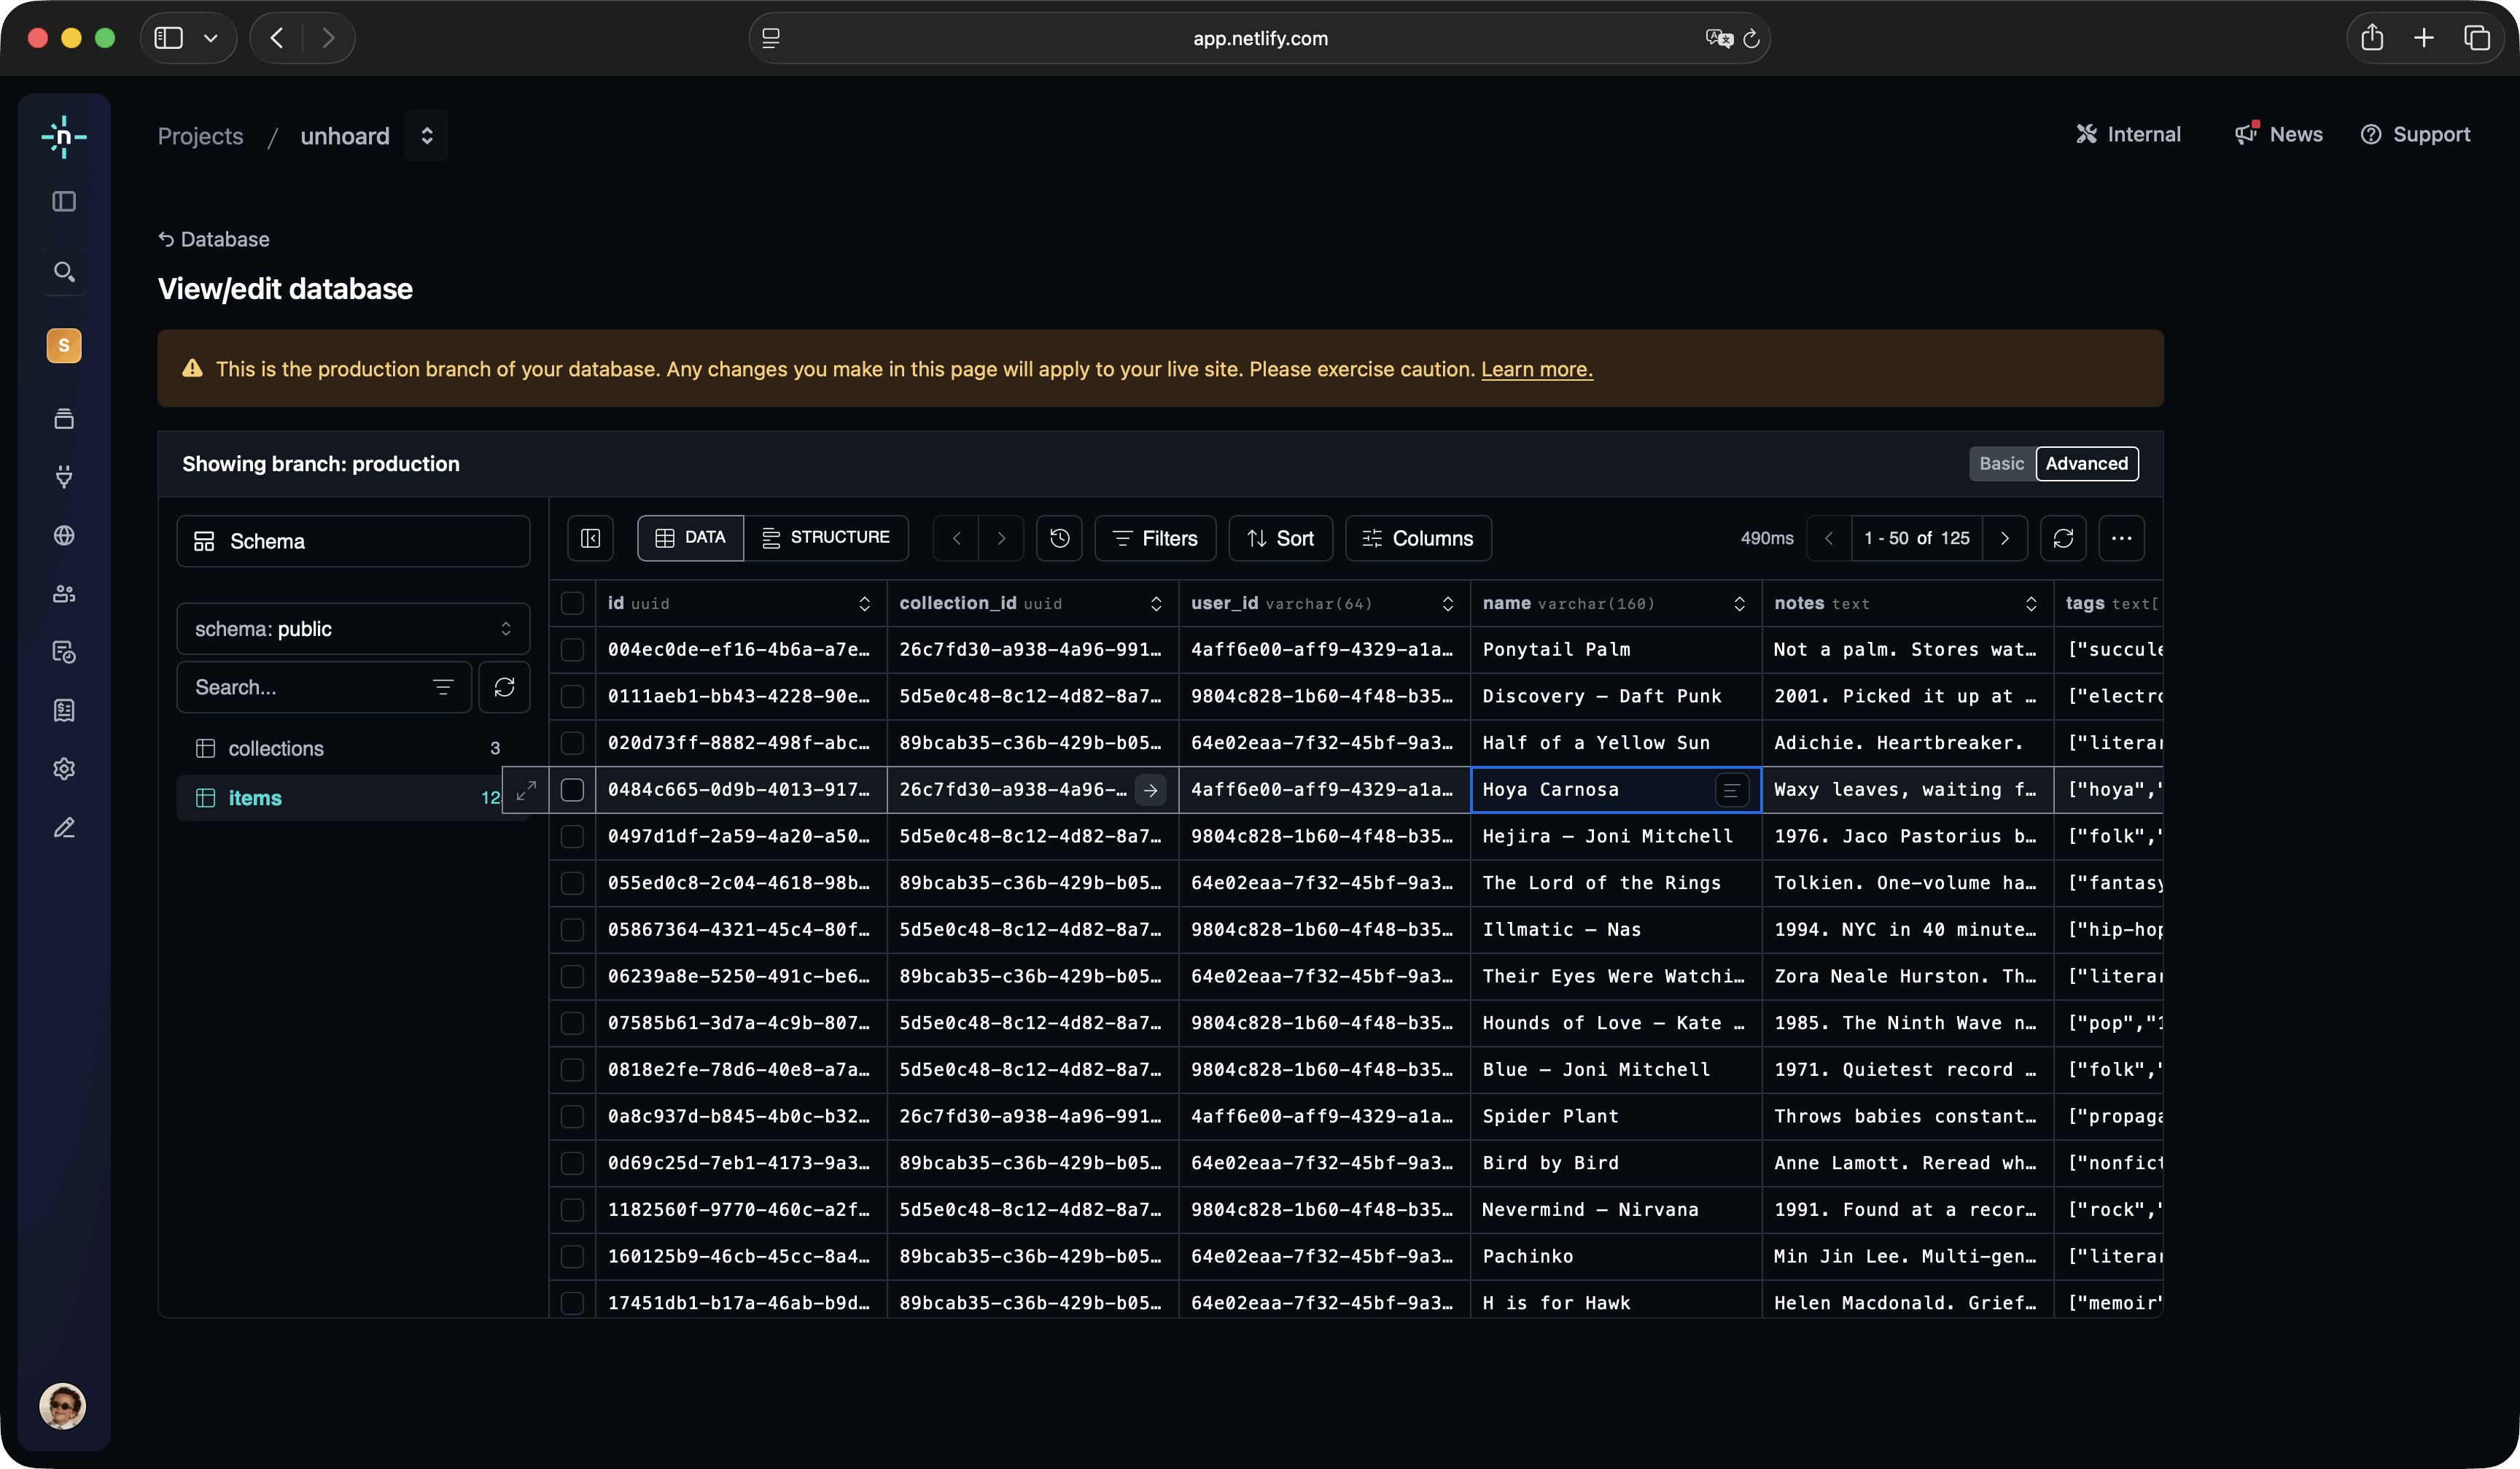
Section titled “Browse a table”The left-hand panel lists every table in the selected branch. Select a table to load its rows into the data grid.
The grid supports the operations you'd expect from a spreadsheet-style view:
- Filters — narrow rows down by column value
- Sort — order rows by one or more columns
- Columns — show or hide columns to focus on the fields you care about
- Pagination — page through large tables
Switch between Basic and Advanced modes in the top right to access more advanced controls and inline SQL.
Edit and delete rows
Section titled “Edit and delete rows”To edit a value, click the cell you want to change, type the new value, and confirm. Editing is performed against the selected branch, so changes only affect that branch — for example, edits made on a deploy preview's branch will not affect your production site.
To delete rows, select them in the grid and use the delete control. As with edits, deletes are scoped to the active branch.
Permissions
Section titled “Permissions”Viewing and editing data through the database editor requires a role with database access. See the database permissions table for the full breakdown.
Did you find this doc useful?
Your feedback helps us improve our docs.