Manage connected sites in Netlify Connect
After you create and configure a data layer, you can review and modify the data layer on the settings page in the Netlify UI. This document outlines how to add and remove connected sites for an existing data layer.
Connected sites are sites in your Netlify team that will automatically build and deploy when data changes. Learn more about when to connect a site.
Team Owners and Developers can add or delete connected sites at any time. Netlify records the addition and deletion of connected sites in the team audit log.
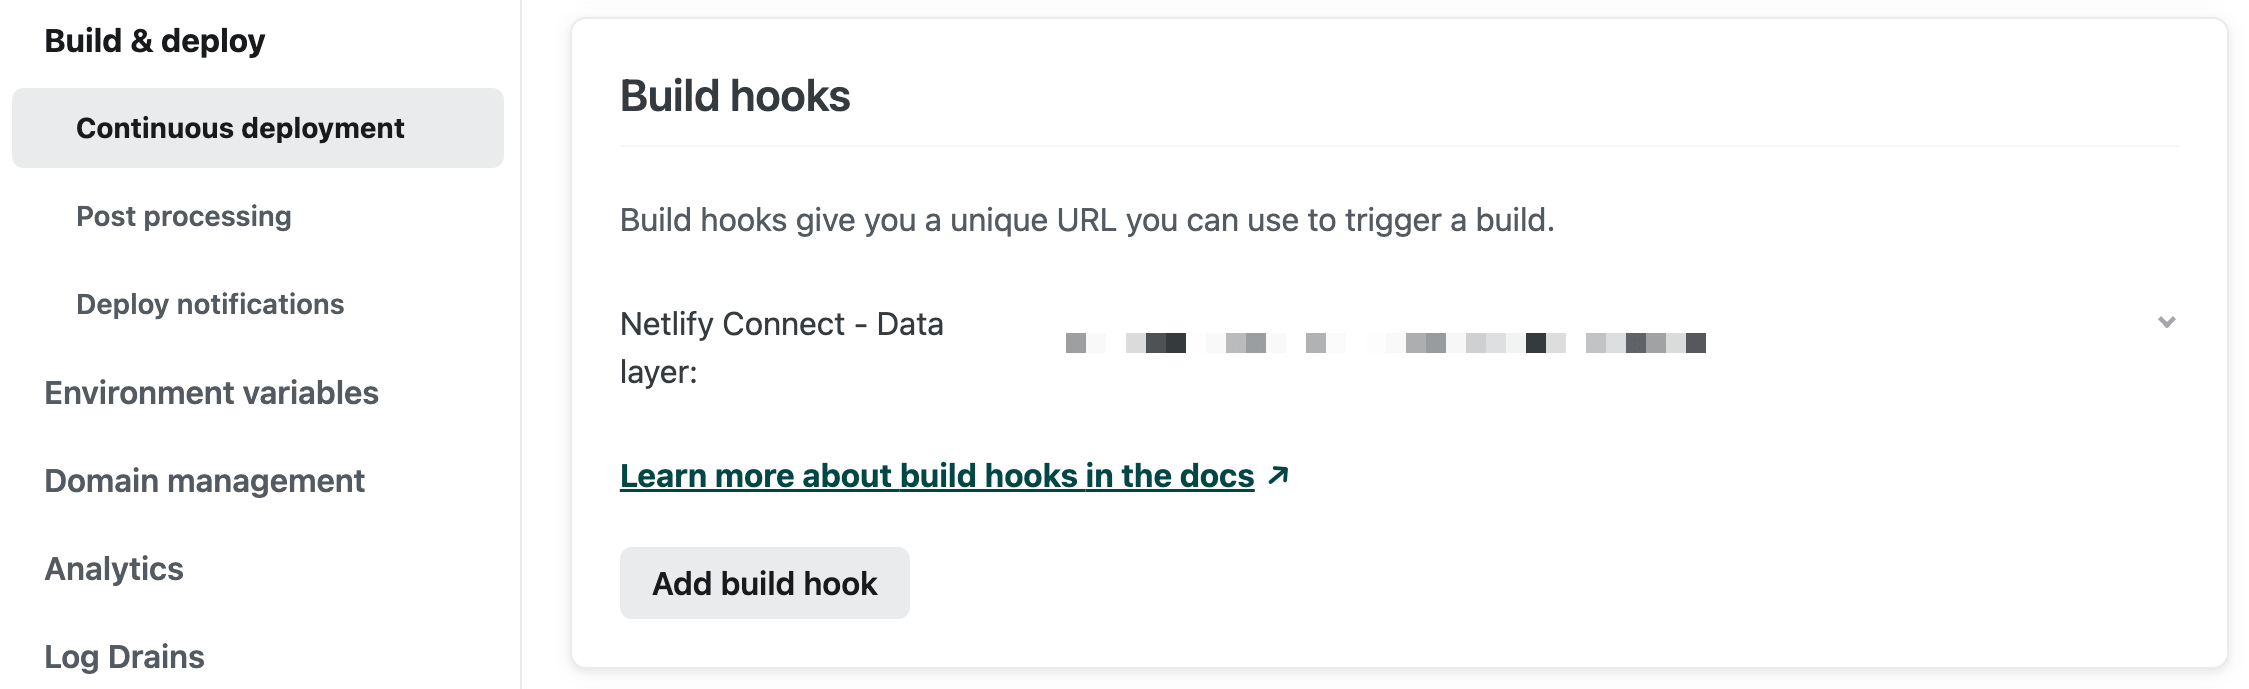
Once you connect a site, the build hooks for the site will include a Netlify Connect - Data layer build hook with the data layer ID as the value. This provides a convenient way on the site level to check whether a site is connected to a data layer.
New to Connect? Set up a data layer first
If you haven’t already created a data layer, navigate to the
page for your team and select Add new data layer. Follow the prompts to configure the data layer and to add data sources, connected sites, and notifications. For more information, refer to our get started with Netlify Connect guide.# When to connect a site
When you connect a site to your data layer, Netlify adds a build hook to the site and uses it to automatically build and deploy your site whenever data changes.
We recommend that you connect any sites that use static site generation (SSG). When your data layer updates, Netlify automatically rebuilds your site and any static code that includes queries to your GraphQL API receives the latest data. The new deploy also automatically invalidates the cache for your site.
All other site types should skip this step.
If your site uses SSR with caching, we recommend that you use the Connect client for efficient management of cached data. If you use a framework other than Astro and Next.js, you can add your own cache management logic using on-demand invalidation.
Sites that use functions and edge functions to query during runtime and don’t cache the responses always have access to the latest data. The same is true for sites that use a framework that handles server-side rendering (SSR) with functions or edge functions without caching enabled.
The following table outlines some common options and how they compare:
| API request location | Query timing | Connect your site? |
|---|---|---|
| Site code for SSG (static site generation) | Build time | Yes |
| Site code for SSR (server-side rendering) powered by Netlify Functions or Netlify Edge Functions | Runtime | No |
| Site code for frameworks that cache SSR (server-side rendering) pages, such as Remix. | Runtime but then cached for each edge node | No, use Connect client instead |
| Function code | Runtime | No |
| Edge function code (not configured for caching) | Runtime | No |
# Connect a site
For Netlify to automatically build and deploy your site when data changes, your site must be linked to a Git repository to enable continuous deployment, and it must have active builds.
To connect a site to your data layer:
- Navigate to the page for your team in the Netlify UI.
- Select the data layer from the Data layers list, and then select Data layer settings.
- On the data layer settings page, select Connected sites.
- Select Search by site name or domain and start entering the name or domain of the site you want to connect.
- When the site appears in the results list, select the site to connect it.
# Disconnect a site
Note that when you disconnect a site, Netlify will no longer automatically build and deploy the site whenever data changes. This may result in inconsistent content.
You can’t disconnect a site by manually deleting the build hooks on the site level. You can only disconnect a site by editing the data layer.
To disconnect a site from your data layer:
- Navigate to the page for your team in the Netlify UI.
- Select the data layer from the Data layers list, and then select Data layer settings.
- On the data layer settings page, select Connected sites.
- Find the site you would like to disconnect in the Connected sites list and select Disconnect.
- A confirmation prompt will appear. Review the details and then select Disconnect.
Did you find this doc useful?
Your feedback helps us improve our docs.