For the complete Netlify documentation index, see llms.txt. Markdown versions of this page are available by appending .md to the URL. Netlify autogenerates a name for your project when you first deploy. You can customize the project name and cover image on the Netlify dashboard to ease your project management and help you find your project.
Customize project name
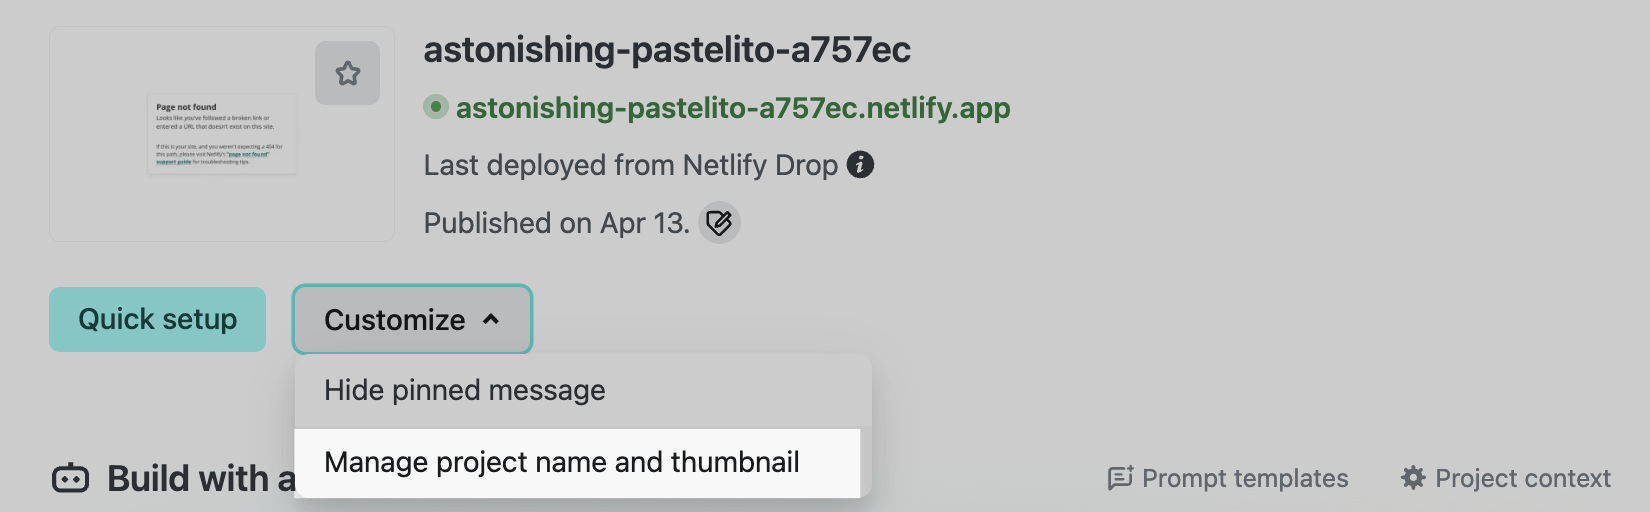
Section titled “Customize project name”To customize a project name:
- Go to your Project Overview dashboard, and select Customize, then choose Manage project name and cover image.
- Choose a meaningful name for your project. The project name determines the default URL for your project. For example, if your project name is pear-product-docs, then your Netlify default URL for your project will be
https://pear-product-docs.netlify.appunless your team has customized subdomains enabled.
Customize a cover image for your project
Section titled “Customize a cover image for your project”When you customize a cover image for your project, you're choosing how others will find your project in the Netlify dashboard. You can upload a custom image or Netlify can take a snapshot of your project and use it as a cover image.
To customize a default image for your project:
- Go to your Project Overview dashboard, and select Customize, then choose Manage project name and cover image.
- Choose whether to upload an image or let Netlify upload an automatic snapshot of your project for you.
Did you find this doc useful?
Your feedback helps us improve our docs.