For the complete Netlify documentation index, see llms.txt. Markdown versions of this page are available by appending .md to the URL. Learn ways to organize projects in your Netlify dashboard by assigning labels or pinning your favorite projects.
Assign a label to a project
Section titled “Assign a label to a project”Anyone with access to a project can assign a label to it but only Team Owners can create and edit labels.
To assign a label to your project:
- From your project overview dashboard, under your project URL, select the project label icon.

- Select the labels drop-down menu to choose a label for your project and confirm.
The labels you assign to a project will appear for everyone with access to your project.
Pin a favorite project
Section titled “Pin a favorite project”To keep a favorite project pinned to the top of your projects list, you can star or pin a project by selecting the star icon in your project list.
This project will appear at the top of your project list in your Netlify dashboard. It will not appear at the top of the project list for others on your team.
Create and manage labels for your project
Section titled “Create and manage labels for your project”As a Team Owner, you can organize projects across the team by creating custom labels and assigning them to your projects.
This allows you to group projects for your needs. For example, you may want to create labels to group projects by the following use cases:
- internal-only
- marketing
- staging
- sandbox
- production sites
You can also group projects by bandwidth usage or internal teams.
Create project labels
Section titled “Create project labels”As a Team Owner, to create (or edit) labels for your projects:
- From your team overview dashboard, go to Team settings Site labels.
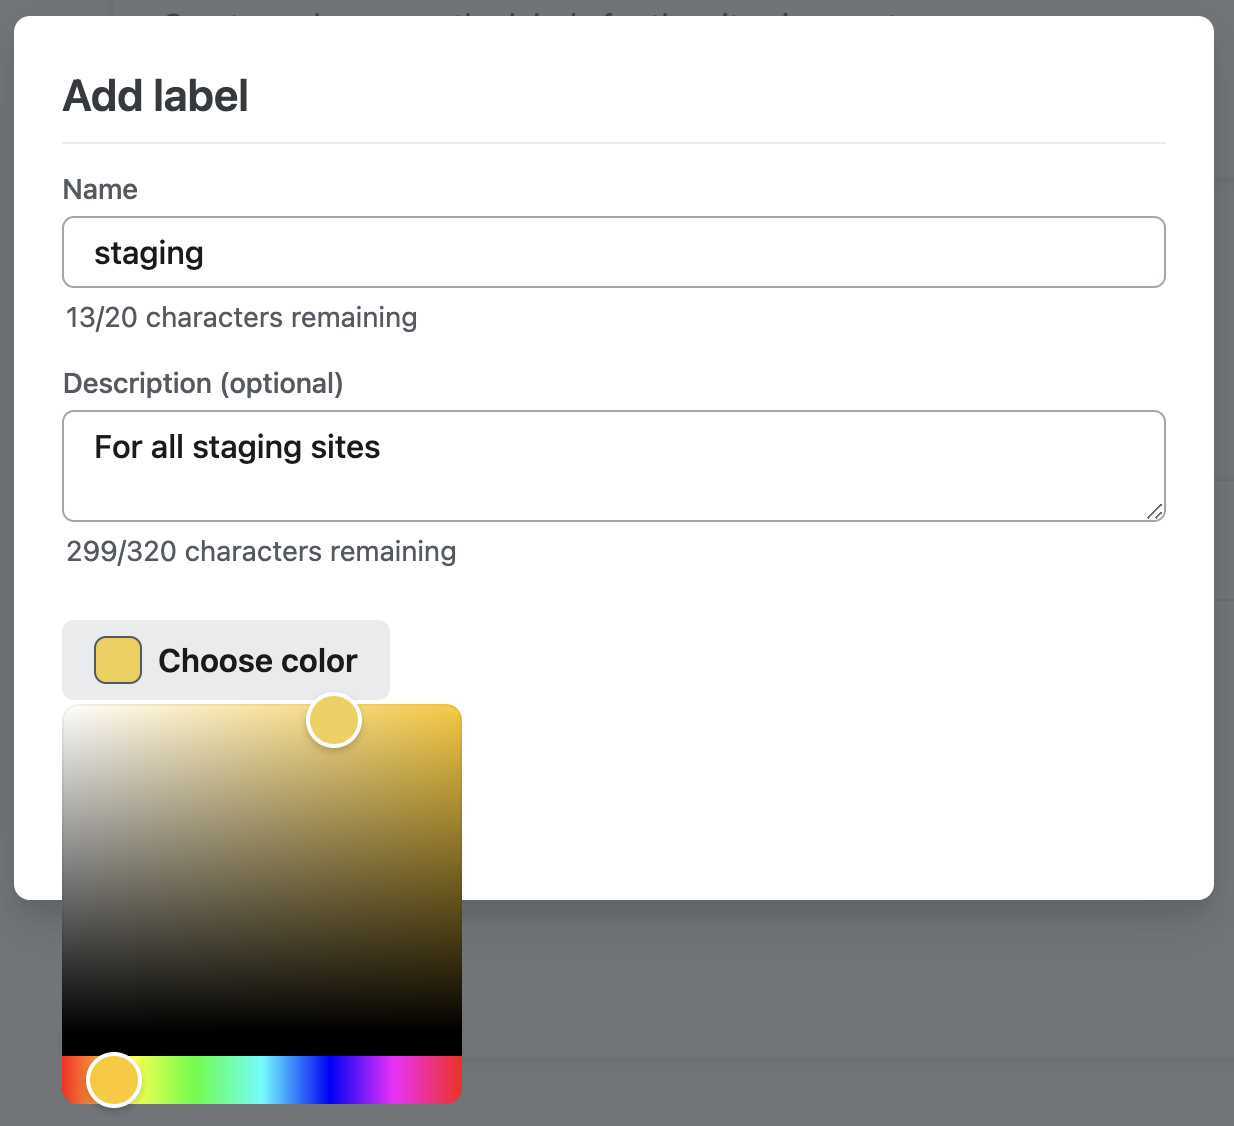
- To create new labels, select Add label and fill in the desired details.
- To edit an existing label, select an existing label to make changes.
Did you find this doc useful?
Your feedback helps us improve our docs.