For the complete Netlify documentation index, see llms.txt. Markdown versions of any documentation page are available by appending .md to its URL.
More flexibility and credits now available for Pro plans 🎉
Add new project
Learn the many ways to add a new project to Netlify whether you are an experienced Developer or new to building on the web. If you'd like interactive help choosing the best publishing path for your starting place, check out our Deploy wizard.
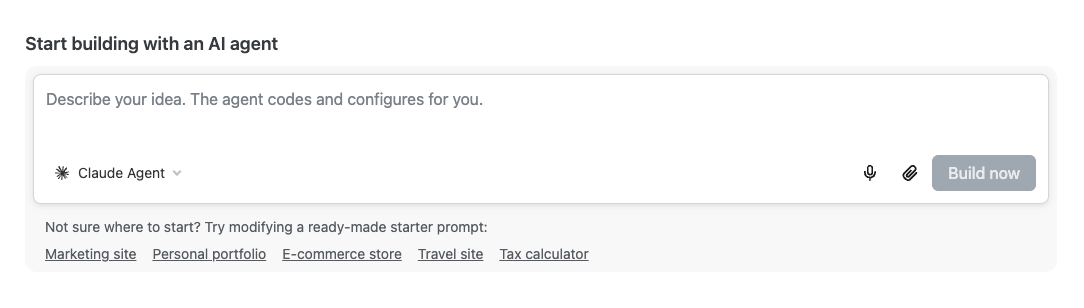
Build a new project from scratch with the help of an AI agent directly from your Netlify dashboard using Agent RunnersAgent RunnersAn AI coding tool that makes changes to your site on your behalf, right from the Netlify dashboard..
Publish your site or app to the web by dragging and dropping your project’s folder with your site files. Note this folder may be called your project’s public folder.
As long as you’re logged in to Netlify, you don’t have to build your project first. You can drop a web project that still needs a build step — Netlify will detect your framework and run the build for you before publishing. Dropping a pre-built output folder also works.
If you haven't already, log in to your Netlify account at https://app.netlify.com/login. Make sure you're signed in to the Netlify team where you want to manage your project.
Go to https://app.netlify.com/drop or scroll to the bottom of your team dashboard where all your team-owned projects will be listed.
Drag and drop your folder to the Drop zone in the Netlify UI.
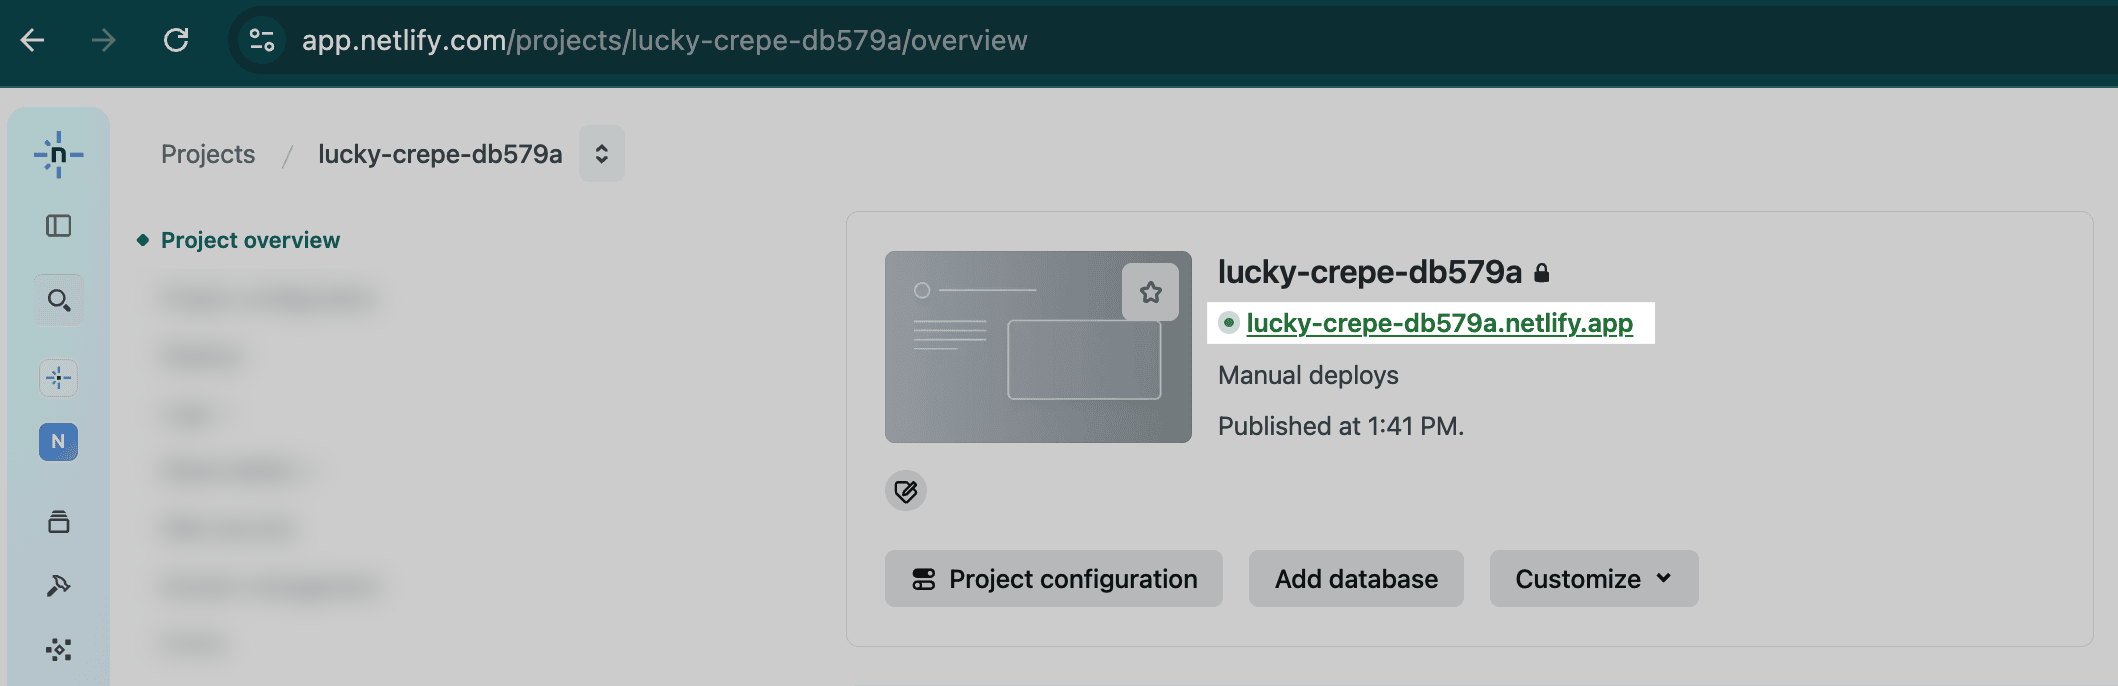
Find your site published at the Preview URL ending in netlify.app. Your site should now be published on the web so you can share it with others. 🎉
To customize your preview URL with a project name and to give your project an official name, select Customize under your Preview URL.
If you need to update a site that you created using drag and drop, update and rebuild your project locally. Then, drag the project’s updated output folder to the deploy dropzone at the bottom of the site’s Deploys page. This will start a new site deploy with the updated files. You can also use this functionality to manually update any site that is not connected to a Git repository.
FAQ for using the Drag and Drop publisher
Which folder?
You can drag your project’s build or output folder. This folder usually contains your project’s HTML, CSS, JS, and related built files and may also be called dist, build, or public. Drag this folder into the Deploy zone.
You don’t have to build your project first, though. As long as you’re logged in, you can drag the folder for a web project that still needs a build step, and Netlify will detect your framework, run the build, and publish the result for you. If you drop a project without being logged in, Netlify publishes the files as-is, so build it locally first or log in to have Netlify build it.
What if my project isn’t working?
Make sure your project folder isn't too large. Deploys under 50MB work best, and individual files over 10MB may cause your deploy to get stuck. For larger projects, use the Netlify CLI.
Check that you have a reliable network connection — any network hiccups can cause a deploy to stall.
Use the latest version of a Chromium-based browser.
Make sure your computer has sufficient free memory — roughly 4x your uncompressed project size is a good baseline.
Ask an AI assistant to help troubleshoot. We recommend sharing Netlify context for agents with your AI tool or connecting the Netlify MCP server to help it understand how to build and deploy your project. You can also search errors using Ask Netlify or the Netlify CLI.
Try running your project locally to confirm it works and to generate the build output folder.
What if I update my project?
You can drag and drop your updated project folder into the Deploy zone to deploy your updated web project.
Learn more about iterating on projects published with Netlify DropNetlify DropThe simplest way to publish a site: drag and drop a folder of files and it goes live instantly, no account required. using Agent Runners in our Agent Runners docs.
You can import an existing project from a Git repository and deploy it on Netlify. When you import your existing project repository to Netlify, our continuous deployment will automatically update your site each time you push changes.
To import an existing project:
Go to your team’s Projects page, open the Add new project menu, and select Import an existing project.
Select the Git provider where your project is hosted.
If your site uses a framework that Netlify is able to identify, Netlify will automatically populate the Build commandBuild commandThe instruction Netlify runs to prepare your site’s files before deploying them. and Publish directoryPublish directoryThe folder containing the finished files Netlify deploys after running your build command. with suggested values. If these starting values are incorrect, you can update them. Visit the Frameworks page for more information on commonly used build settings for frameworks.
Similarly, if Netlify detects that your site is a monorepo, you can select from one of the automatically detected sites and Netlify will automatically configure the Build command and Publish directory based on that selection. Learn more about configuring monorepos.
If you have an existing project on your local machine that isn’t linked to a Git repository, you can manually deploy your site by using Netlify’s deploy dropzone.
Go to your team’s Projects page, open the Add new project menu, and select Deploy manually. Drag and drop your site’s output folder to the deploy dropzone to deploy your project. As long as you’re logged in, you can also drop a project that still needs a build step and Netlify will build it for you. For guided help, check out the drag and drop publisher.
Deploy a demo project on Netlify to make it available on the web. Get to know some key features including Deploy PreviewsDeploy PreviewsA type of deploy that lets you preview and share changes for feedback before they go live., rollbacks, Netlify Functions, environment variablesenvironment variablesNamed values stored outside your code that your site can read at build time or runtime., redirects, and Netlify Forms.