

For the complete Netlify documentation index, see llms.txt. Markdown versions of any documentation page are available by appending .md to its URL. Give Claude the latest context for building and deploying to Netlify by connecting it to Netlify tools through the Netlify connector. One connection works in both Claude.ai and Claude Desktop.
Before you begin
Section titled “Before you begin”- A Claude account.
- Claude.ai in your browser or Claude Desktop installed.
- A Netlify personal account or team workspace.
- If you’re on a Claude Team or Enterprise plan, an admin must first add the Netlify connector for your organization from Organization Settings, then Connectors, as described in Claude admin configuration.
Connect Netlify to Claude
Section titled “Connect Netlify to Claude”To connect to the Netlify connector for Claude:
-
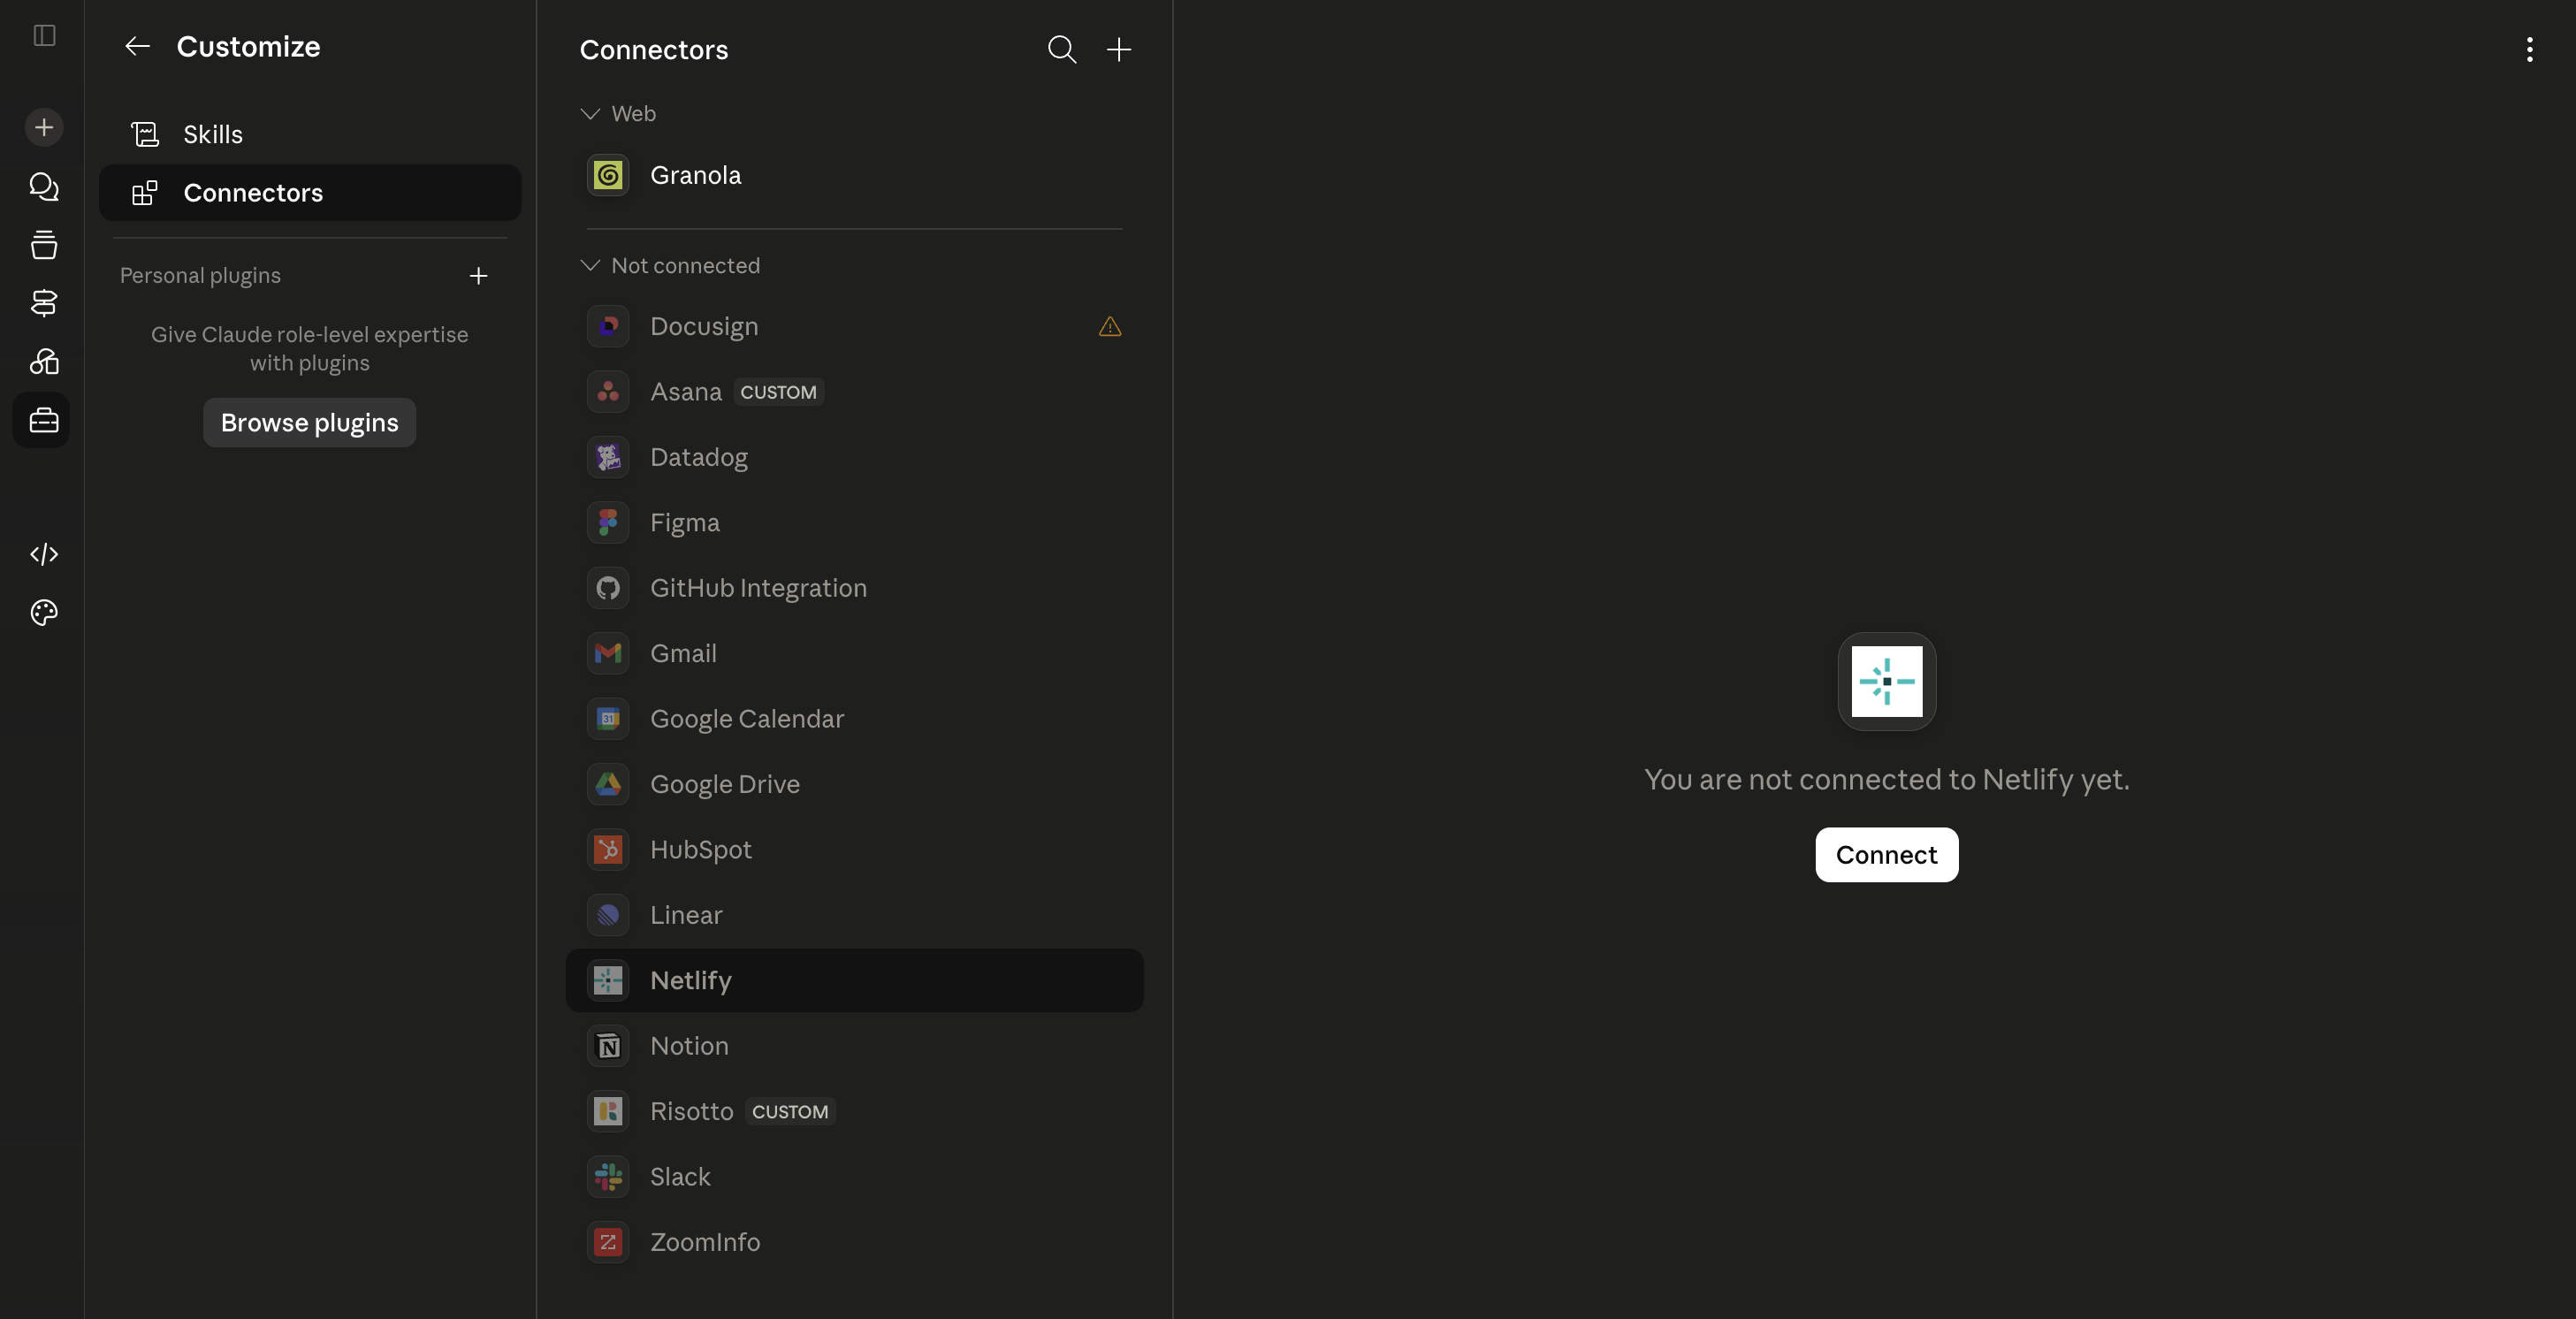
In Claude.ai or Claude Desktop, go to Customize, then select Connectors.
-
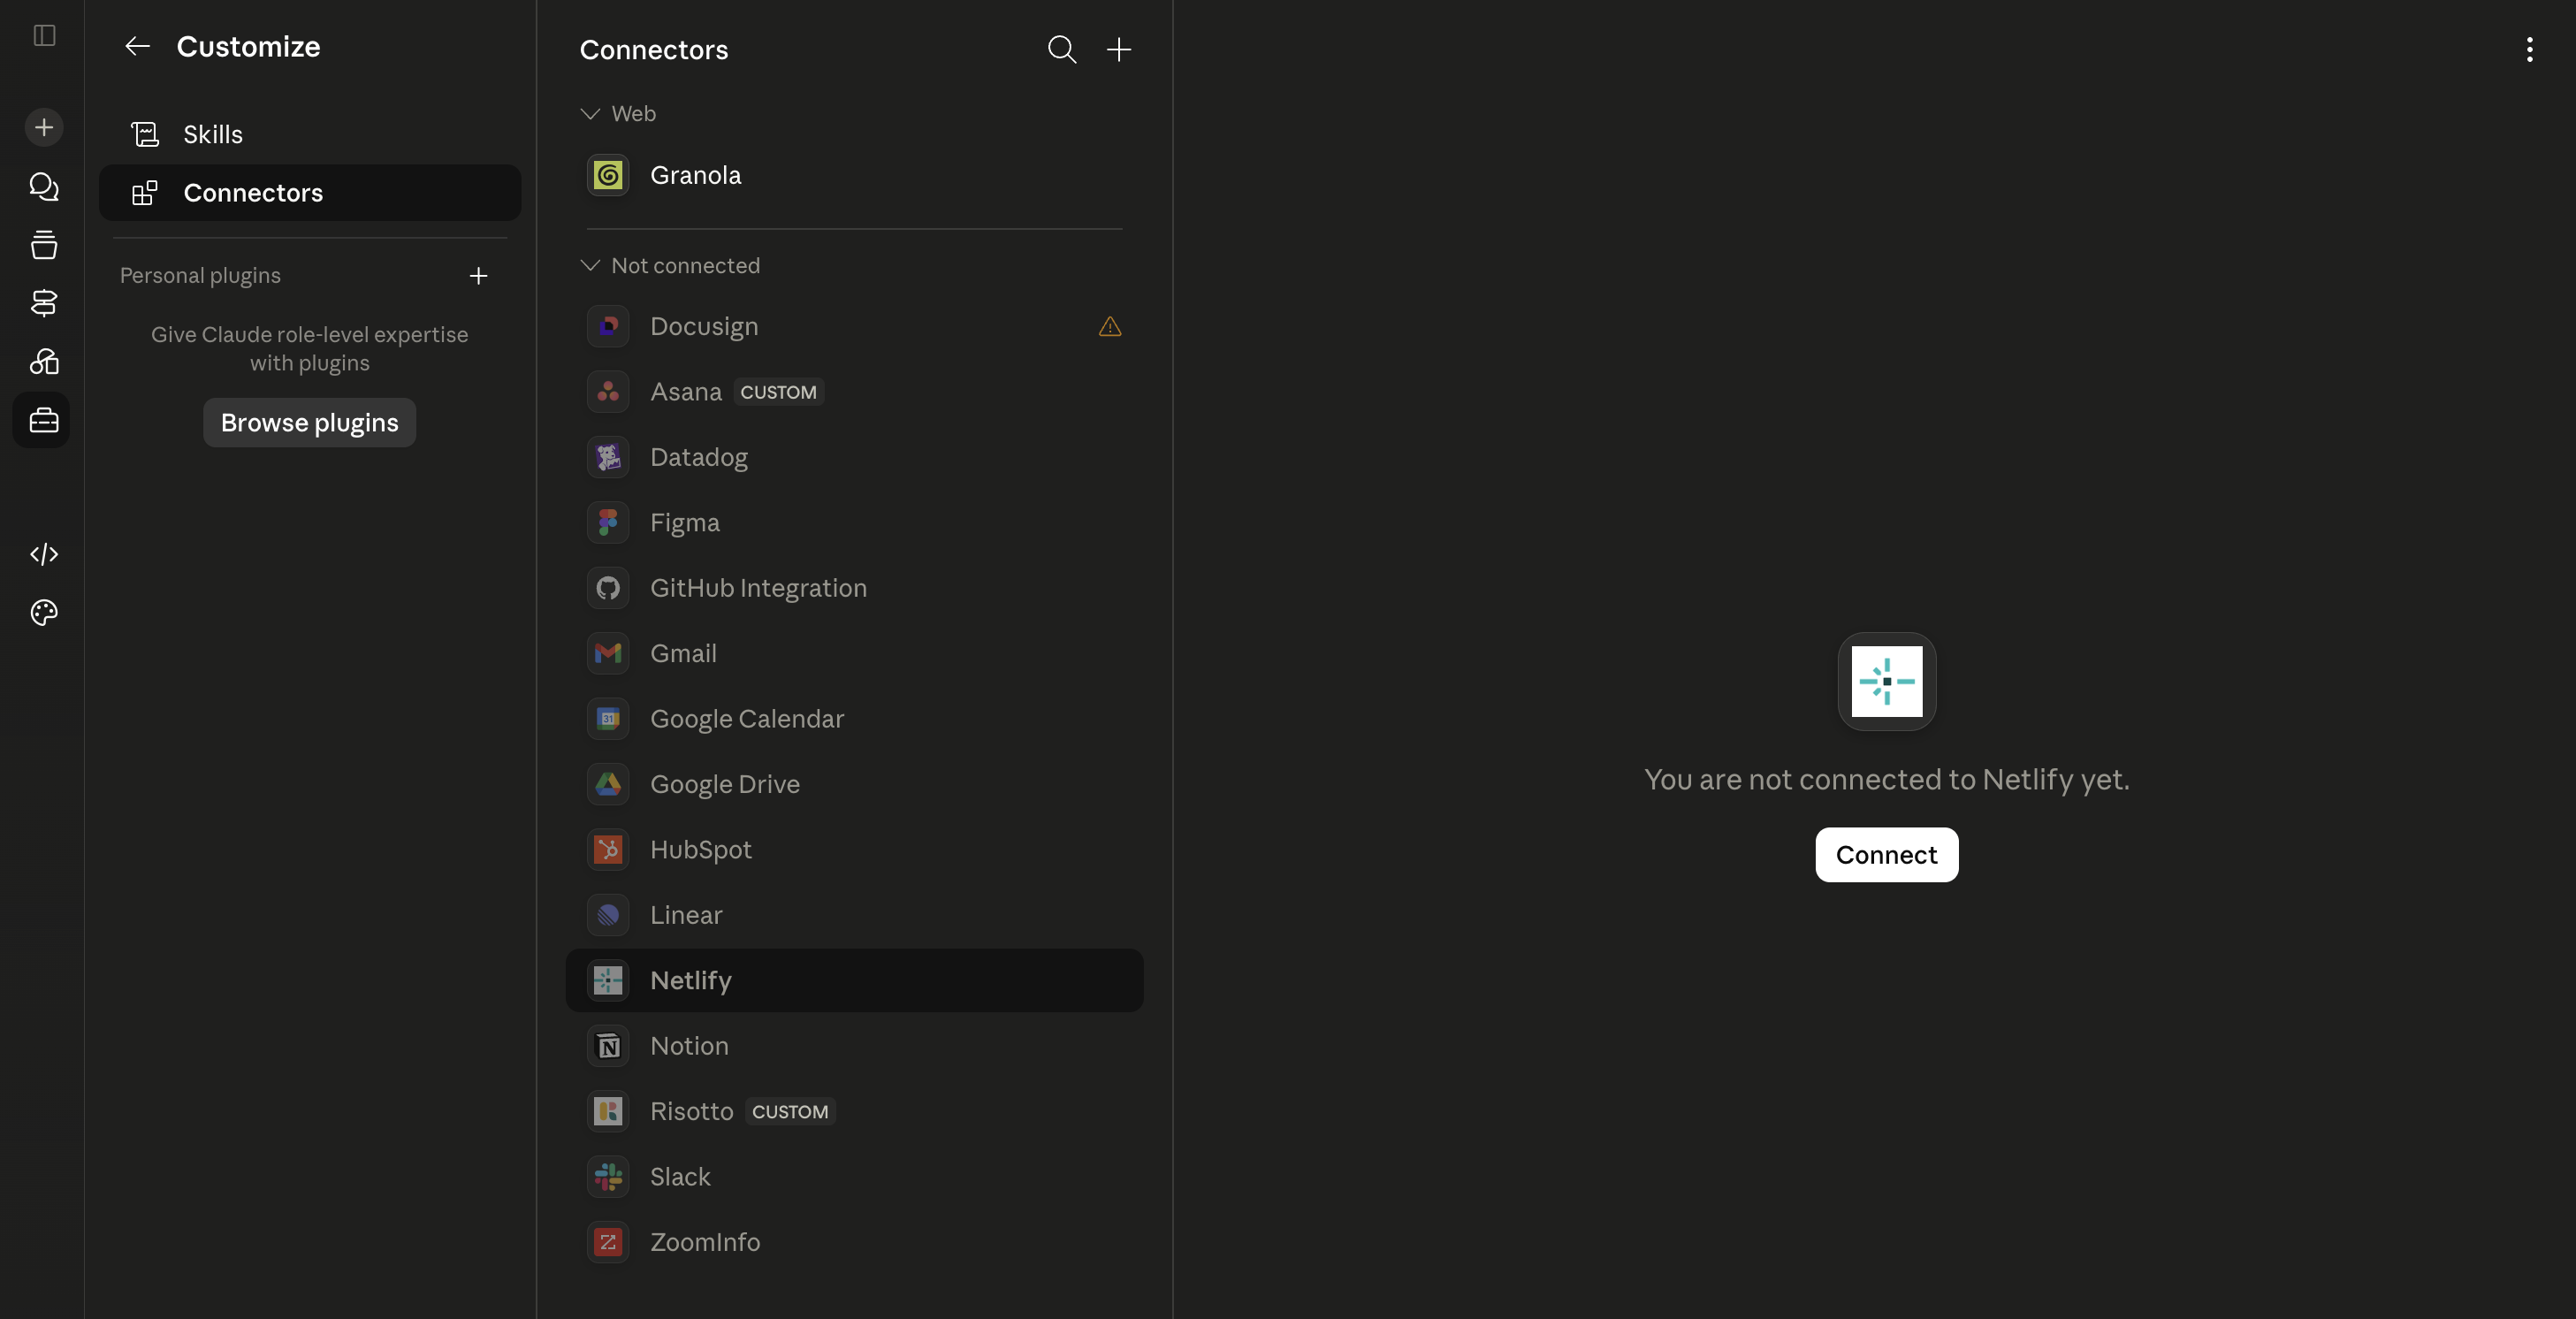
Search for Netlify, then select Connect.
-
Follow the authorization flow to connect your Netlify account.
Turn on code execution with network access
Section titled “Turn on code execution with network access”Allow the Netlify tools when Claude asks, then turn on code execution with network access in Claude’s settings. This lets Claude reach Netlify when it builds and deploys your project.
Configure tool permissions
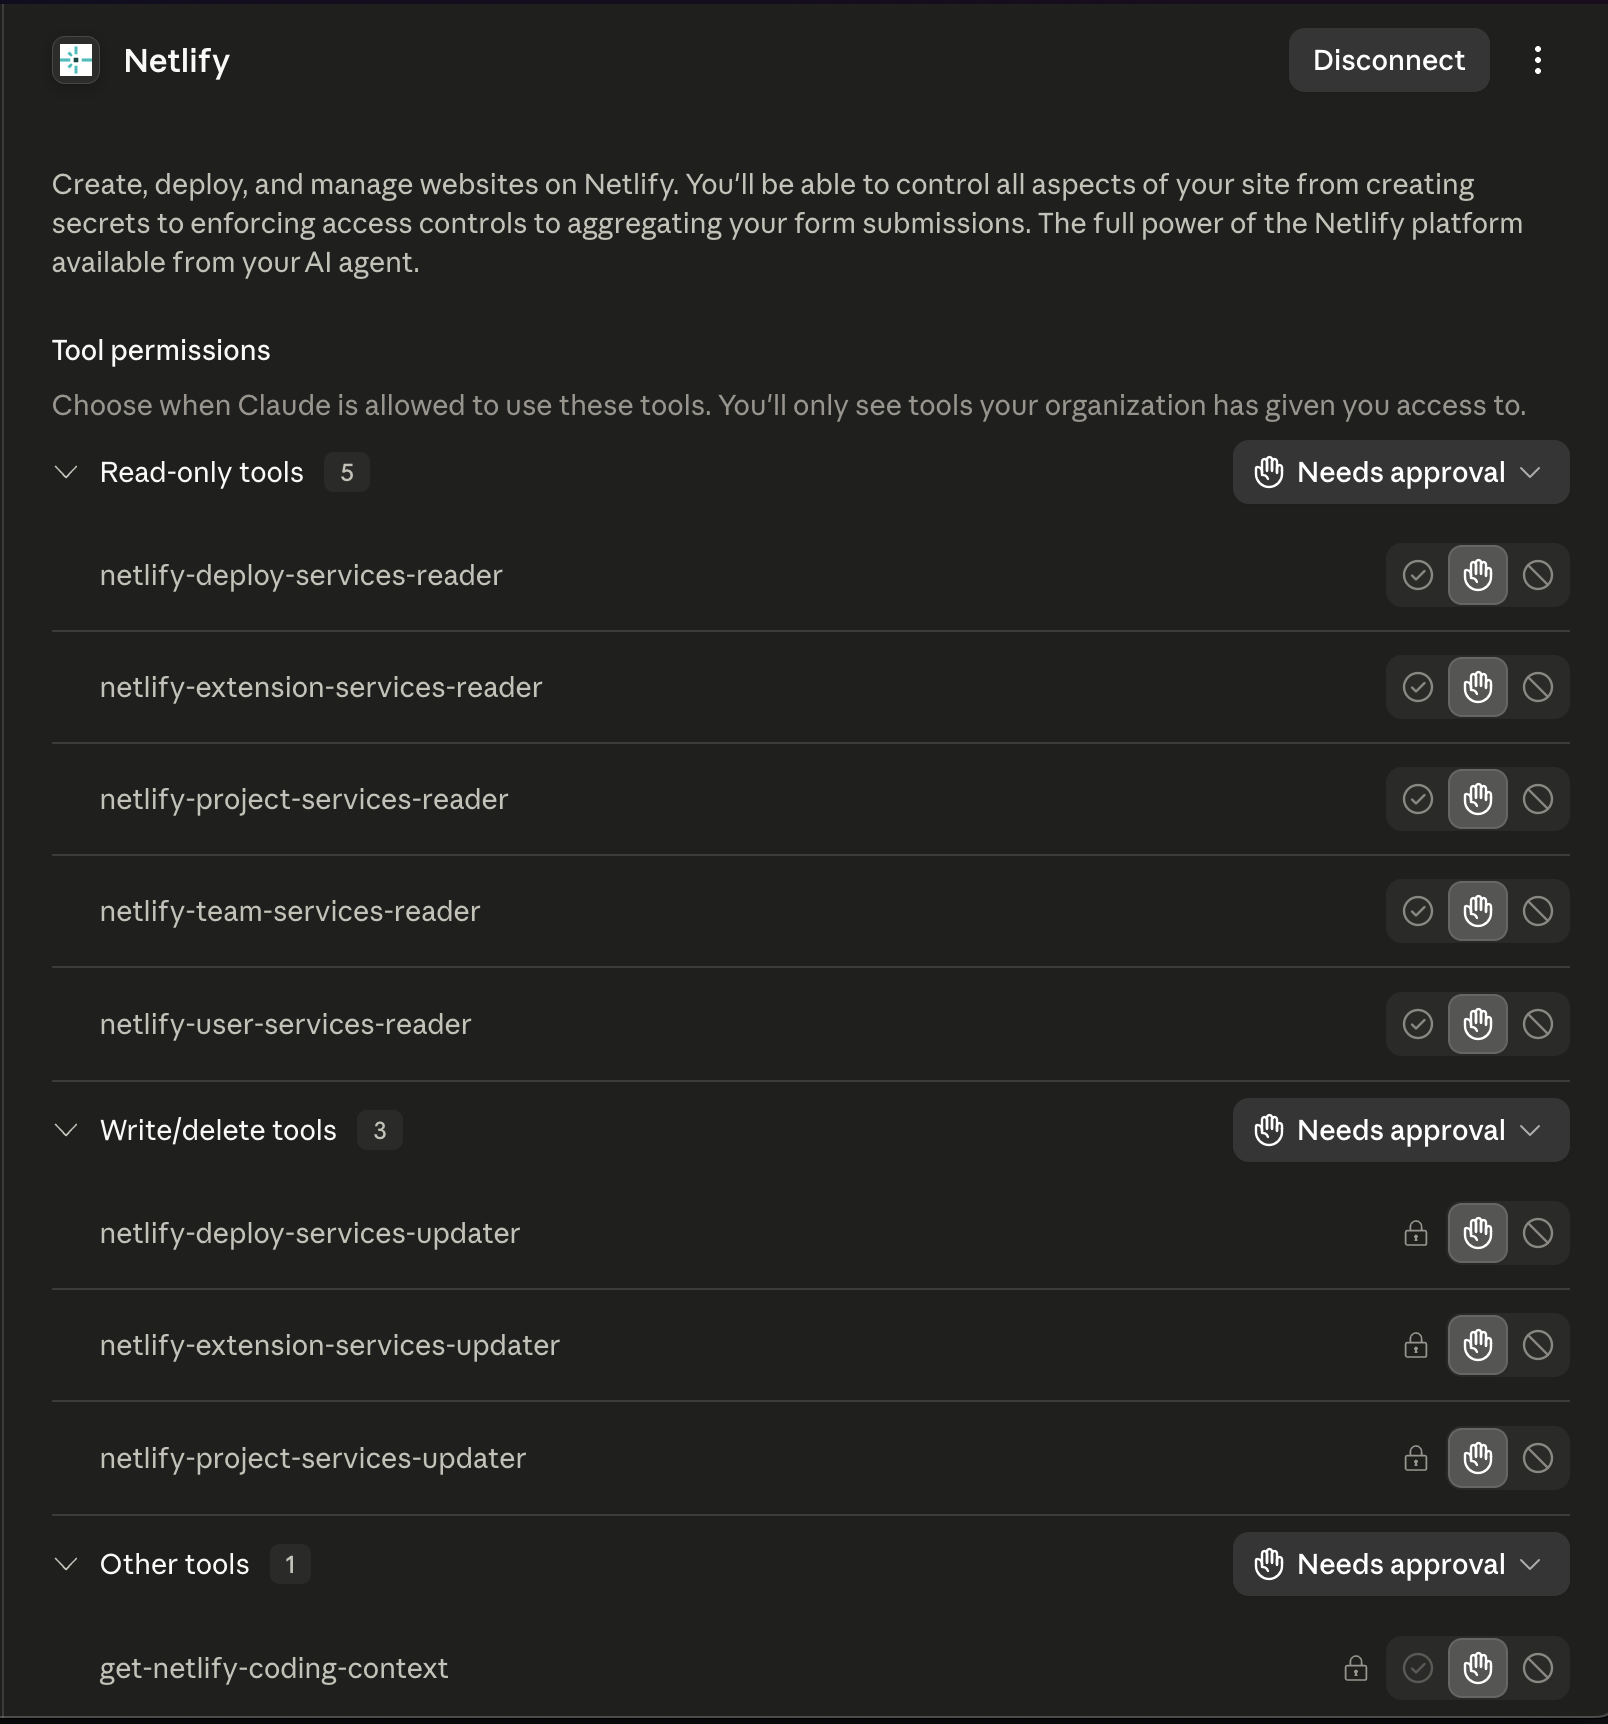
Section titled “Configure tool permissions”After you connect Netlify, configure tool permissions for the Netlify connector. For more context on connector permissions, check out Claude’s docs on restricting actions within connected services.
We recommend the following settings so that Claude can always read Netlify context without extra approval, while requiring you to approve actions that can change Netlify resources. Note that your Claude Admin may also set some of these permissions for you, especially for custom tools like the Netlify connector.
| Permission level | Recommended setting |
|---|---|
| Read-only tools | Always allow |
| Write/delete tools | Needs approval |
| Other tools | Always allow |
Use the Netlify connector in Claude
Section titled “Use the Netlify connector in Claude”Claude doesn’t load the Netlify tools into a chat until a task needs them, so you don’t need to call the connector by name.
Describe the Netlify task you want Claude to complete. When the task needs Netlify access, Claude can load the relevant connector tools and use them for the request.
For example:
| Prompt | What Claude can do |
|---|---|
| "Deploy this project to Netlify." | Load Netlify deploy tools and start a deploy. |
| "What’s the status of my latest deploy?" | Load Netlify read tools and fetch deploy status. |
| "Show me my Netlify projects." | Load Netlify project tools and list available projects. |
| "Check my team’s Netlify settings." | Load Netlify team tools and fetch team information. |
Troubleshooting
Section titled “Troubleshooting”Get help with some common troubleshooting issues.
Connector issues
Section titled “Connector issues”If Claude can’t access Netlify tools, go to Customize, then select Connectors and confirm the Netlify connector is connected.
If the connector is connected but Claude asks for approval too often or can’t complete an action, compare your Netlify connector permissions with the recommended tool permissions.
Next steps
Section titled “Next steps”After Claude is connected to Netlify, ask Claude to help deploy your project or troubleshoot Netlify setup.
For more agent setup guidance, check out the agent setup overview.
Did you find this doc useful?
Your feedback helps us improve our docs.