For the complete Netlify documentation index, see llms.txt. Markdown versions of this page are available by appending .md to the URL. Each Netlify site belongs to a team, even if it’s a team of one. Add labels to organize your sites.
Transfer projects between teams
Section titled “Transfer projects between teams”You can transfer any project for which you have Owner access to any team where you are an Owner or Developer. To do this, go to Project configuration General Project information, and select Transfer project. You may also choose to create a new team from this menu.
Here are some general rules to keep in mind:
- Project members who are not members of the destination team will lose access to the Netlify dashboard for the project. You may want to invite them to the team before transferring.
- Some features and settings are restricted to specific plans. If the destination team is on a lower plan than the originating team, you will lose any settings you may have entered for the features you lose. Check the current plan for each team and compare their features and pricing.
- Sites linked to GitHub Enterprise server or GitLab self-managed repositories rely on a team-level connection to your instance, and require special handling for transfer. If you need to transfer a site that’s linked to a GitHub Enterprise server or GitLab self-managed repo, contact support for assistance.
- Legacy Global sites use a dedicated CDN, and require special handling for transfer. If you’re considering canceling a Global site plan or transferring a Global site to a team, contact support so we can guide you through the process and avoid any interruptions in service.
To transfer projects between teams with no shared Owners or Developers, please contact support.
Block transferring a project out of team
Section titled “Block transferring a project out of team”Team Owners can prevent every project owned by the team from being transferred out, regardless of individual member permissions. This is useful when you want to guarantee that projects stay within the team, for example to meet compliance or ownership requirements.
- To change the setting, go to Team settings Access & security Transfer site settings and select Edit settings.
- Choose whether you want to block or allow transferring projects:
- Allowed (default). Team members with the required permissions can transfer projects to other teams.
- Blocked. No member of the team can transfer a project to another team, even Team Owners. The Transfer project action is hidden from the UI for every project owned by the team, and the backend rejects transfer requests for those projects.
Enterprise teams start with Site transfers set to Blocked for security reasons, but Team Owners can change it to Allowed at any time.
Only Team Owners can change this setting. Other roles see the card in read-only mode. Changes are recorded in the team audit log.
The setting only affects transfers out of the team. Incoming transfers from other teams are not blocked by this setting. If you need to move a project out of a team while transfers are blocked, change the setting back to Allowed before starting the transfer.
Site management with labels
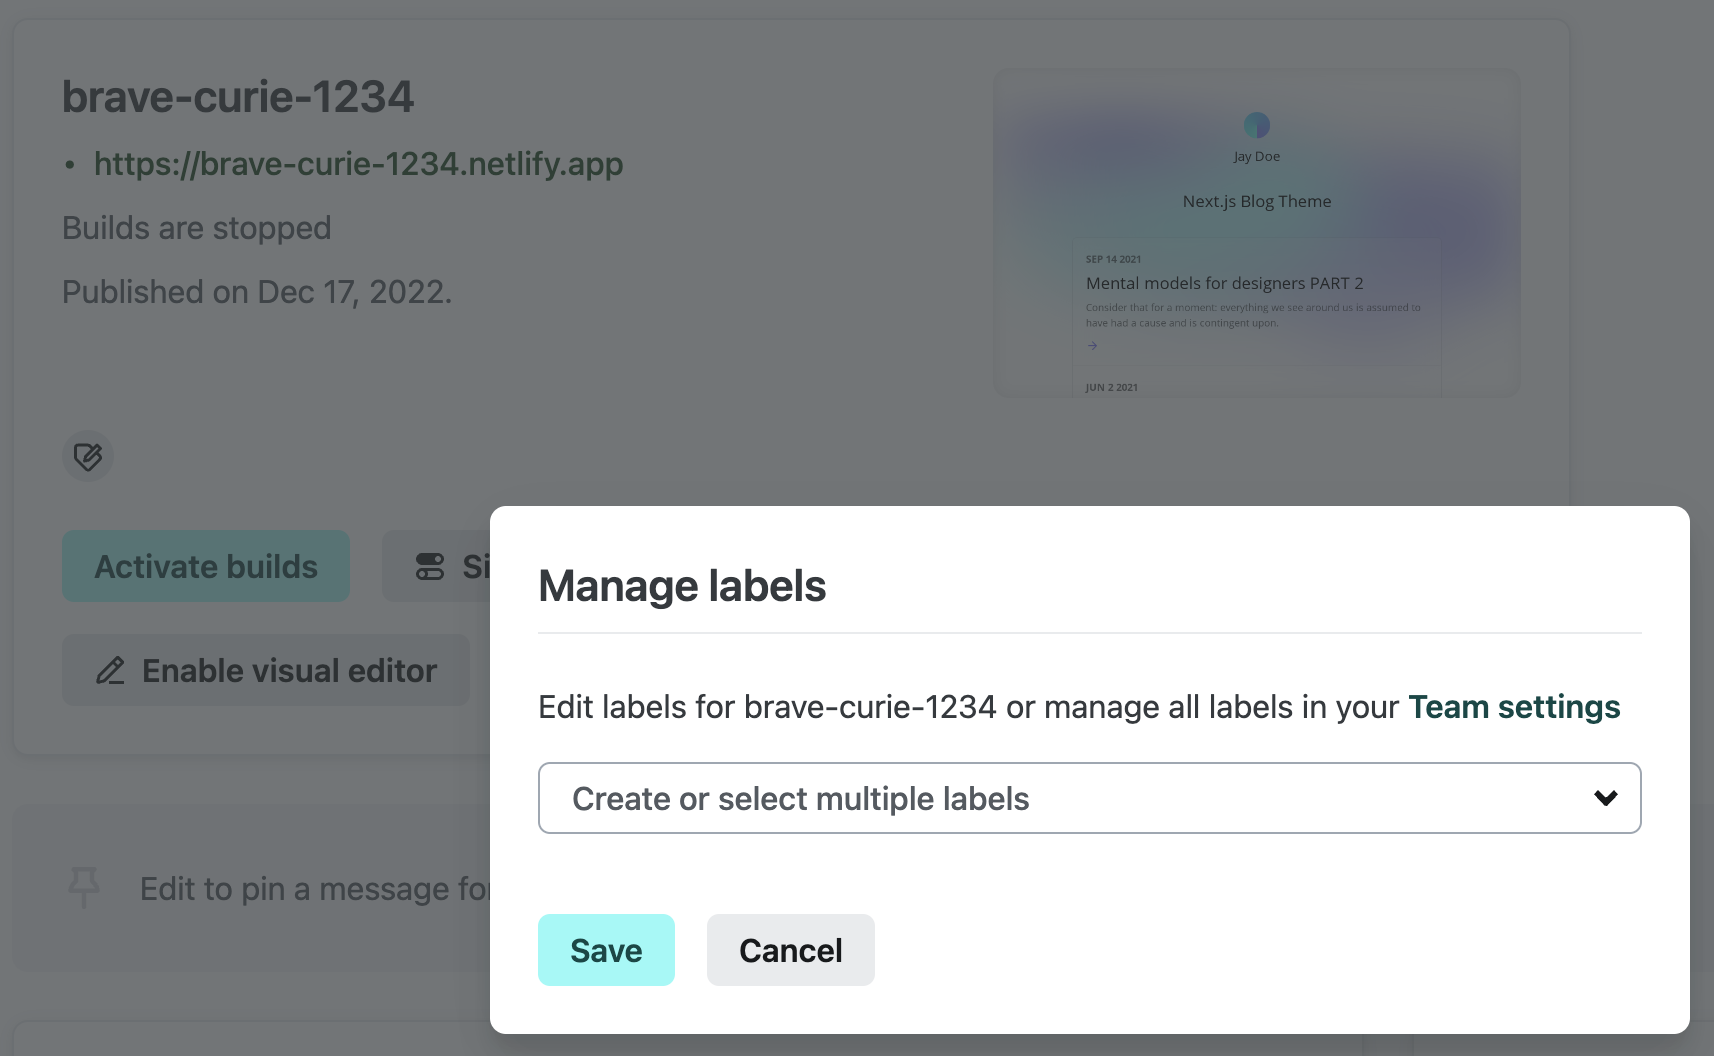
Section titled “Site management with labels”You can organize your sites using team-wide labels that are available to all team members. To use labels, go to Project overview, and use the button with a pencil and tag icon to manage labels for the current project.
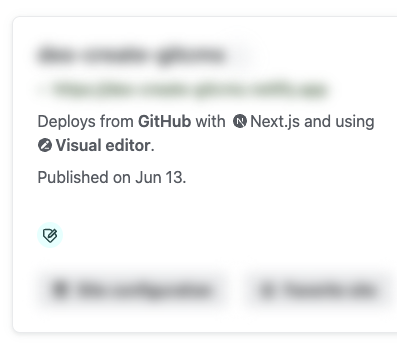
Labels can be used for any purpose, such as differentiating sandbox, internal, marketing, staging, and production sites or categorizing sites by bandwidth usage or teams.
All site labels list
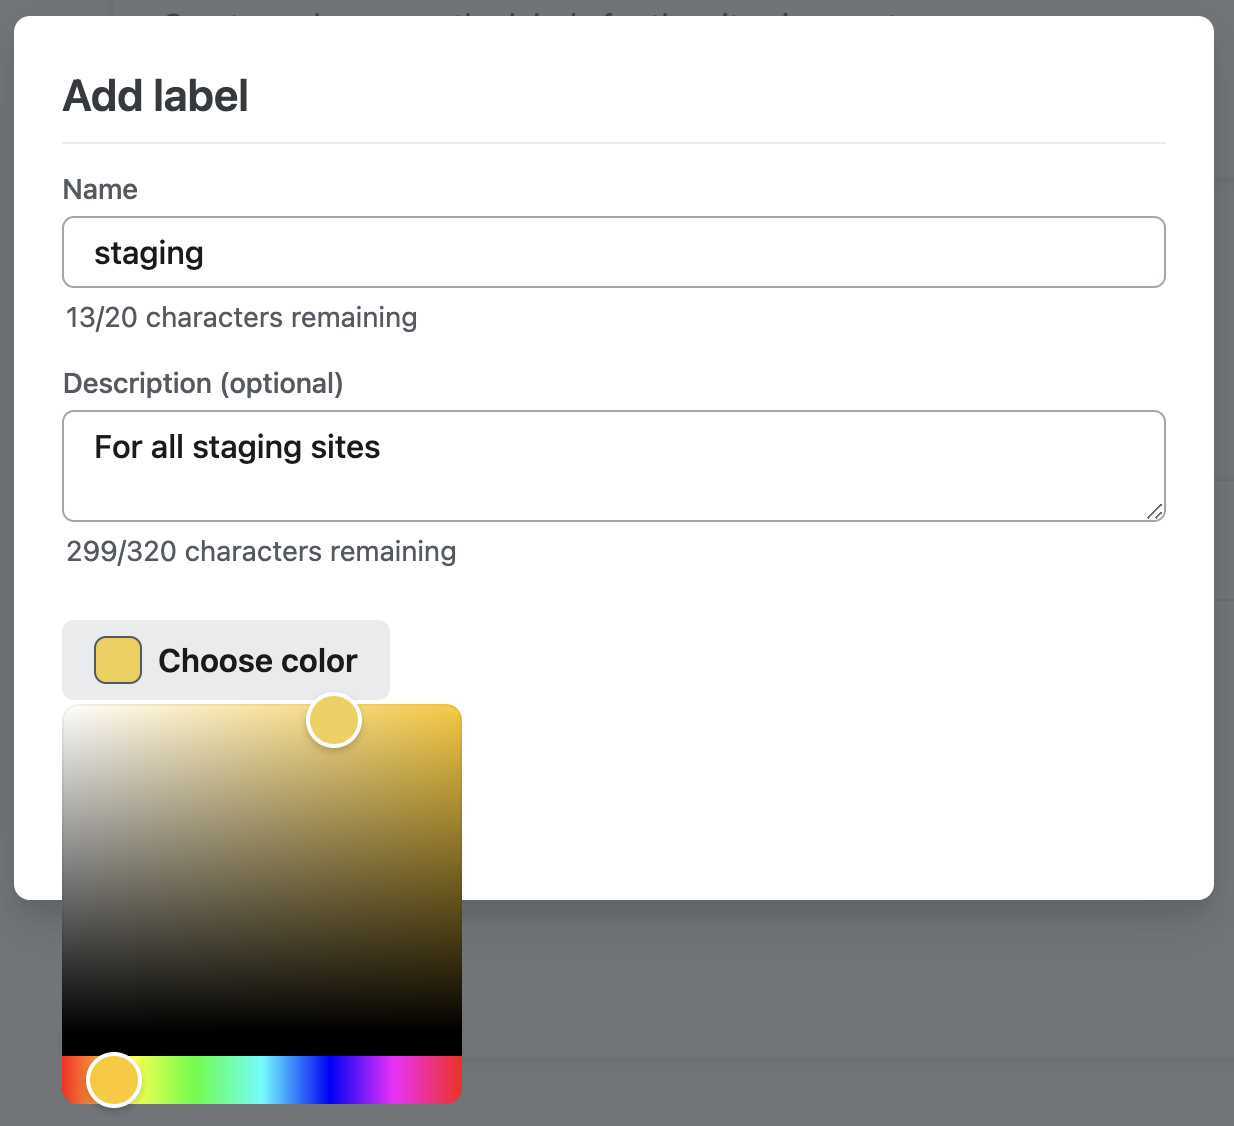
Section titled “All site labels list”You can also find, create, and edit all your team’s labels by navigating to Team settings Site labels.
To add label names, descriptions, and colors, select Add label and fill in the desired details.
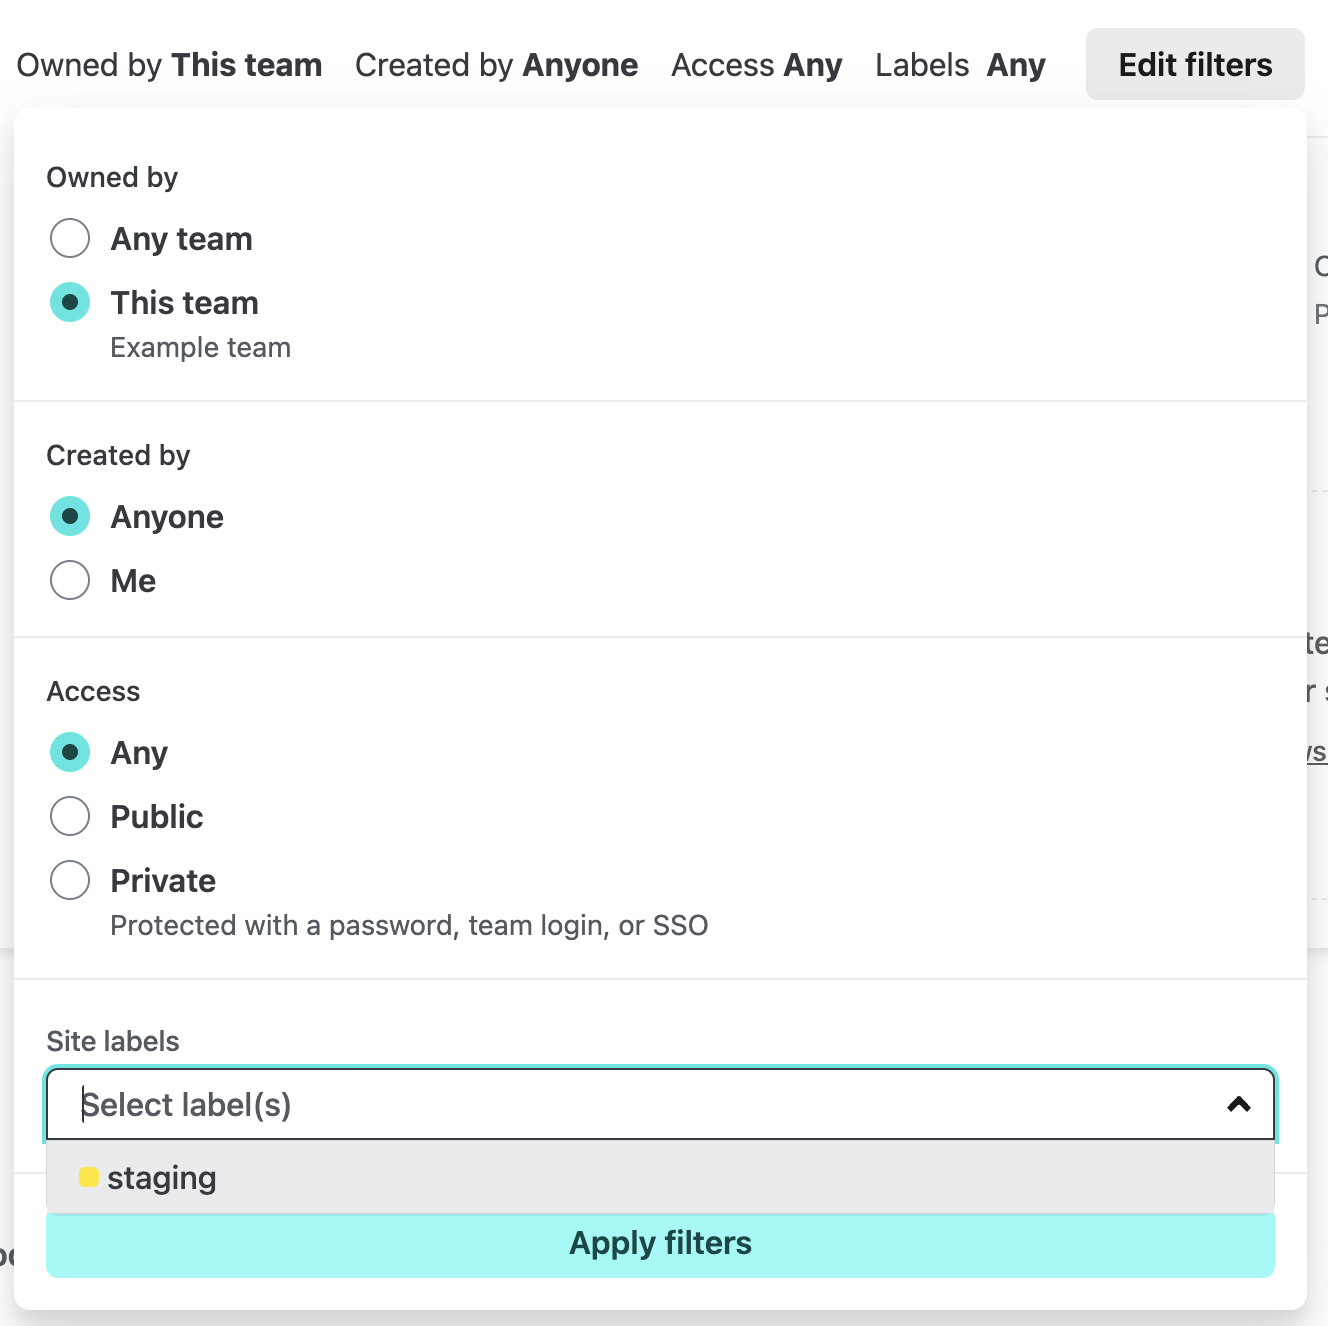
Filter sites by label
Section titled “Filter sites by label”To filter your team‘s site list by label, select a label on one of the sites in the list. You can also filter sites by selecting Filter by label and choosing the appropriate label.
Did you find this doc useful?
Your feedback helps us improve our docs.